
Mounting a Garmin Catalyst in your track car is often an exercise in futility because it is so heavy.
5H1F7Y, a local BRZ driver developed a mount that is solid, invisible (most of the time), and allows for wire-hiding. I upgraded it with hidden power.
The mod starts with installation of a Ram ball behind the passenger dash trim panel. I am not going to pretend this is easy, and you have to take half the interior out, but it is not only possible, it works better than any other mount I have tried. You want to use nuts and backing washers on the back side of the plastic you are mounting to to ensure it stays put.
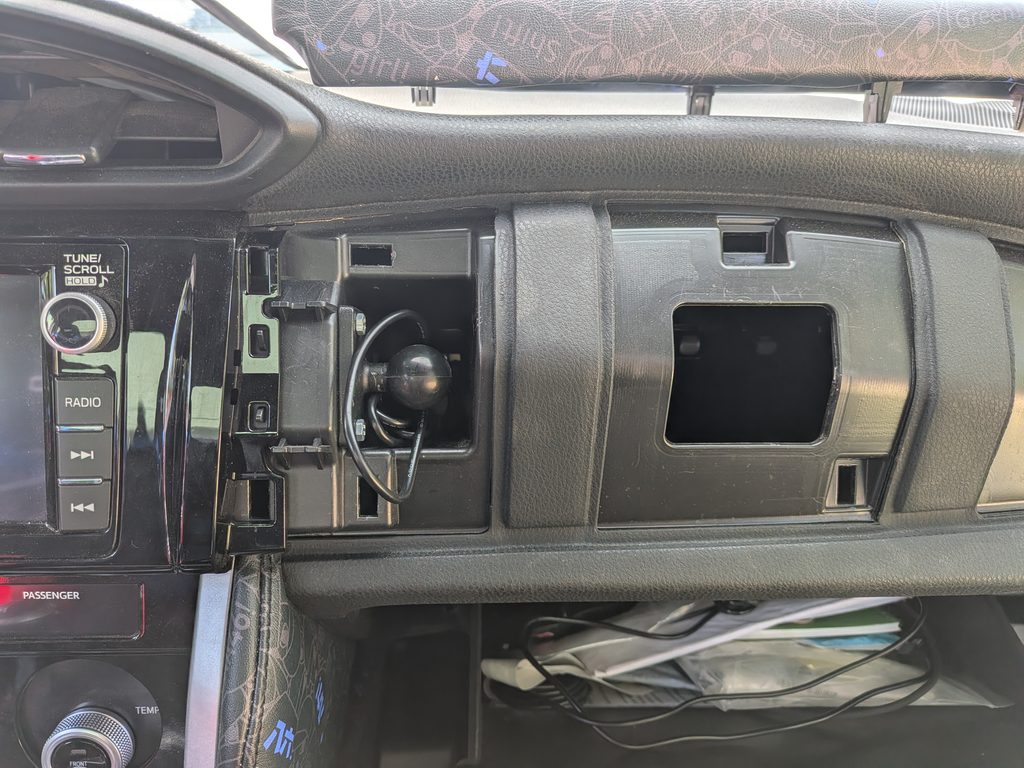
Then comes the wiring shenanigans. I spent way more time researching this than I needed to, but whatever. It’s done and now it’s documented for the future.
I started with the Zenki wiring diagram, which in hindsight would still have not been enough even if I could have figured out how to read it properly – this project required actually pinning out the fuse panel. The body integrated module or BIM is on the lower side of the driver’s side dash and brings all of the cabin power into a single blockset of terminals, relays, and fuses. The whole thing is broken up into one power input connector and four harness connectors. I wasn’t sure if the Kouki and Zenki modules would be the same (yay Denso hardcoding), so I grabbed a year-specific one off ebay for $30 and pinned it out. It is identical. I confirmed that 4 pins are definitely available for powering accessories – two on rail power and two on switched power. Because the Catalyst will drain its battery in a hurry at the track if you leave it on between sessions, I opted for battery power.
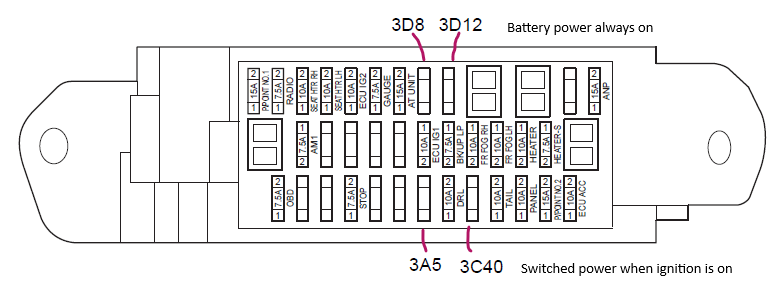
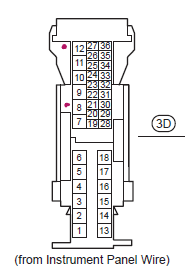
I’ve marked the 3D pins 8 and 12 with black on this ebay module. Simply pop a 5-10A mini ATO fuse into the socket of your choice and the pin will have power. I recommend not using 3C40 as is is a very small terminal and will be power-limited. You could risk burning up your BIM relay plate. 3A5 is perfect for things like underglow and other stuff you want on switched power.
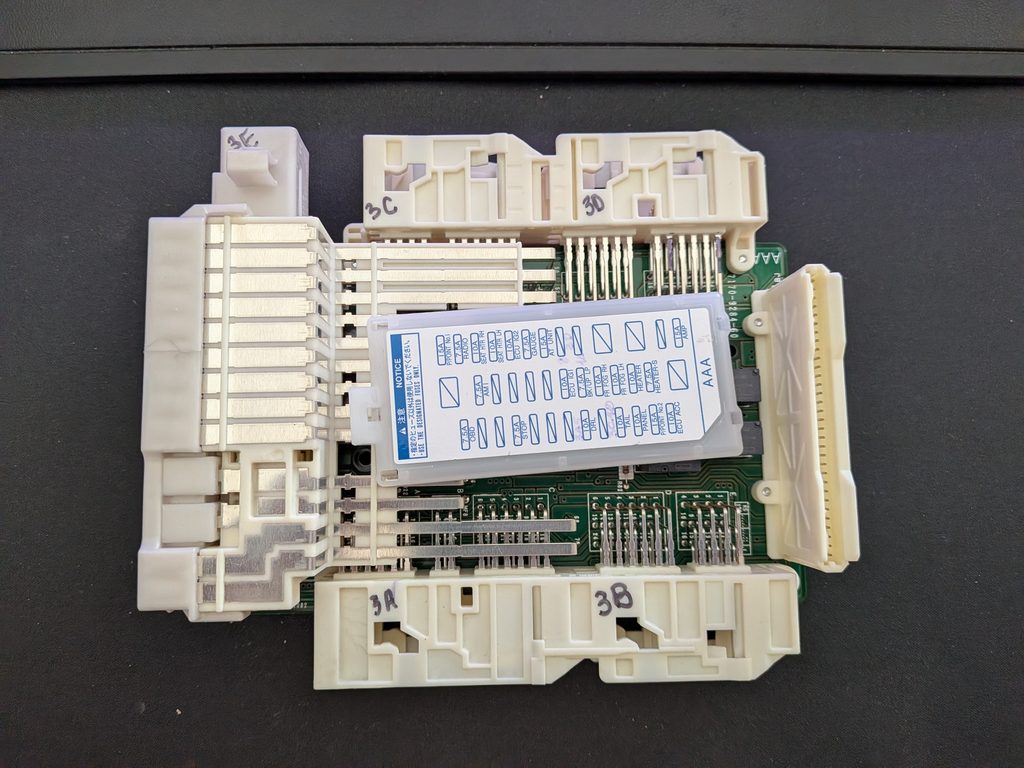
Now to the connector. Yazaki is the devil. Full stop. These connectors are next to impossible to depin. I gave up and ordered a scrap harness from ebay (another $35) before finding out that you can buy pigtails from Toyota – part number 82998-12880. I was in a bit of a hurry so I just cut up the ebay connector to extract a terminal.
How to do that:
First, dismantle the connector. Remove the black (for 3D) locking bridge, and separate any connector sections. You will find that there is a small bar-shaped bit on one side of the connector. You need to pull this out about 1mm. It is the terminal locking bar. The depinning tools I have were not successful in defeating the pin locks. I opted to take a hacksaw to the connector to extract the terminal I wanted.
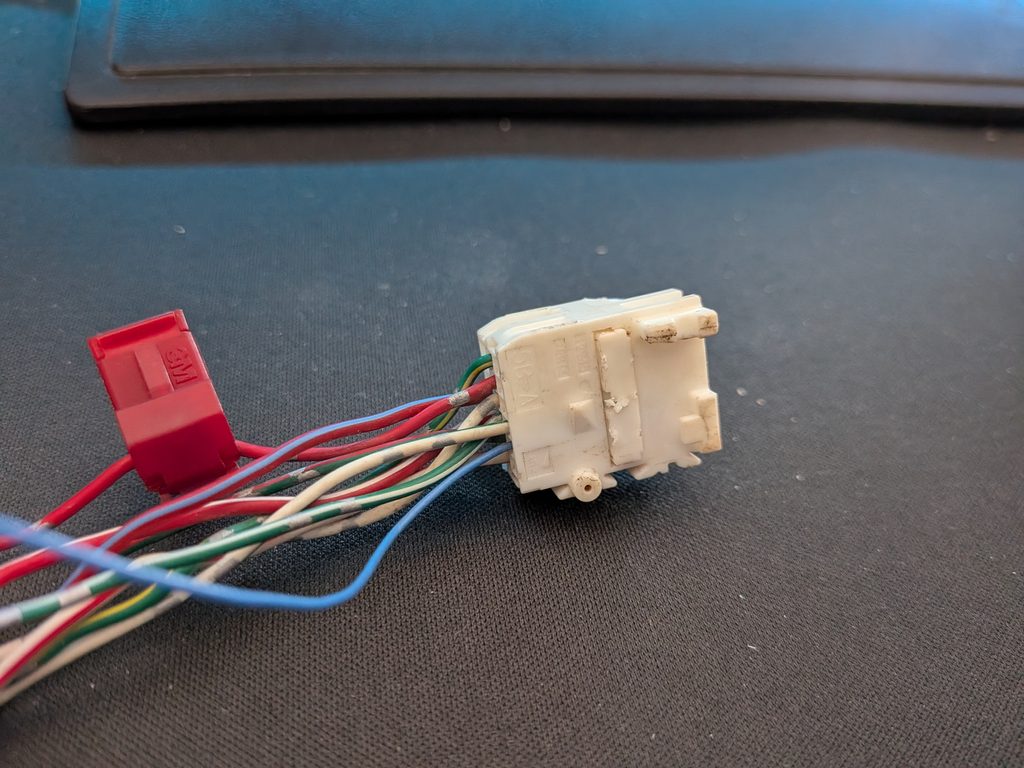
To repin the terminal in the pin cavity of choice, you will have to remove the locking bridge from the target terminal block and lift the locking bar. Then, insert the terminal until it clicks and replace the locking bridge. Insert the connector block into the BIM and off you go. I’ve marked the two rail power sockets with purple dots here:
I chose this unit from amazon – Gebildet adapter – as my power source because it came with the stupid mini USB connector that Garmin clings to. I ran the ground to the knee plate bolts under the lower dash cladding and fished the wire back behind the center console to the other side. You can see the coil of wire in the pocked with the RAM ball in the first picture.
You will need a 3″ long arm from RAM to complete the whole setup. I can see that I need to bring the camera wire up through the dash also. It currently lives in the glove box. Not for long….
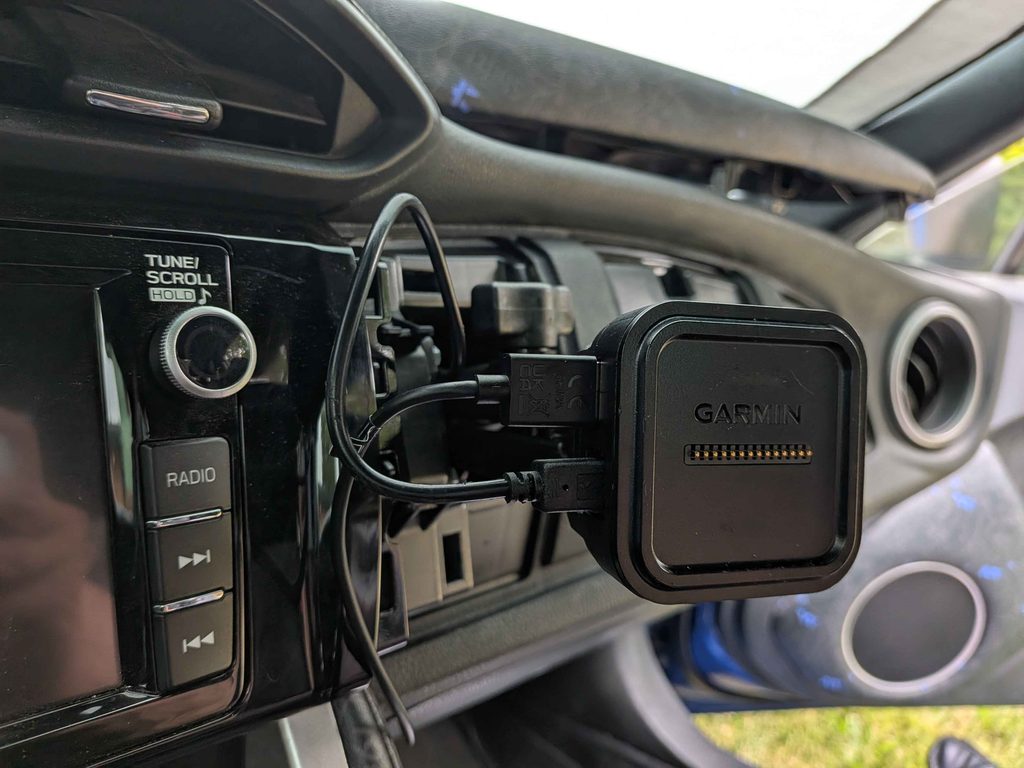
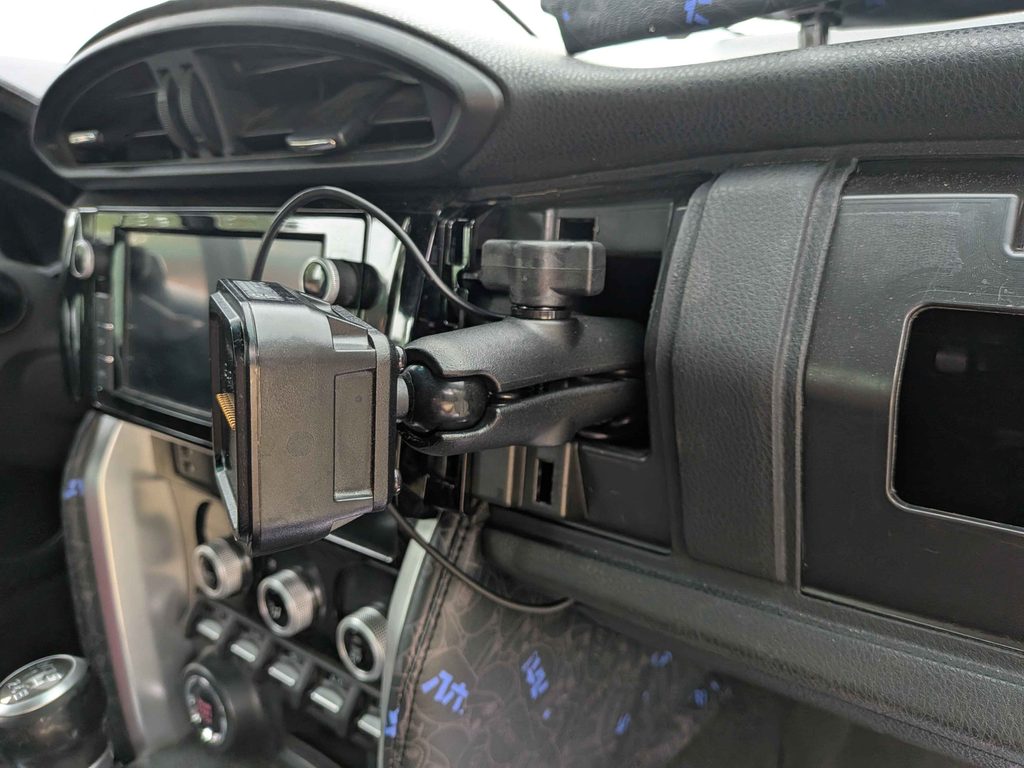
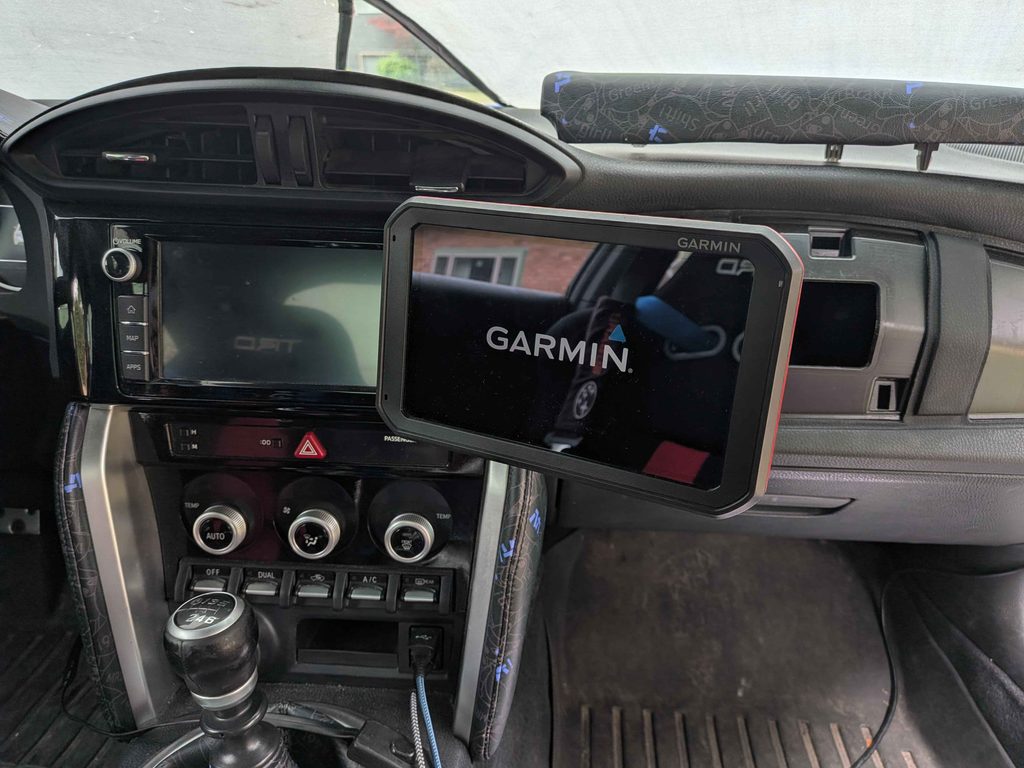
It works perfectly! Hidden power that is always on and a fully concealed mount. Thanks to 5H1F7Y for sharing their work with me on the mechanical side.