
#2 is not having it. #1 and #4 are fine, #3 has a little side-to-side slop, but #2? That is, as the kids these day say, a real banger.
After 111502 miles and 40+ track days, the FA20 in the BRZ had it. No complaints here. I was coming off at 3 at Grattan after the last session of the day and about 100 feet from the paddock, new, unhappy noises happened. Thankfully, amongst the Summer Track Days crew of regulars, an unneeded trailer was available and my blueberry was hauled home safely. Otherwise, it was a really good day at Grattan, steadily dropping lap times and improving my line. The new pavement is interesting, and there are some elevation changes to the track that I was surprised by. But a good day at Grattan is better than the best day at most other tracks, so there is that.

I have a lot of mixed feelings about the failure. I got more than 100K out of the engine, which is good considering some of the stories I have heard about this engine. On the plus side, it failed in a perfectly safe place where I could stop it before it ate the crank, and surrounded by friends who aren’t strangers to racecars doing racecar things.
Getting to the oil pan was no easy feat – it’s captive to the exhaust manifold so that had to come out. That was not a particularly fun job and of course involved a Sawzall (last spring bolt, nothing serious). The oil pan is now out and it’s not a happy place. Lots of glitter, made of the souls of big end bearings. And before you say “RTV in the pickup”, no, there was no RTV in the pickup to speak of.


I am spending the July 4th weekend having at it, and am deep into the engine bay with some help from my older son. I have to kick his latest 4AGE build off the engine stand to put this one on it. Poor kid.

I will hopefully have it out by Sunday night and then can spend next week tearing it down to find the bad bearing. If the crank is ok, I will button it all back up and it will be back to doing FA20 things. If there is cylinder damage, well, I have a friend who is a bad influence and thinks I should put an FA24 in it….
Thank you to Kina Photography!

This time, it’s an MF Ghost Angel. I used the Tokyo Auto Salon version because I’m not accepting enough of my own body to wear a mini-bikini bottom. So skirt it is.
Teaser pic of my small purse accessory. Two phones and a small wallet. Also, I hate making gloves. They are awful. But I am getting better at them.

I have stumbled on something?
Powdered psyllium husk. Not Metamucil grade, but truly finely powdered psyllium husk.
Modified from the KitchenAid mixer cookbook.
1 1/3-1 1/2 cup warm water
1t active dry yeast
1t sugar
2T POWDERED psyllium husk
2c GF flour (I have been using the King Arthur one for a while)
1t salt
1T baking powder
2T olive oil
Add water, yeast, and sugar to a bowl and stir well.
Allow yeast to begin blooming.
Sprinkle psyllium powder into yeast bloom and mix well with a whisk to fully wet out
Allow to sit for ~5 min and yes, it will gel a bit
Mix drys and dump on top of gelled fibre
Add olive oil on top of flour mound
Start mixing with a spoon. When it is mostly together, knead for 1 or 2 minutes. You can do this all in a stand mixer and use the dough hook to mix/knead it.
Let sit to rise for a while. Punch it (it won’t rise that much) and roll it out. Parbake it to set the structure, then top and finish it off at 425° like a proper pizza should be.
It makes a sort of whole-wheat style crust. It’s chewy. It’s like a regular pizza crust from the pre GF days.
What did I do? OMG. I made pizza!


Some time back (lol) someone asked me if I was “time-blind”. Lovely pejorative, huh? I thought first about how ridiculous of a question that was, and then thought about it for a while more and realized that there is more than one way to perceive time, and neuro-diverse (ND) people seem to be prone to it.
Let’s go there.
The traditional perception of time is based on the clock or calendar. I will call this clock-based time or calendar-based time. It is focused on units of duration – how long something takes to happen or do or whatever. A meeting is one hour long. A week is seven days long. A car trip is seven hours. Going to college is four years. And so on. The world basically runs this way. Neurotypical (NT) people generally run this way.
ND people are often found to be less focused on duration – we can become engaged in topics and lose track of clock-based time, frustrating those around us. This does not mean we are “time blind”, it means that we perceive time differently than those who perceive clock-based time and the durations that characterize it. Time either happens or does not happen for us. That’s why an ND person may tell you something is happening “tomorrow” and mean next month. “Tomorrow” in this case is the next time that whatever is going on will happen again.
This standard thinking of time as limited to standard units of duration such as hours and months is insufficient and inconsistent for people like myself. Instead of perceiving time in units of duration, we perceive it in units of events. Each event has a start and finish. I have three event states – not started, in progress, and finished. For example, when someone asks me how long a task will take, it is hard for me to estimate. Instead of hours, I see the task in terms of steps that have to be linked up and completed. I call this type of time event-based time to differentiate it from calendar-based time or clock-based time. Keeping event-based time is part of the systemizing skill group.
The value of event-based time is best demonstrated when laying out a Gantt chart. Durations are important, but without the correct linking of task starts and finishes, the chart is meaningless and adds no value to the project plan. This is the area where event-based time people excel – lining up things so the work gets done in the correct order and the overall task completes on time.
Next time you want to call someone “time-blind”, please take a step back and ask yourself if they instead run on event-based time. Once the architecture of event-based time is established, the event-based person can start to plan for better recognizing clock-based time and the clock-based time person can start to recognize the value the event-based time thinker brings to the table.
Hopefully, we can retire the pejorative “time-blind” in the near future.
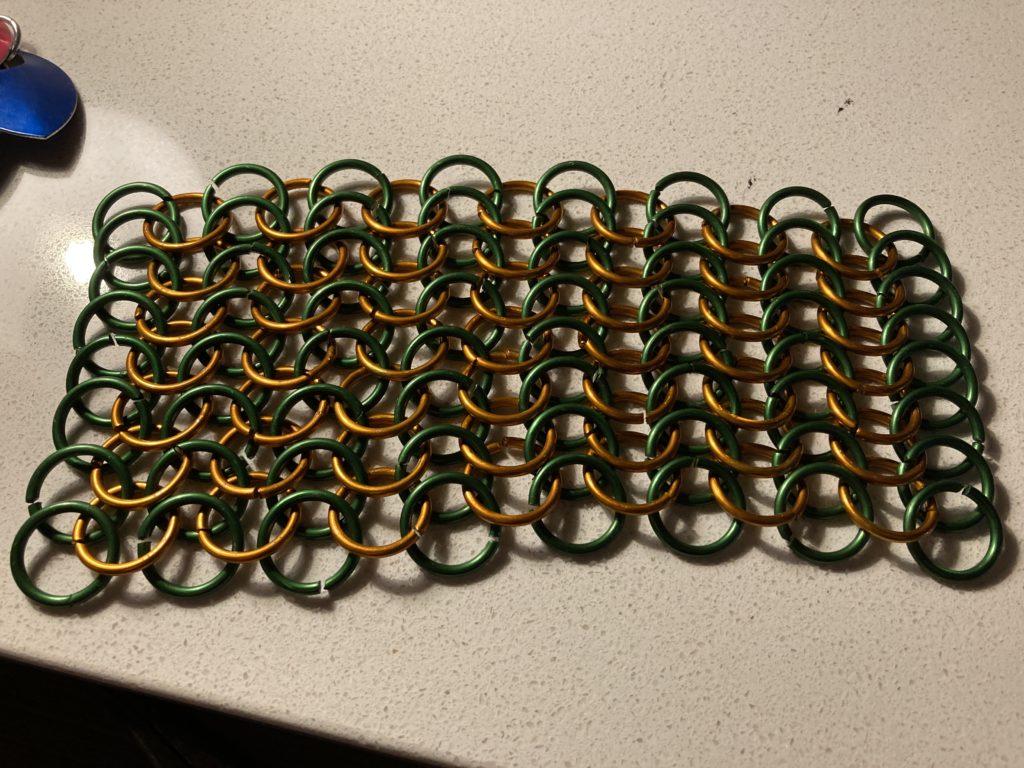
I did some clinics at Ohayocon with Alexander from Armor Academy. Learned chain maille and scale maille. Now I have ideas. This might get weird. Like anyone reading this would be surprised by that.

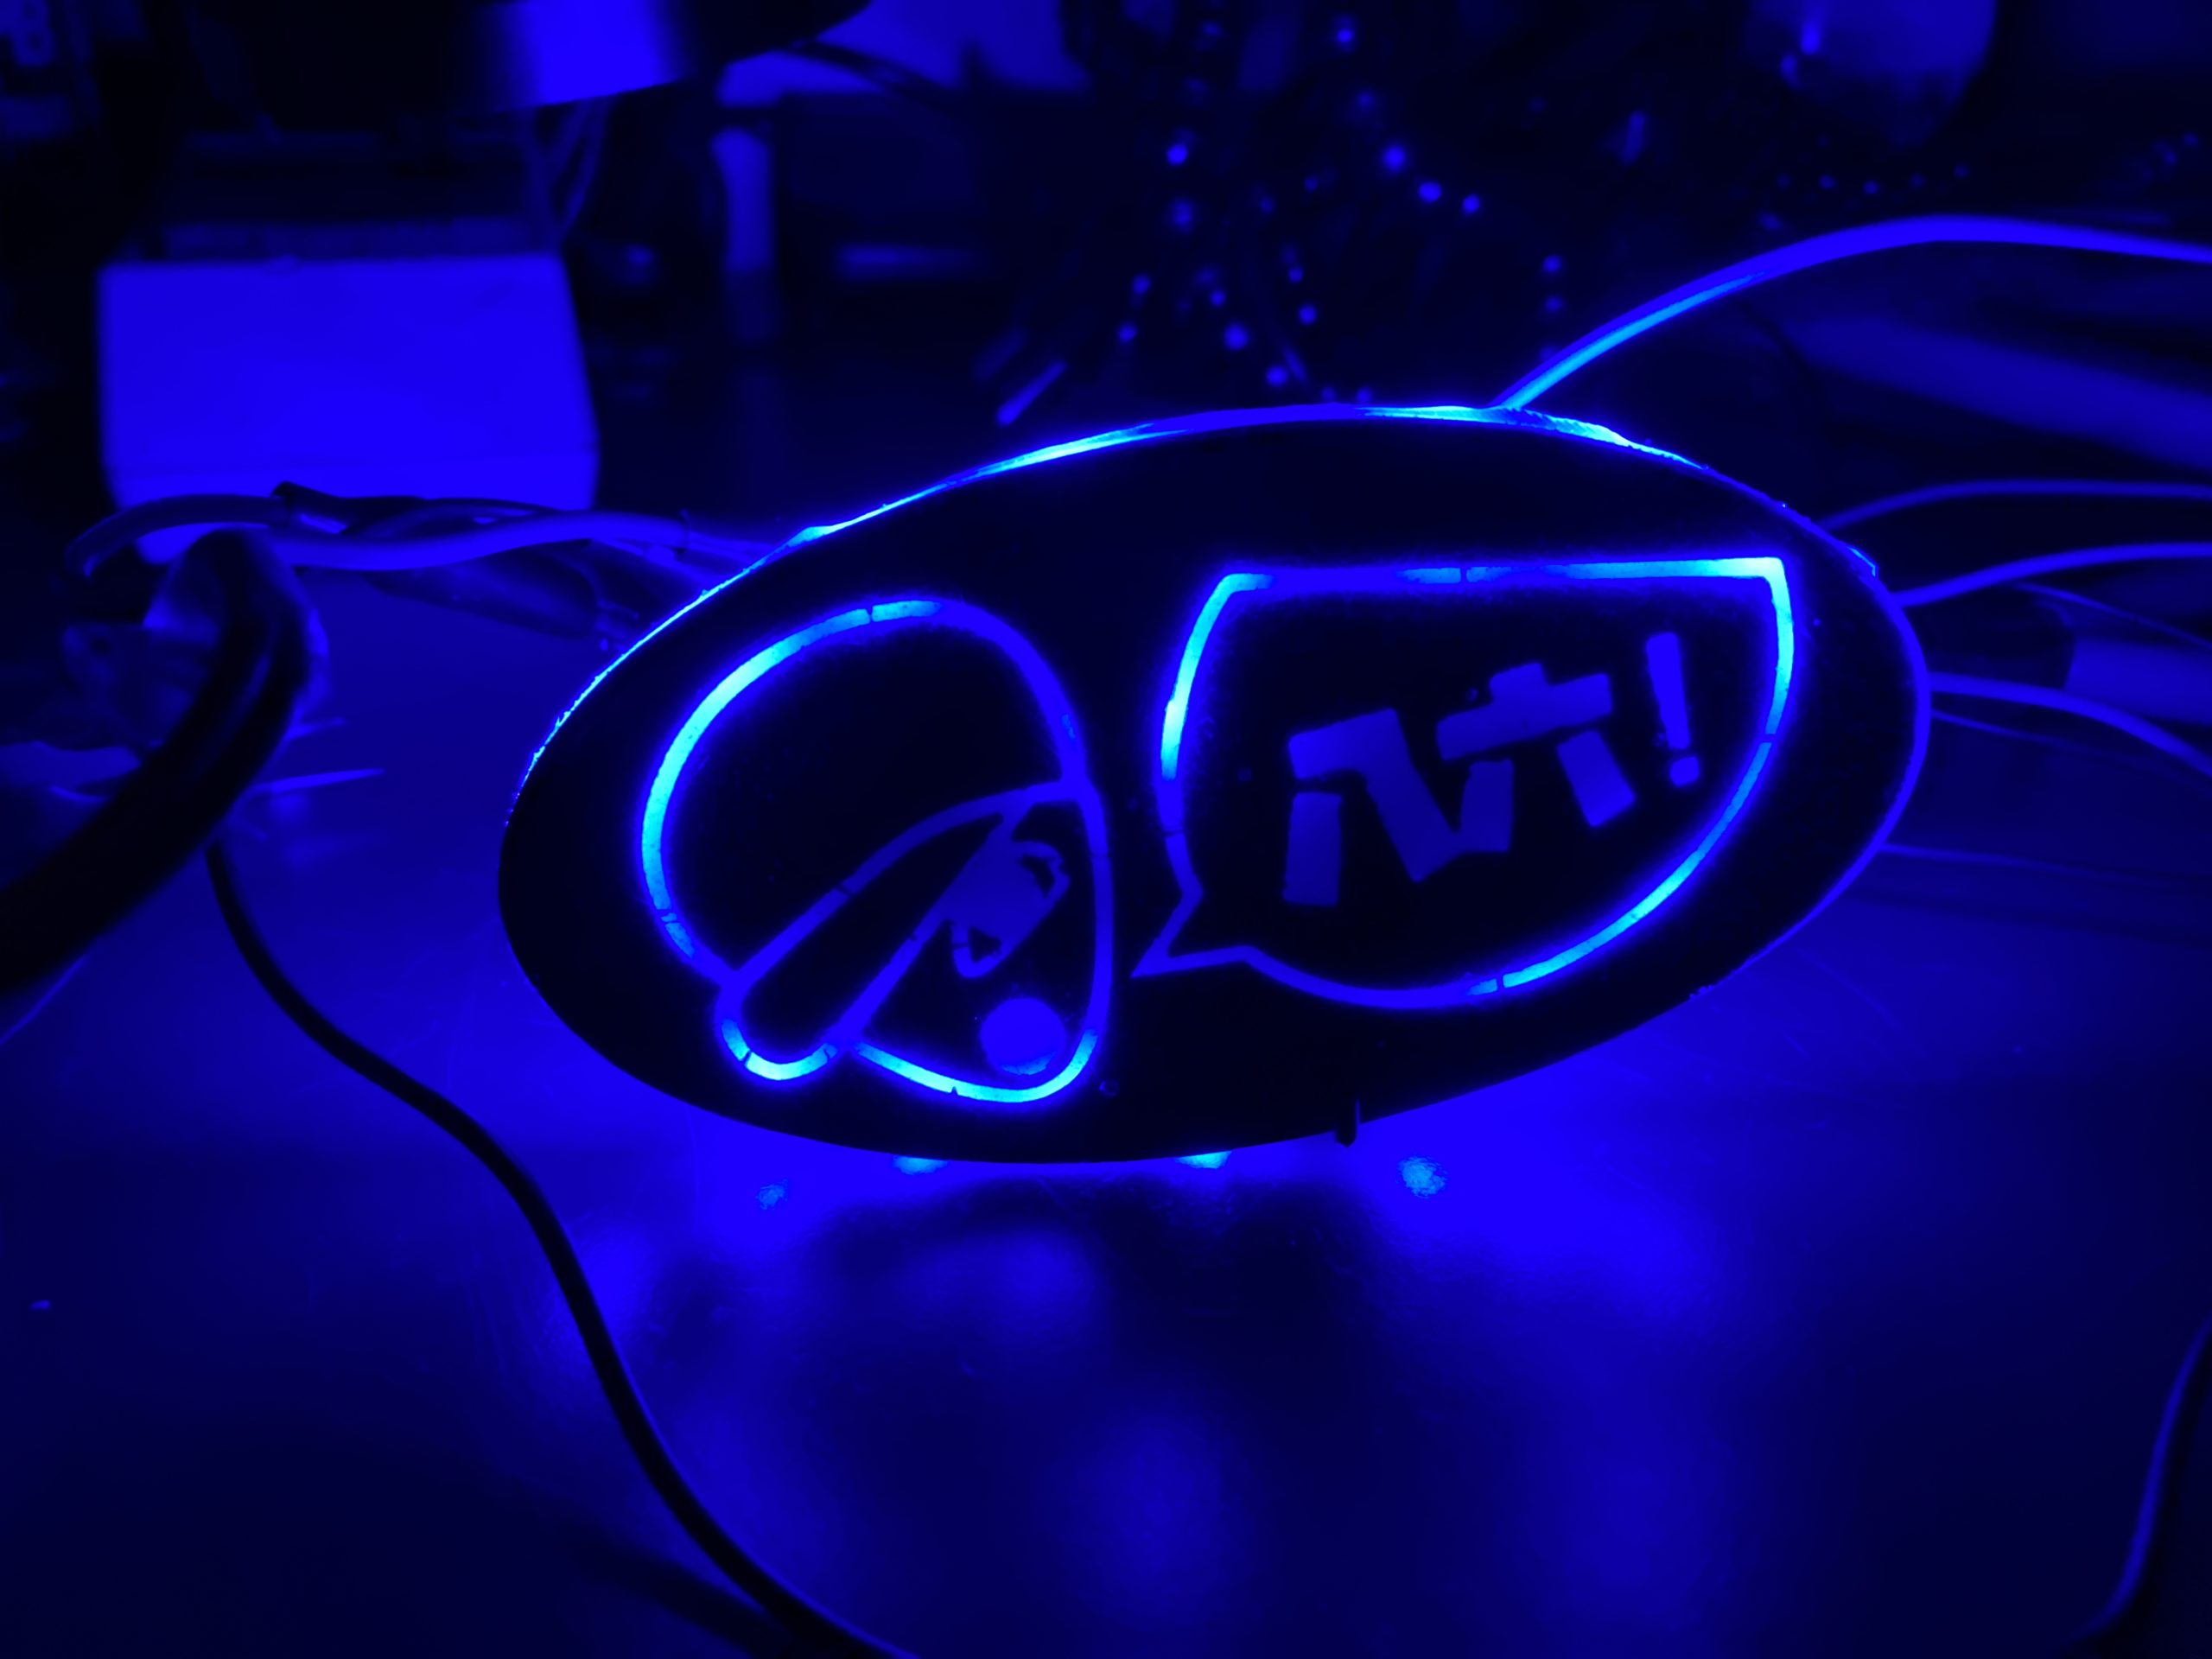
Electroluminescent wire.

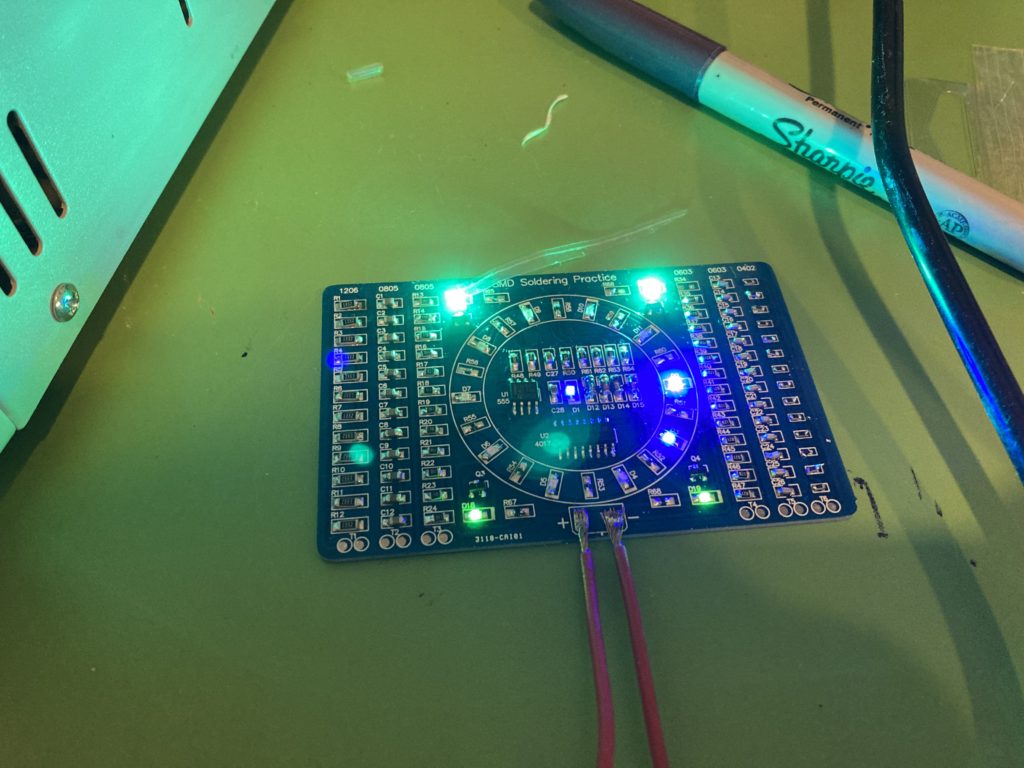
Gikfun SMD soldering practice board.
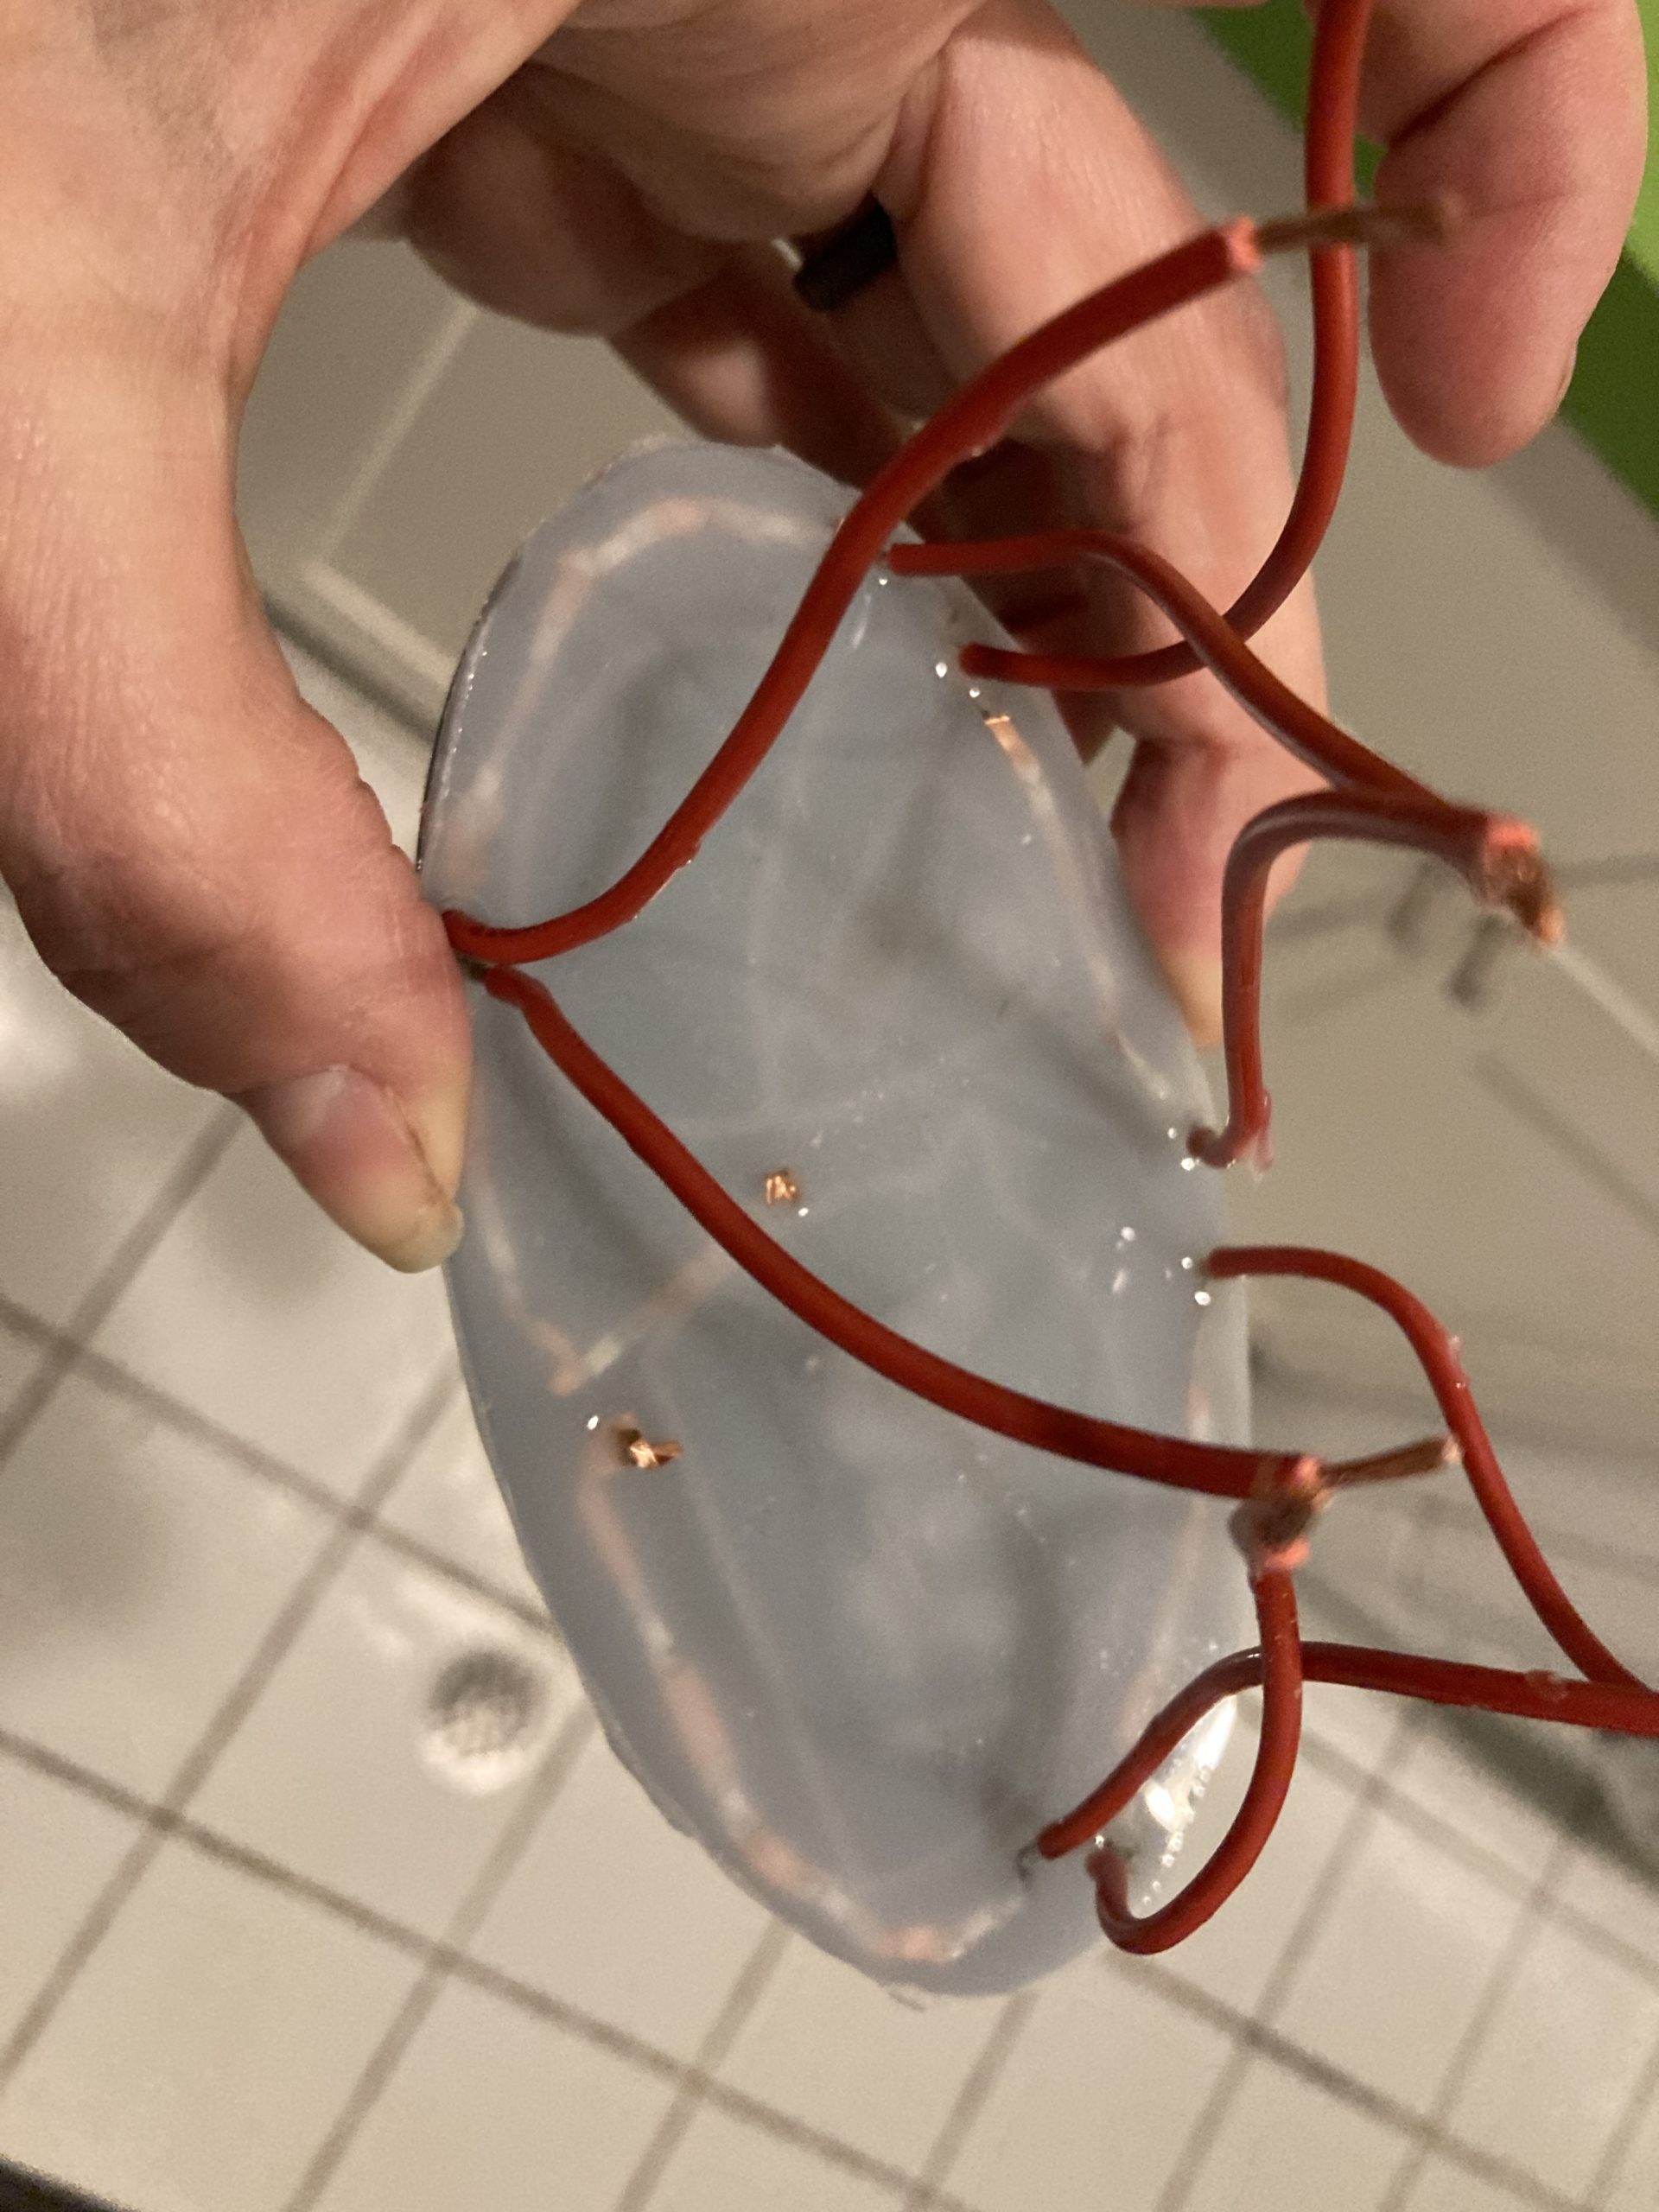
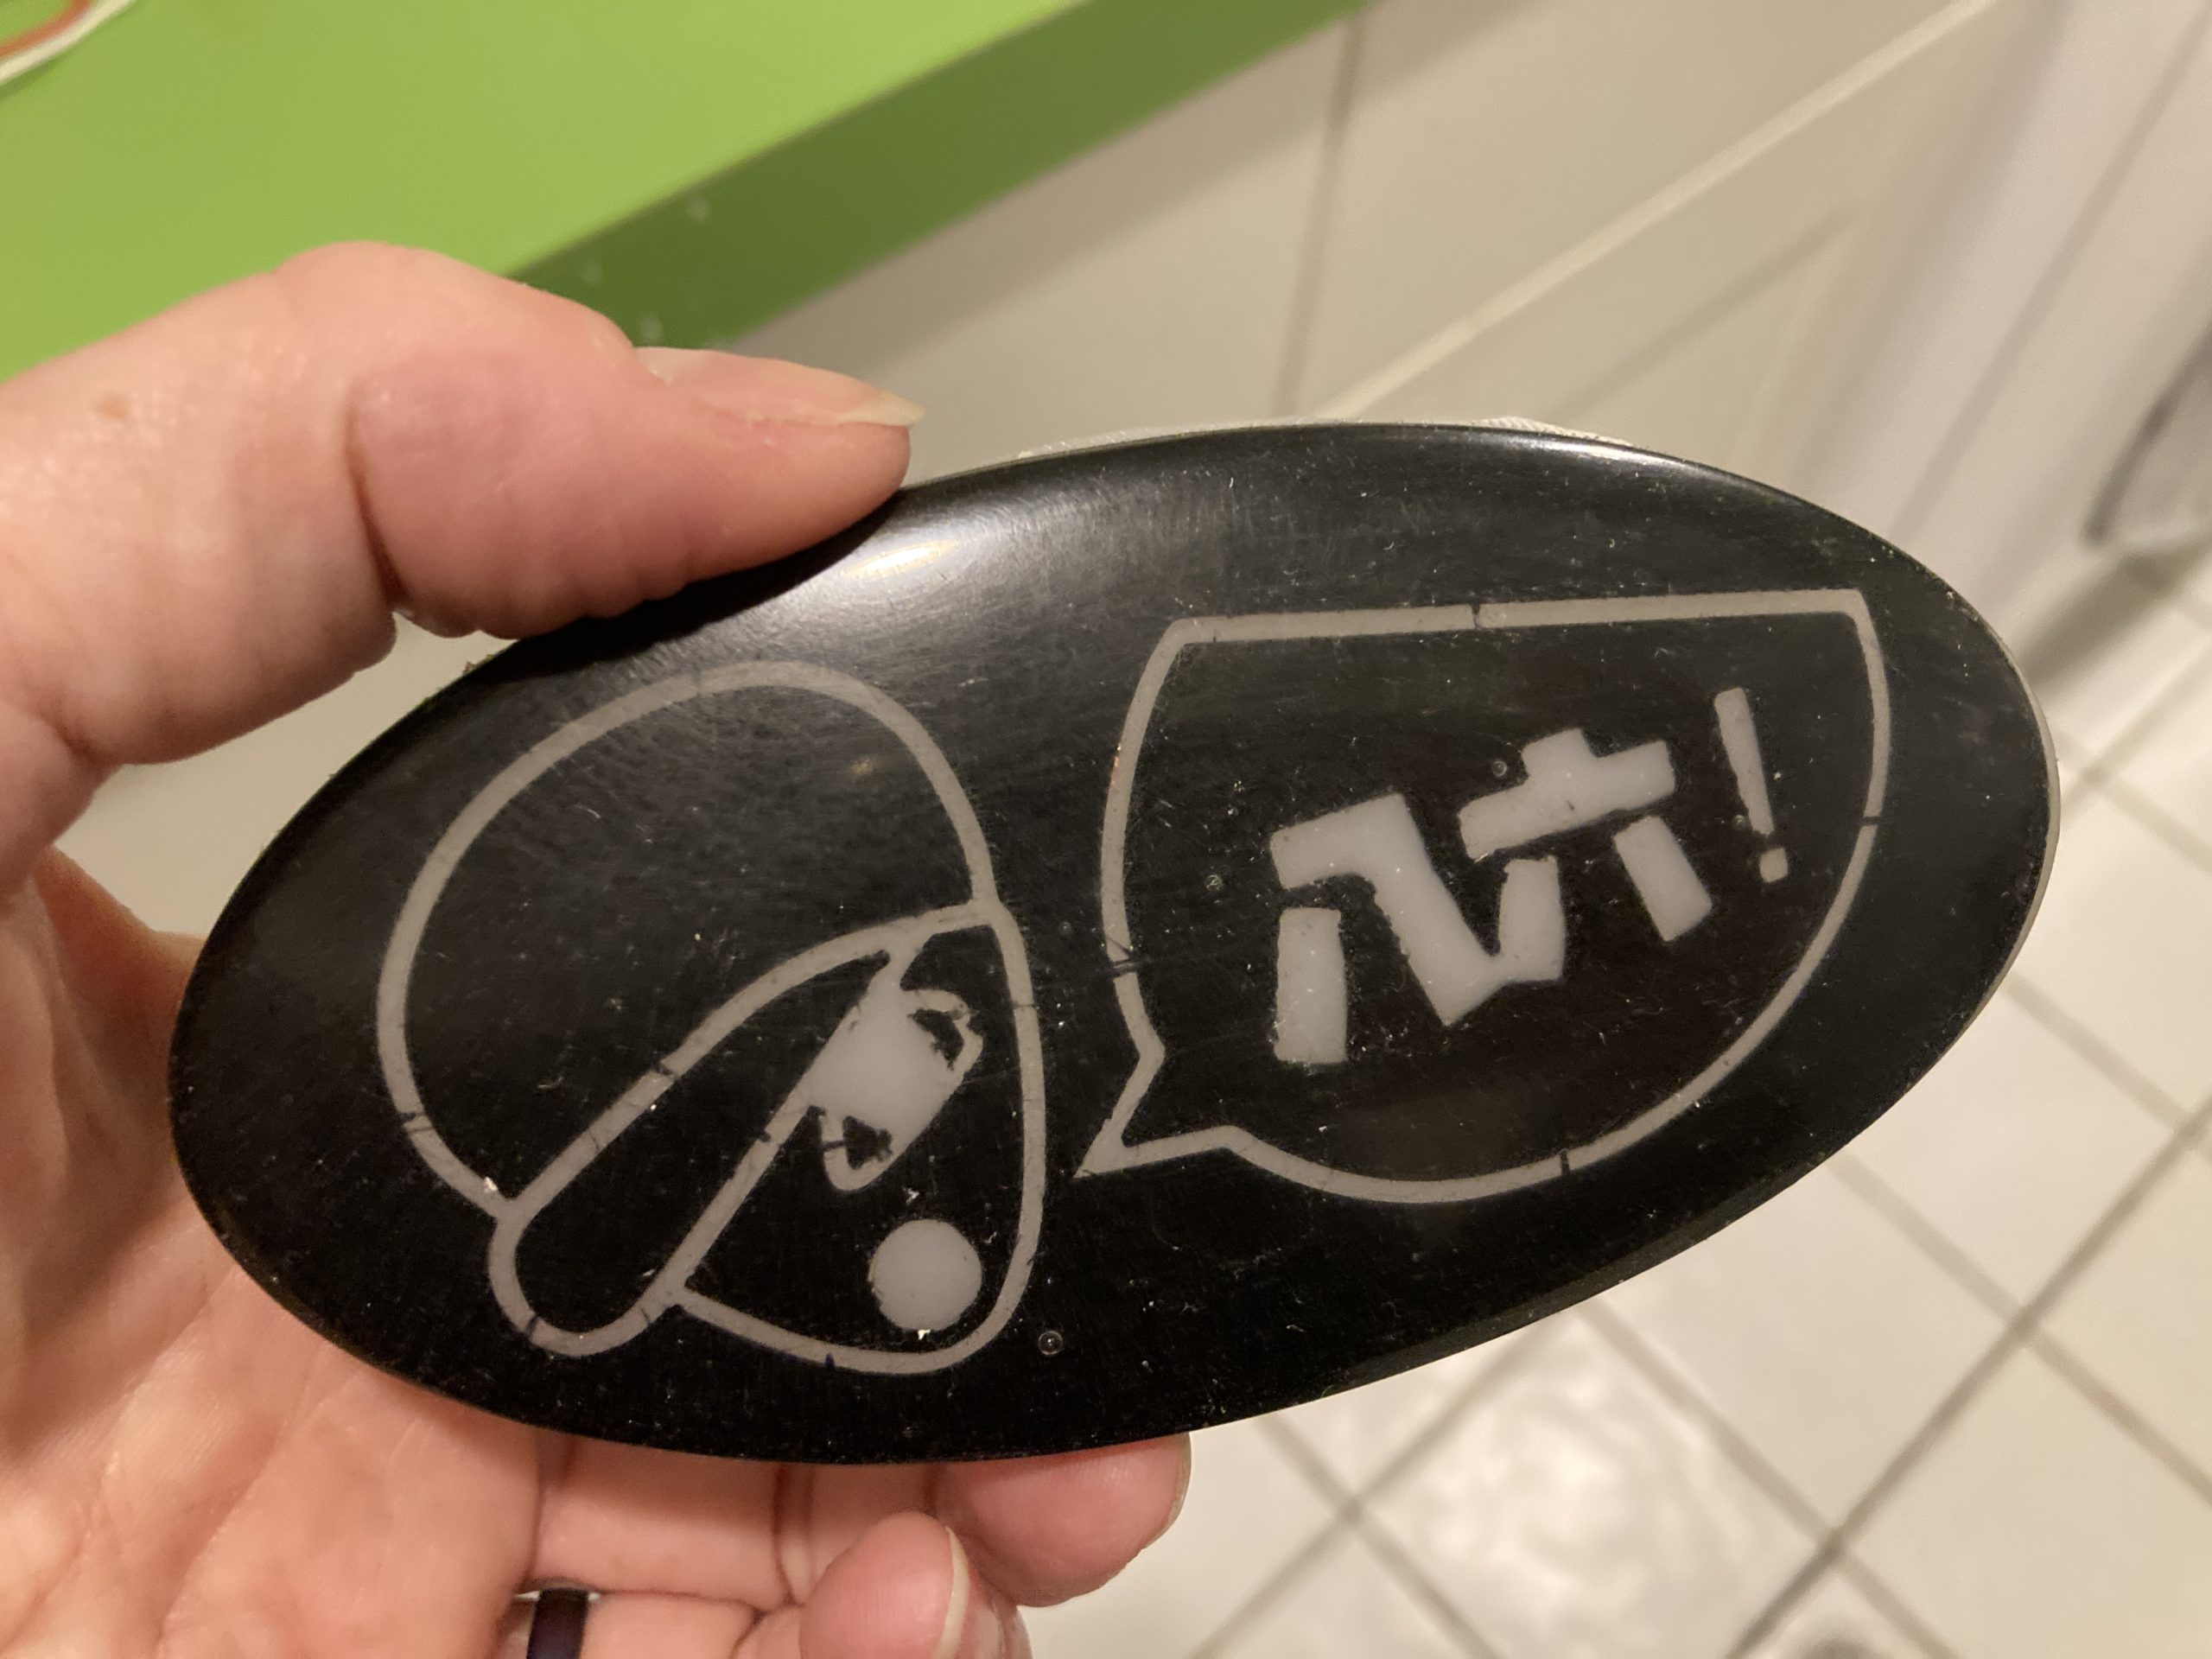
Epoxy potted LEDs in a badge prototype. Clearly need more LEDs. Also need a custom PCB and Neopixels. If I can pull this off, it will be Arduino powered and repeat my brake and reverse lights. Making the badge itself is the hard part.


I am owning this now.
I just want you to know.
Extreme Crafting is the use of tools traditionally used for decorative arts (crafting) to make functional stuff. Said functional stuff may be pretty. Or not. Who cares.
Did you cut a waterpump gasket on your Cricut? Did you patch your plastic intake manifold with rainbow glitter epoxy over a 3D printed base layer? Did you make structural textiles to replace something else?
If you can do it on the Minecraft crafting table, you can Extreme Craft!
The 3D printing thing escalated quickly.
I figured out how to make robot wheels.
- Print a mould. I used PETG as it polishes up nice and holds the mould release agent well. This is for a custom robot wheel. The piece in the middle with come with the urethane when I break it out. The center fits on a 1/2″ hex shaft and the little notches are to hold the urethane better. I used Smooth-On Universal Mould Release for the agent.
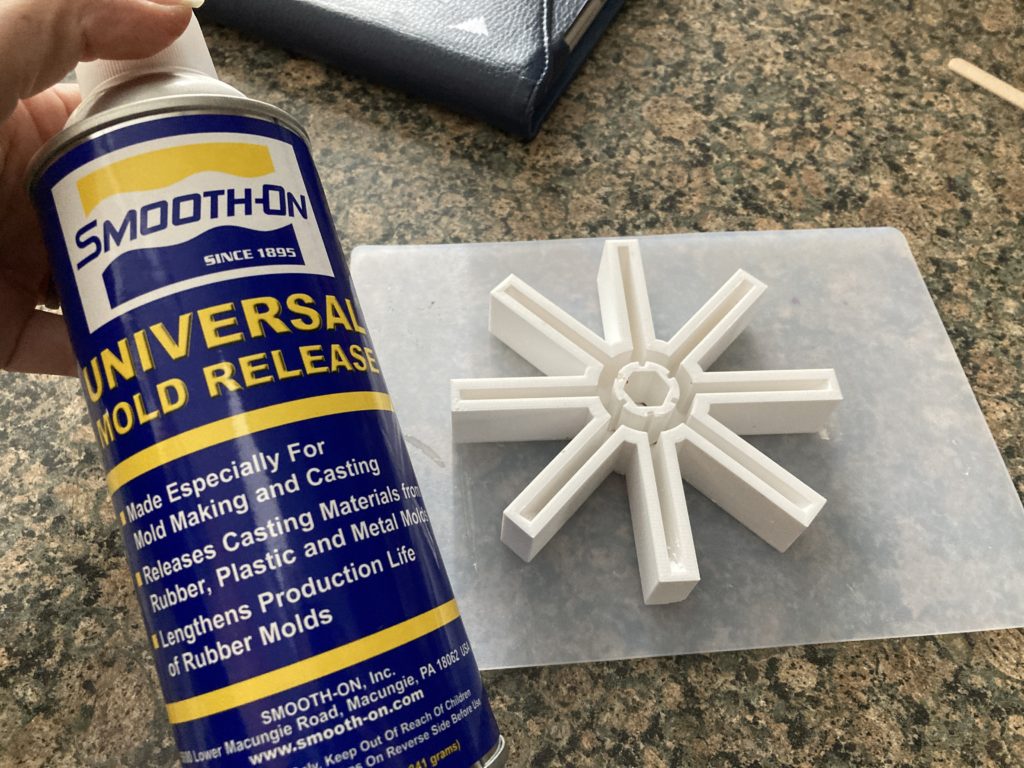
2. After spraying the mould with mould release, I made up the urethane rubber. I used PMC-744, a 44A Shore compound. It’s quite floppy, which is perfect because this wheel needs to be ultra compliant.

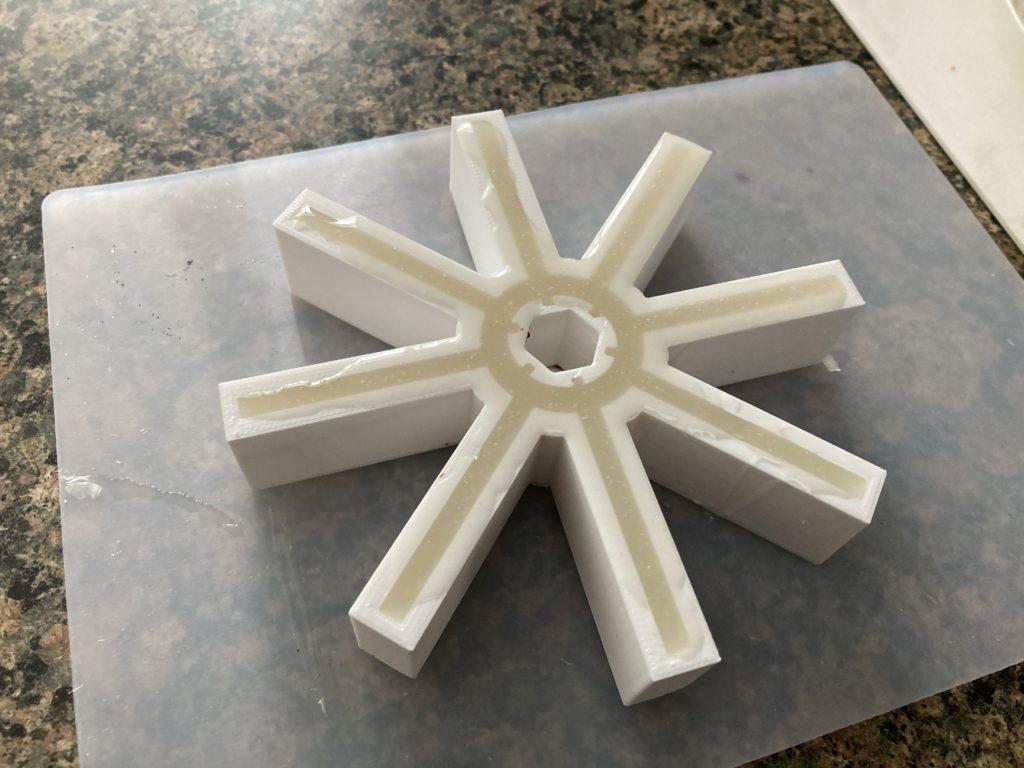
3. The urethane is a 2:1 mix, and I made 75gr which turned out to be twice what I needed. I need to get better at estimating how much resin I need by doing volume calcs or just filling with water and weighing.

4. Next step is the actual pour. I have the mould sitting on a silicone release pad. Parchment paper also works.

5. Next is the poured mould. I have to strike it off to make the sides level and get the rubber evenly distributed. I could pressure cast it, but I do not have a pressure pot. I sometimes vaccum the castings to get the air out, but not for this test wheel.
6. Last step is to cover it up. Urethanes STINK, so controlling the environment is really useful. Thankfully I have some leftover Gladware to do the job. A few of the Gladware containers are really handy if you craft a lot.

I’ll post up the wheel when I pull it tomorrow!