
The 3D printing thing escalated quickly.
I figured out how to make robot wheels.
- Print a mould. I used PETG as it polishes up nice and holds the mould release agent well. This is for a custom robot wheel. The piece in the middle with come with the urethane when I break it out. The center fits on a 1/2″ hex shaft and the little notches are to hold the urethane better. I used Smooth-On Universal Mould Release for the agent.
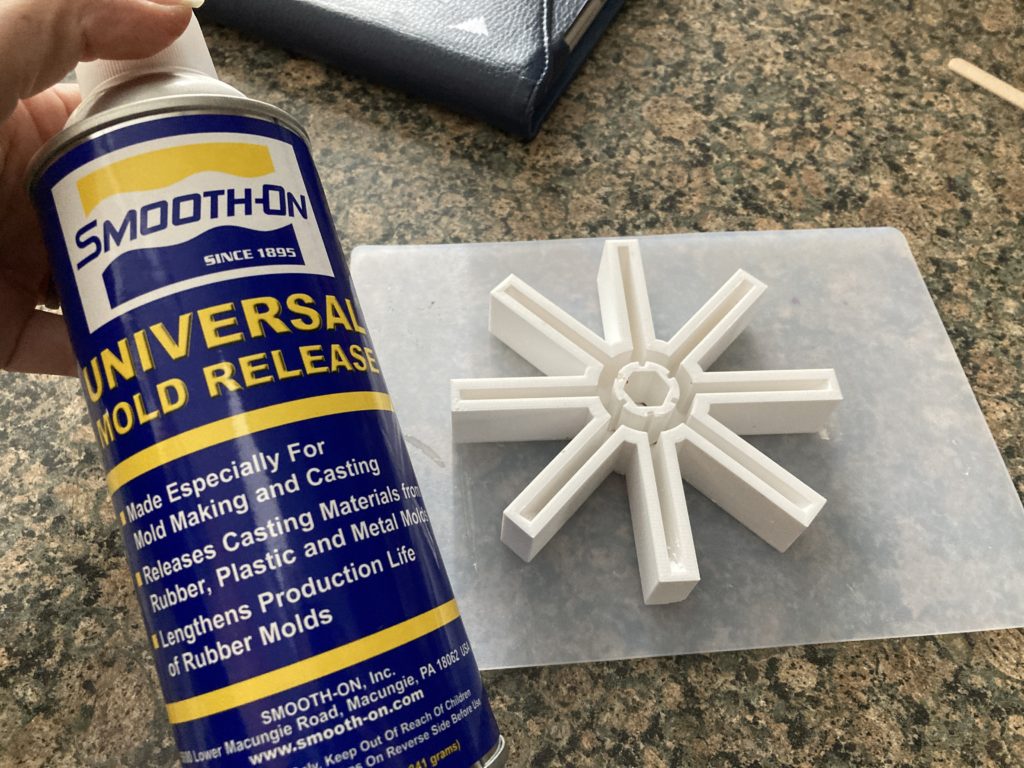
2. After spraying the mould with mould release, I made up the urethane rubber. I used PMC-744, a 44A Shore compound. It’s quite floppy, which is perfect because this wheel needs to be ultra compliant.

3. The urethane is a 2:1 mix, and I made 75gr which turned out to be twice what I needed. I need to get better at estimating how much resin I need by doing volume calcs or just filling with water and weighing.

4. Next step is the actual pour. I have the mould sitting on a silicone release pad. Parchment paper also works.

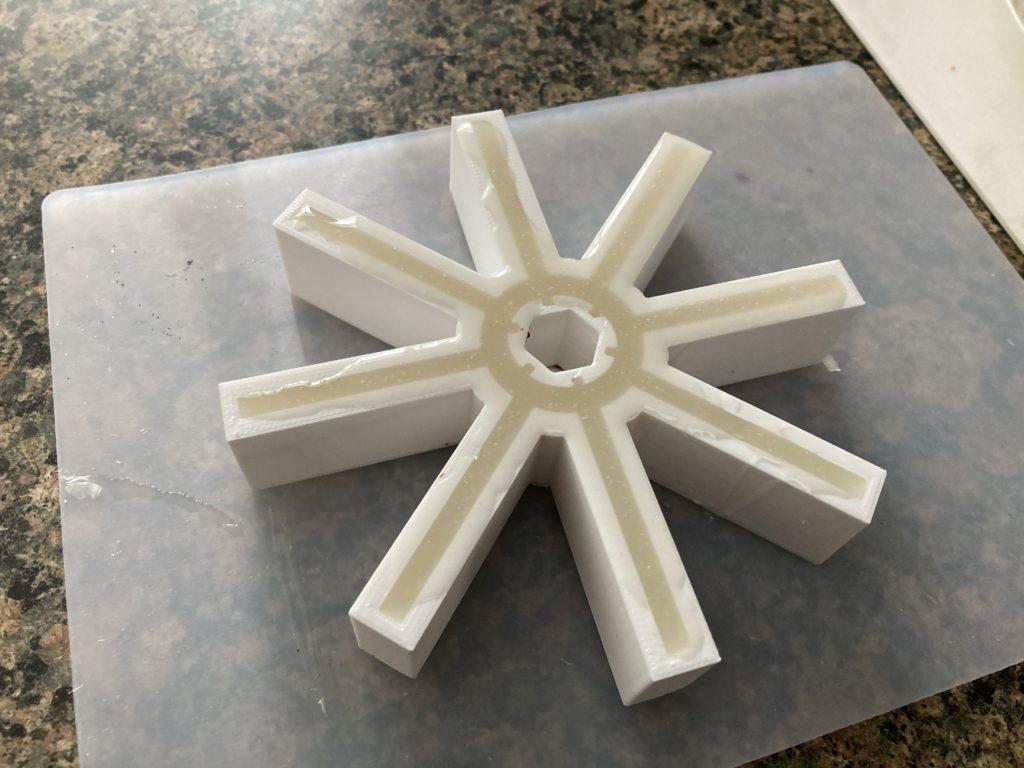
5. Next is the poured mould. I have to strike it off to make the sides level and get the rubber evenly distributed. I could pressure cast it, but I do not have a pressure pot. I sometimes vaccum the castings to get the air out, but not for this test wheel.
6. Last step is to cover it up. Urethanes STINK, so controlling the environment is really useful. Thankfully I have some leftover Gladware to do the job. A few of the Gladware containers are really handy if you craft a lot.

I’ll post up the wheel when I pull it tomorrow!