
Breakfast at the Gasthof Wilder Mann is the deciding factor, we choose to leave our side cases and return later in the evening for a second night. This day’s ride is the first of two “escape” loops planned into the trip to allow us to expand or contract the distance as needed. The ride begins with an airy sense of lightness – with no luggage, the bikes are each about 25kg lighter. We stop for fuel a few kms north in Prutz, adding 229,8kms for a total of 1216,1km. We continue north on 180 to L76, and pick up 171 in Landeck. Following the advice of the two guidebooks we have read, we turn south on 188 toward the Silvaretta Hochalpenstraße.
The ascent includes an 11€ toll for motorcyclists. The long, winding approach to the pass is easy, with a view of moss-covered rockfaces and small streams. At the top of the Silvaretta is a large retention lake, the Bielerhöhe, and the Piz Buin hotel. Piz Buin is a well-known European sunscreen brand, but we find no sun. We are deep into the first of two very rainy days that will challenge our gear more than ourselves.

Coming down the west side of the Silvaretta Hochalpenstraße, we find tree trimmers. The road is littered with tree branches and leaves, making the riding more interesting on this side. The scenery is a mix of deciduous trees and pines, with nearly all of the road edges forested. We agree that aside from the trees, the descent was far more fun and interesting than the ascent.
From Silvaretta, we follow the 188 to Bludenz and find the L82 that will take us to the Brandertal. The Brandertal is a dead end ascent that ends at the Lunarsee gondola lift. The ascent is technical and fun, until we encounter a cattle transporter that nearly forces us off the road. We keep our eyes up and ride it out, with 10cm of road to the right and maybe 20cm of space to the left. This becomes the new discussion topic. We stop at the top to admire the mountain and scratch around in the dirt. Shout out to the ADV crowd! On the way down, we stop at the Schattenlagenhütte for a light lunch. Conveniently, they have a lovely ceramic stove that serves as a helmet and glove dryer.


We return to Bludenz without encountering any more cattle transporters, and find the 913, as we hope to make our way to the Faschinajoch and …. Unfortunately, we find a sign indicating closure of the road from Blons to Sonntag, which means we will have to skip these two passes. We are disappointed, but not completely, the weather is cold and unforgiving, so we return to Bludenz to pick up the shortened version of the loop.
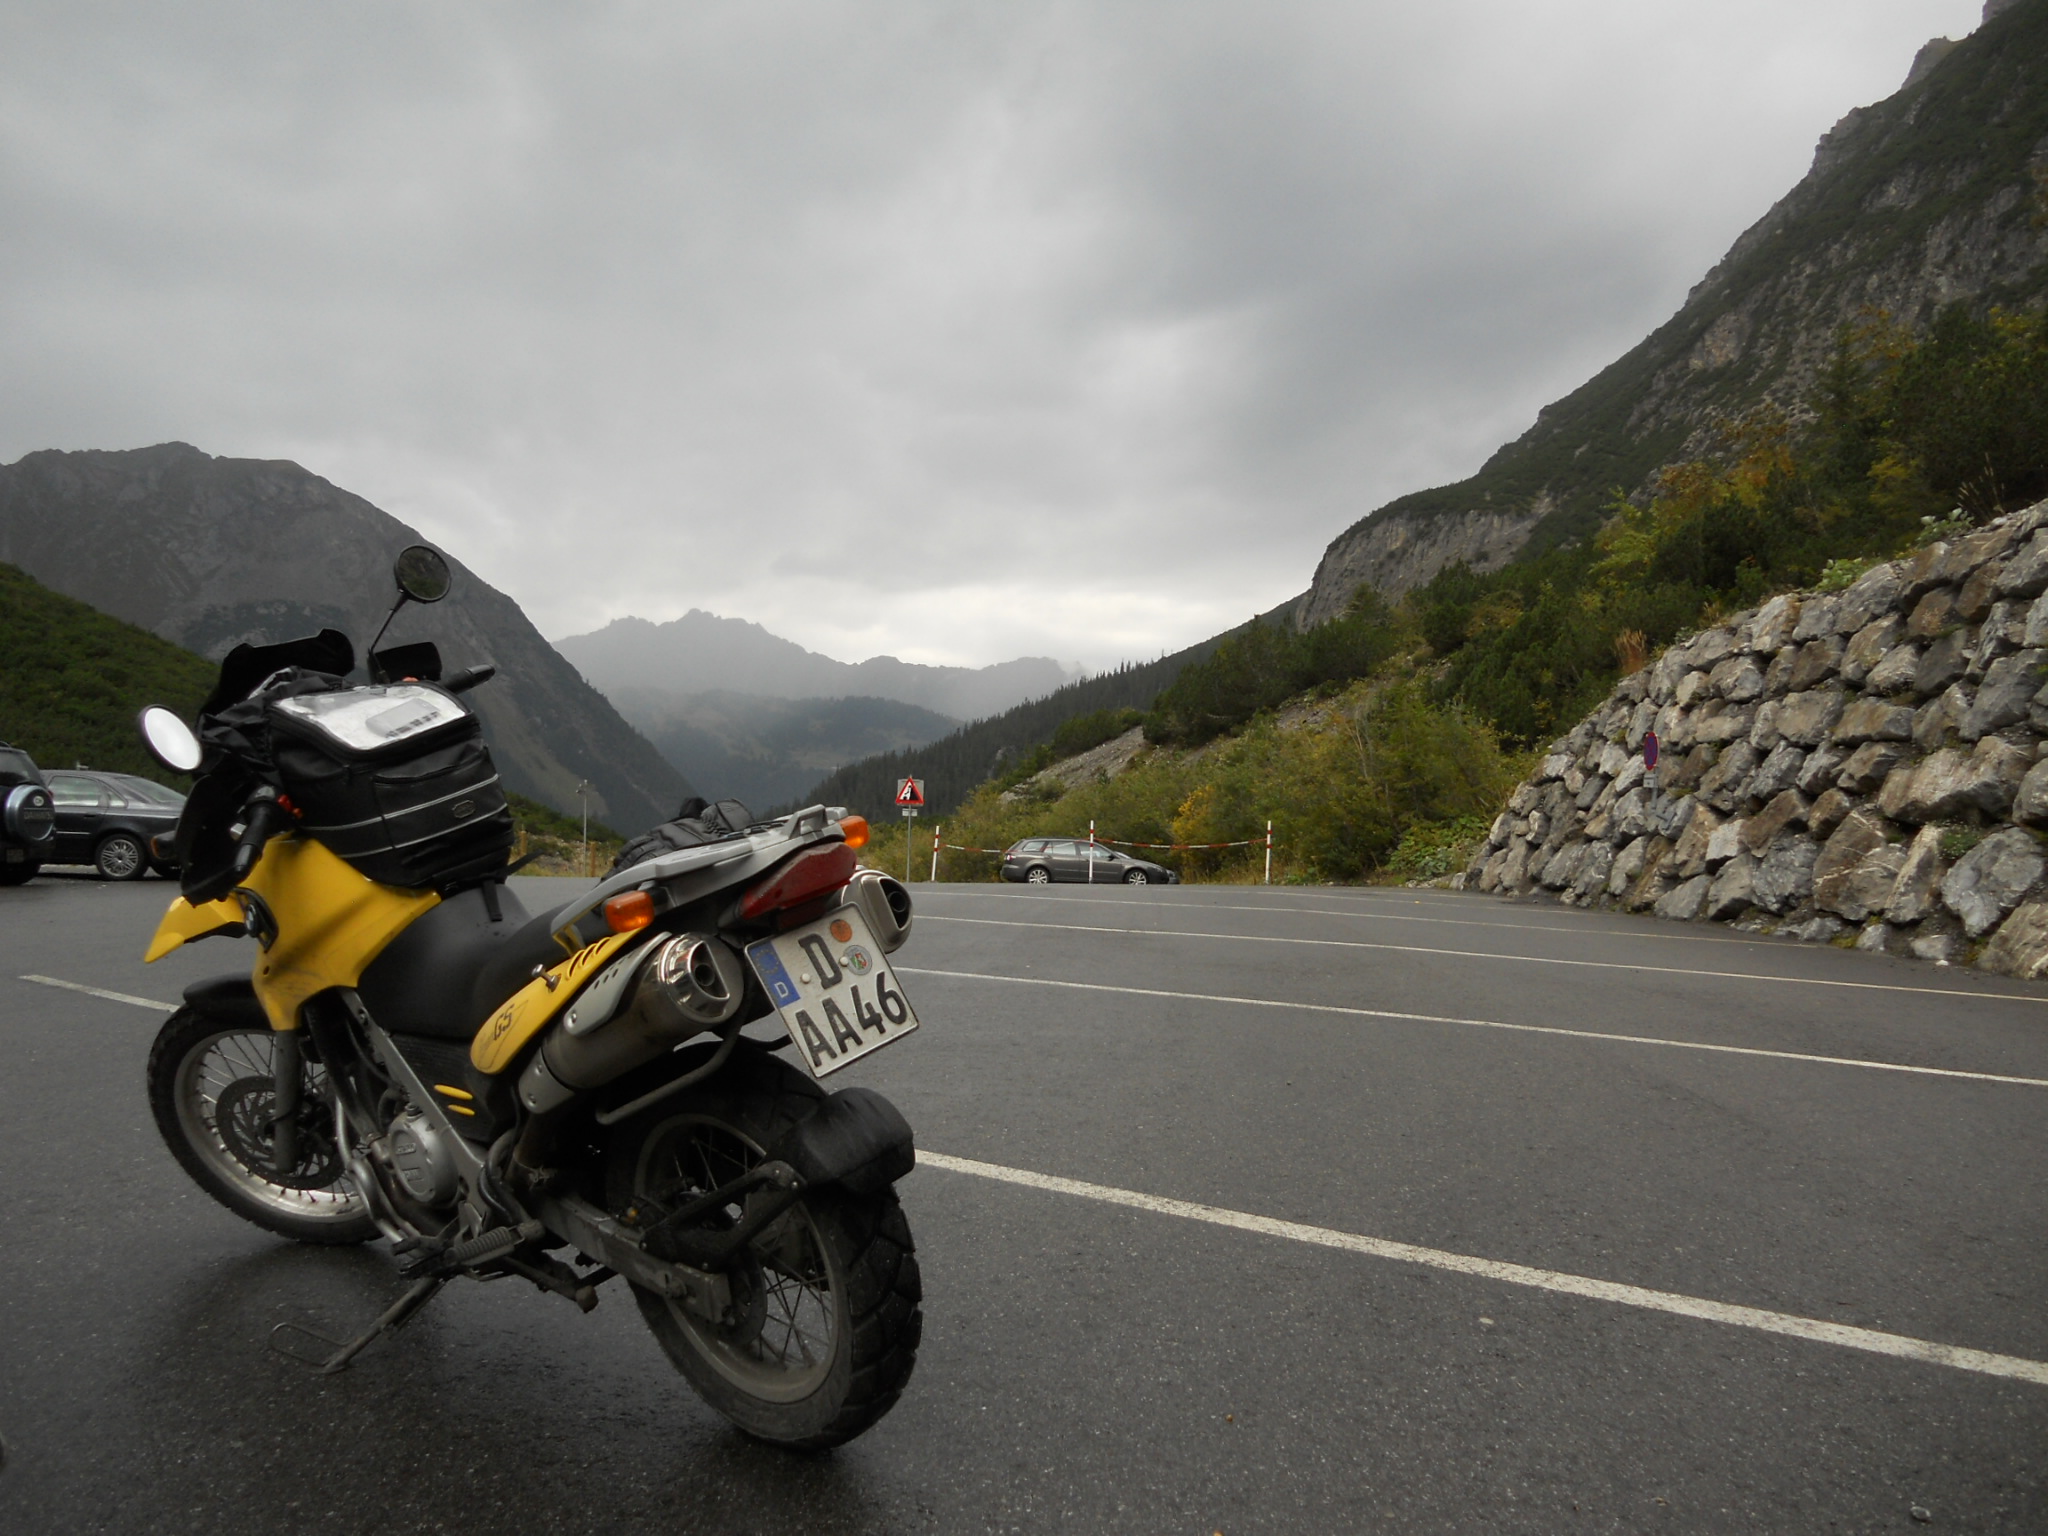
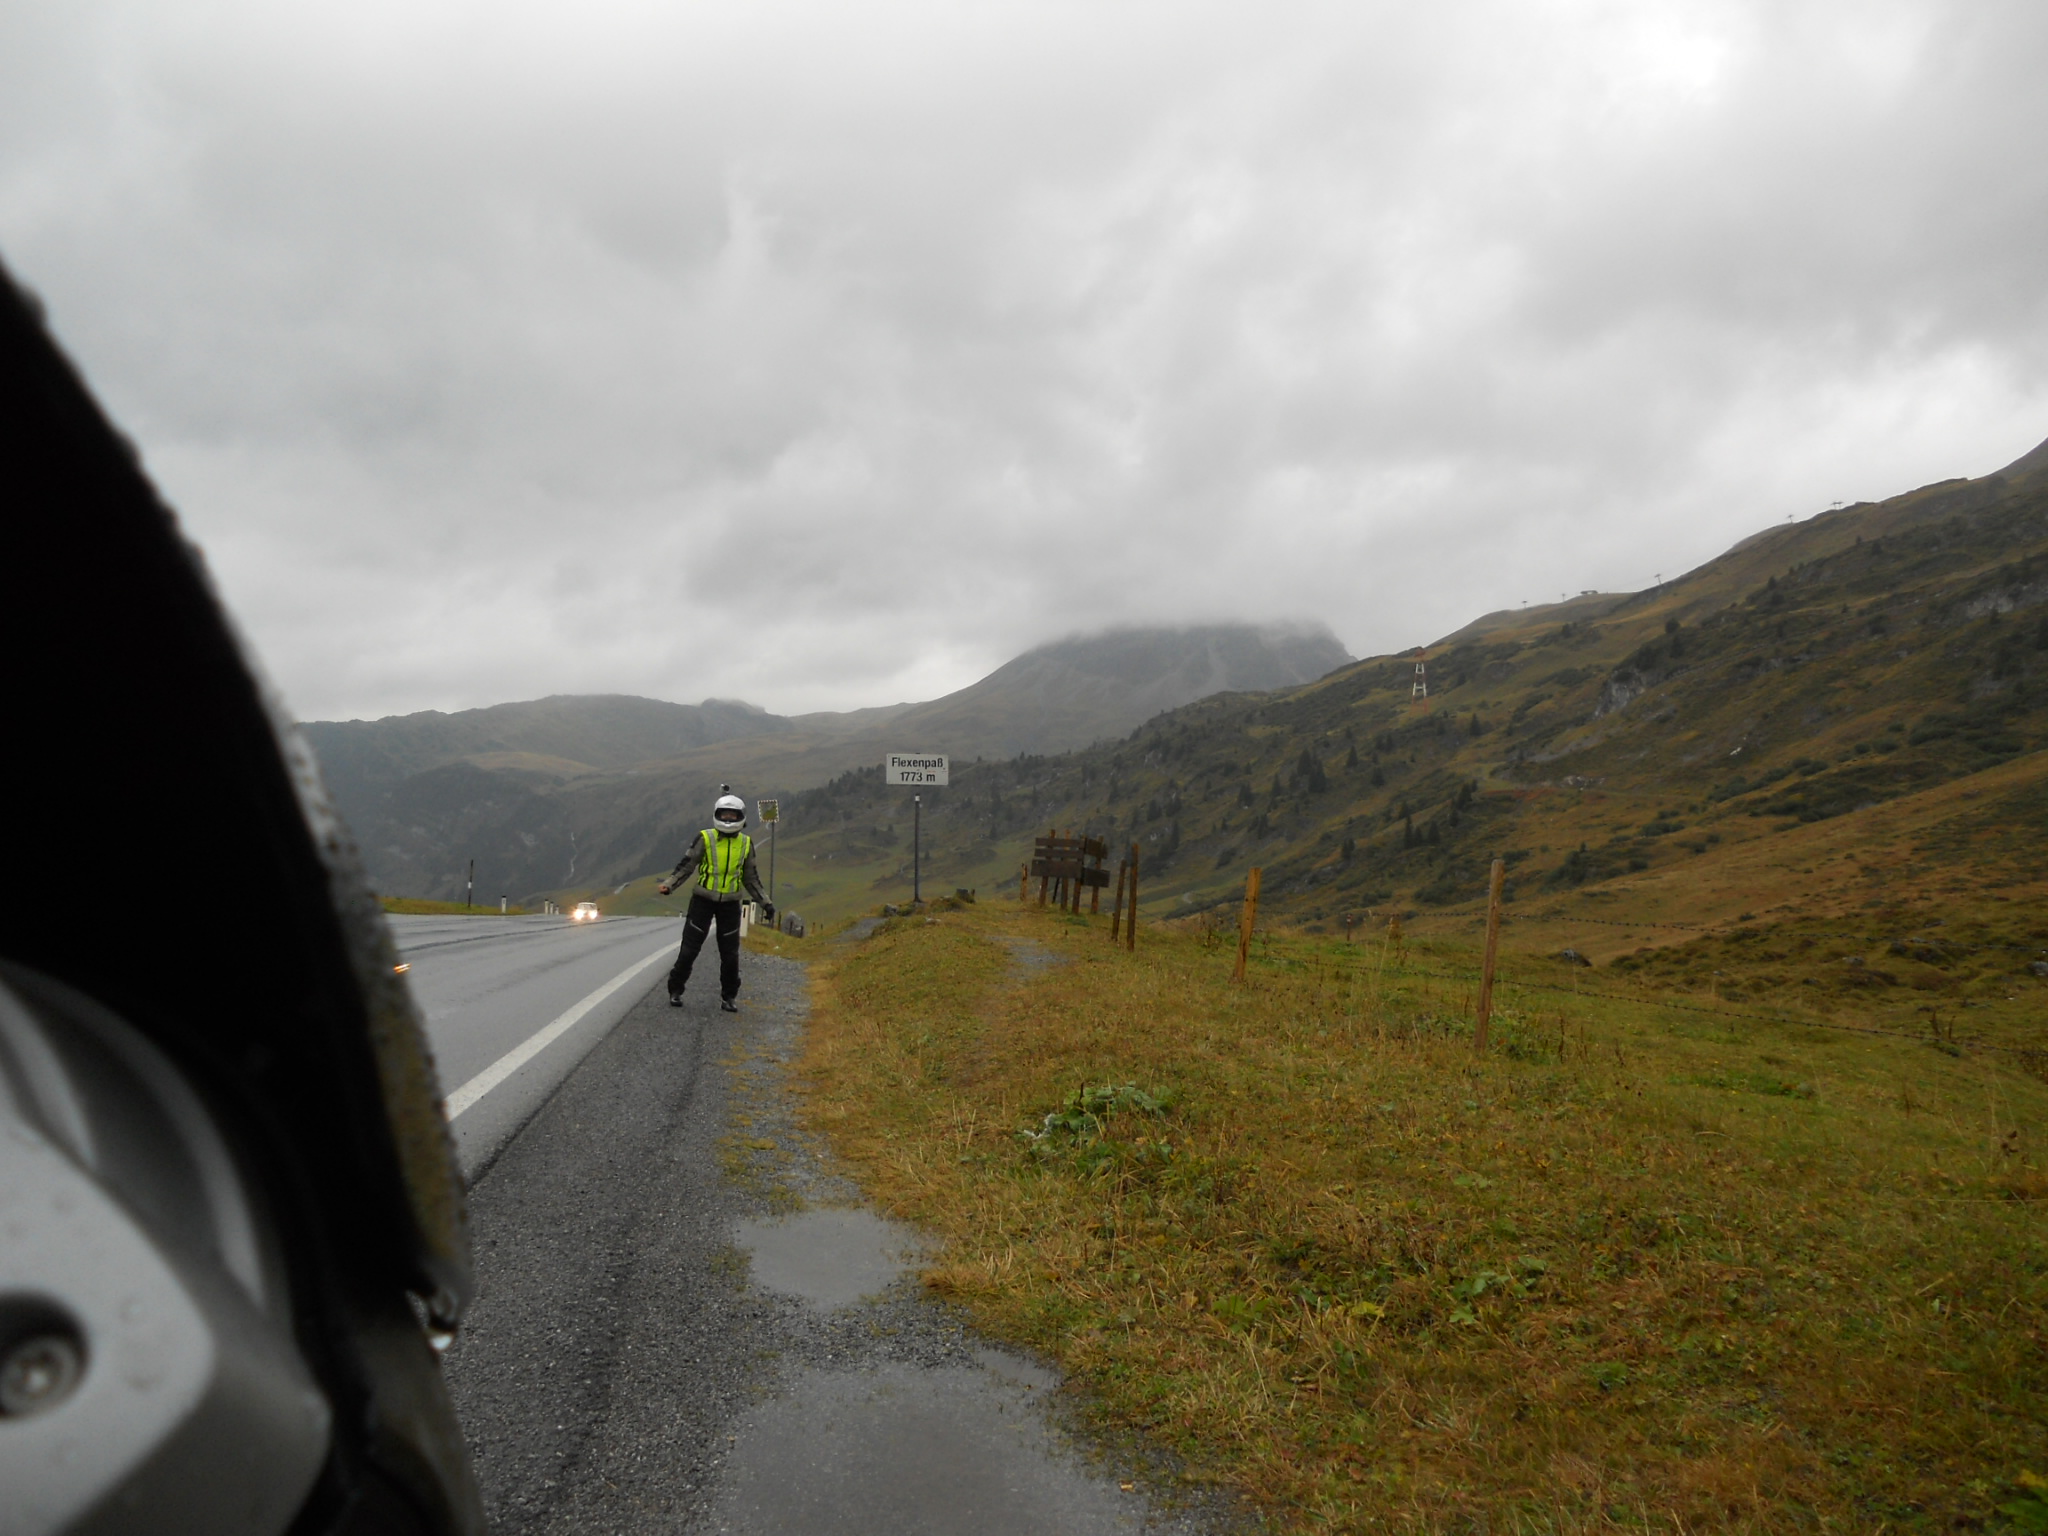
Following the L97, we proceed east. My partner chooses to return to the Wilder Mann, and has an adventure with the Autobahn. We have not purchased vignettes – the small toll stickers required in every country other than Germany – and have carefully planned to avoid all Autobahns. The only quick way back to the Gasthof is the Autobahn, and she sweet-talks her way out of the toll plaza at the end of the (very warm) Arlberg Tunnel and avoids the fine and vignette cost. I proceed on the L97 after my own Autobahn detour due to construction and pick up the 197, turning north on the 198 to Lech in pursuit of the Flexenpass. The ride up is beautiful even in the rain, with long rock-hewn avalanche galleries that are being renovated. Traffic delays of up to fifteen minutes are expected, but no more than five minutes for me. I ride into the gallery with a group of Swiss riders while we wait for the Touran behind us to flash us forward. Returning from the pass, I wait no more than a few minutes to descend through the tunnels again. I regain the 197 and stop at the Arlberg Passhohe to collect stickers and postcards.

We rejoin at the Wilder Mann for a second delicious dinner and sleep away the cold rain of the day.


 I wanted to try something sportier and smaller, but also, something that was a bit taller.