Motorbikes

Breakfast at the Gasthof Wilder Mann is the deciding factor, we choose to leave our side cases and return later in the evening for a second night. This day’s ride is the first of two “escape” loops planned into the trip to allow us to expand or contract the distance as needed. The ride begins with an airy sense of lightness – with no luggage, the bikes are each about 25kg lighter. We stop for fuel a few kms north in Prutz, adding 229,8kms for a total of 1216,1km. We continue north on 180 to L76, and pick up 171 in Landeck. Following the advice of the two guidebooks we have read, we turn south on 188 toward the Silvaretta Hochalpenstraße.

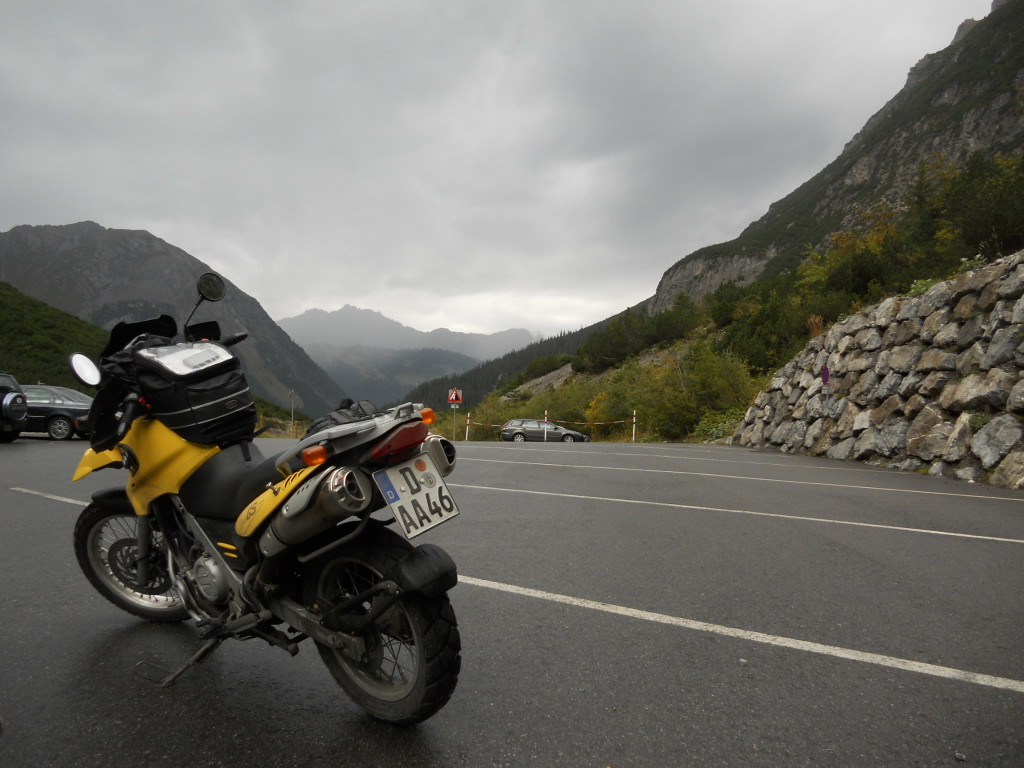
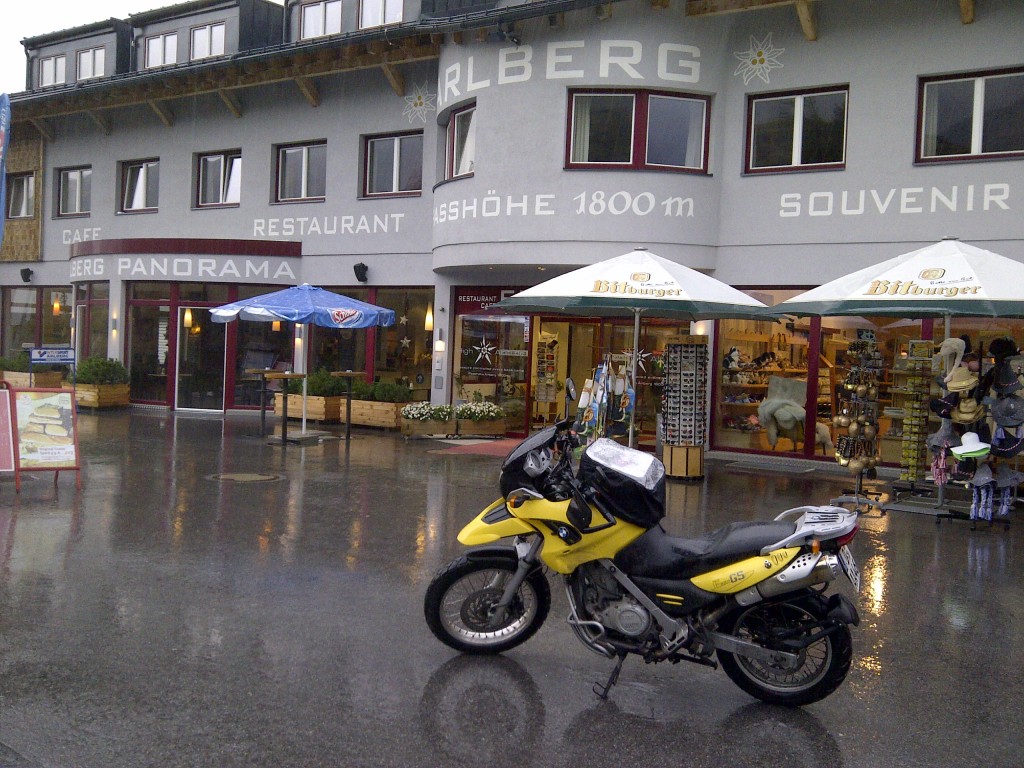
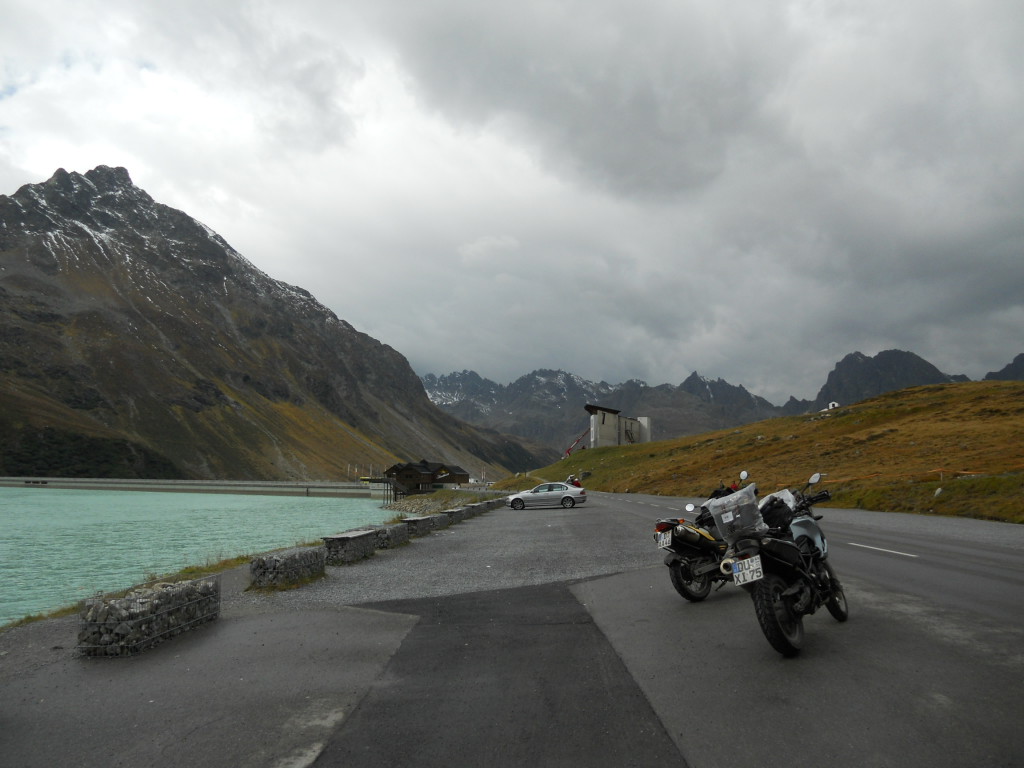
The ascent includes an 11€ toll for motorcyclists. The long, winding approach to the pass is easy, with a view of moss-covered rockfaces and small streams. At the top of the Silvaretta is a large retention lake, the Bielerhöhe, and the Piz Buin hotel. Piz Buin is a well-known European sunscreen brand, but we find no sun. We are deep into the first of two very rainy days that will challenge our gear more than ourselves.

DSCN4145

Coming down the west side of the Silvaretta Hochalpenstraße, we find tree trimmers. The road is littered with tree branches and leaves, making the riding more interesting on this side. The scenery is a mix of deciduous trees and pines, with nearly all of the road edges forested. We agree that aside from the trees, the descent was far more fun and interesting than the ascent.

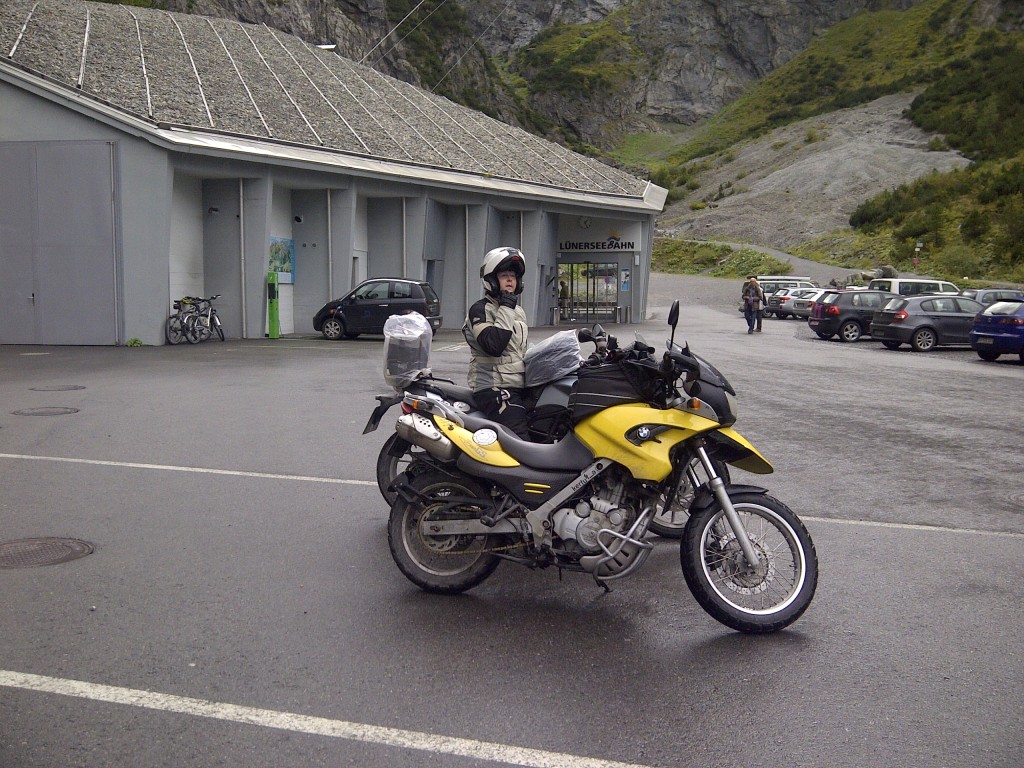
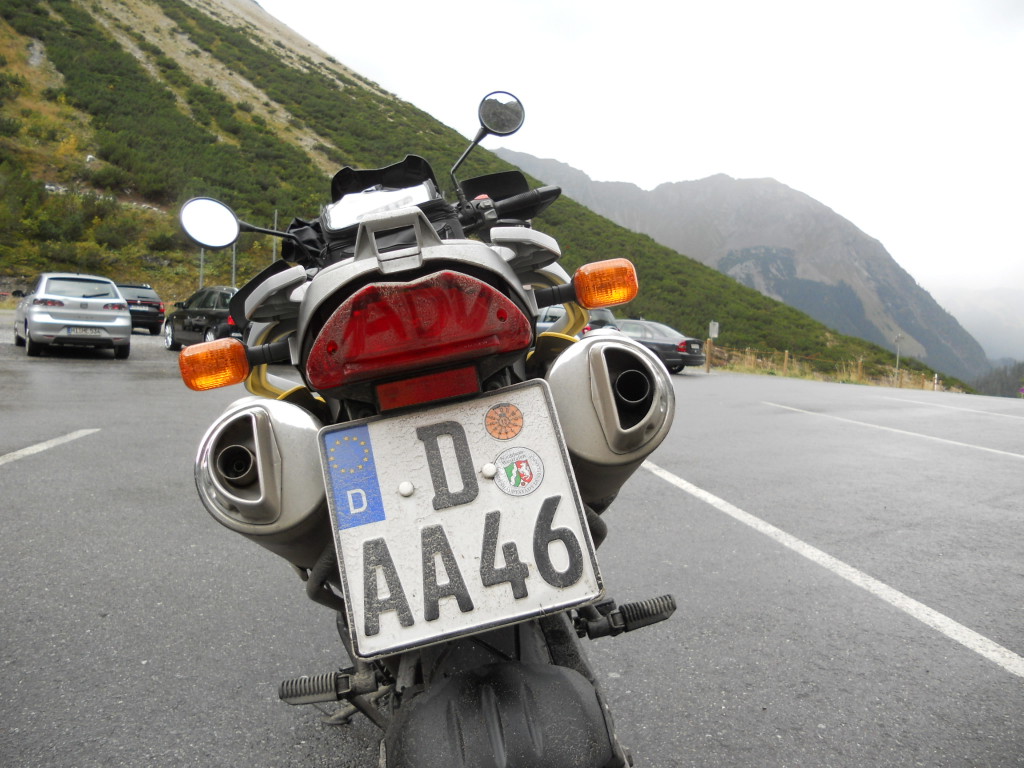
From Silvaretta, we follow the 188 to Bludenz and find the L82 that will take us to the Brandertal. The Brandertal is a dead end ascent that ends at the Lunarsee gondola lift. The ascent is technical and fun, until we encounter a cattle transporter that nearly forces us off the road. We keep our eyes up and ride it out, with 10cm of road to the right and maybe 20cm of space to the left. This becomes the new discussion topic. We stop at the top to admire the mountain and scratch around in the dirt. Shout out to the ADV crowd! On the way down, we stop at the Schattenlagenhütte for a light lunch. Conveniently, they have a lovely ceramic stove that serves as a helmet and glove dryer.

IMG-20130926-00699

DSCN4148

DSCN4151

We return to Bludenz without encountering any more cattle transporters, and find the 913, as we hope to make our way to the Faschinajoch and …. Unfortunately, we find a sign indicating closure of the road from Blons to Sonntag, which means we will have to skip these two passes. We are disappointed, but not completely, the weather is cold and unforgiving, so we return to Bludenz to pick up the shortened version of the loop.

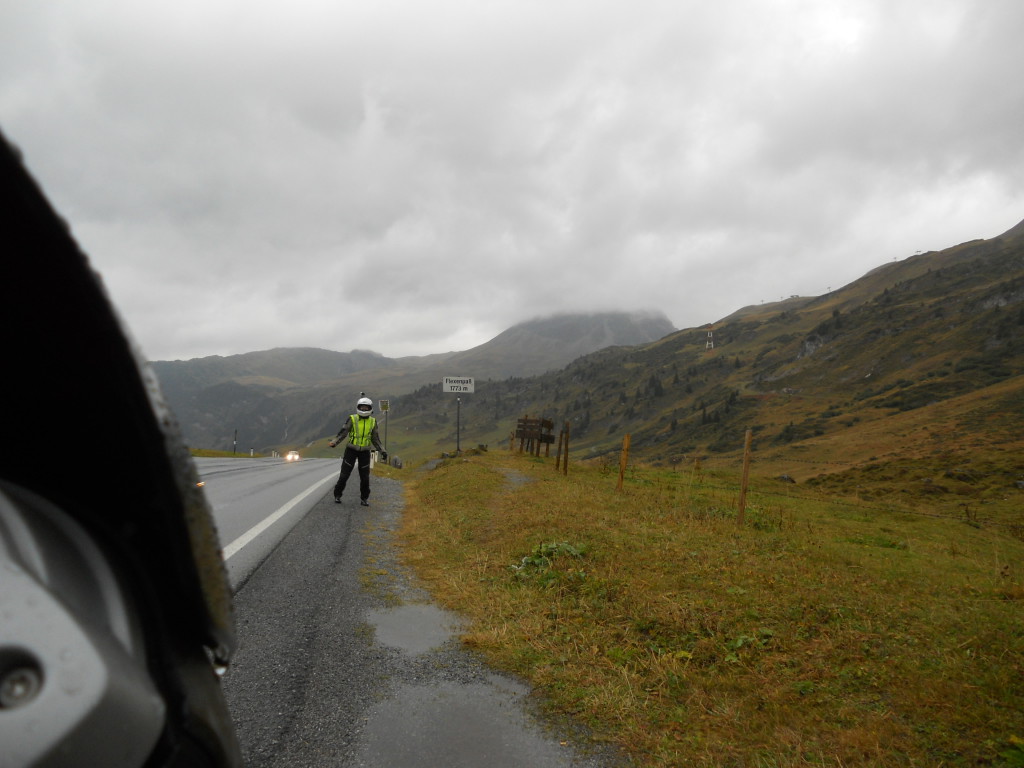
Following the L97, we proceed east. My partner chooses to return to the Wilder Mann, and has an adventure with the Autobahn. We have not purchased vignettes – the small toll stickers required in every country other than Germany – and have carefully planned to avoid all Autobahns. The only quick way back to the Gasthof is the Autobahn, and she sweet-talks her way out of the toll plaza at the end of the (very warm) Arlberg Tunnel and avoids the fine and vignette cost. I proceed on the L97 after my own Autobahn detour due to construction and pick up the 197, turning north on the 198 to Lech in pursuit of the Flexenpass. The ride up is beautiful even in the rain, with long rock-hewn avalanche galleries that are being renovated. Traffic delays of up to fifteen minutes are expected, but no more than five minutes for me. I ride into the gallery with a group of Swiss riders while we wait for the Touran behind us to flash us forward. Returning from the pass, I wait no more than a few minutes to descend through the tunnels again. I regain the 197 and stop at the Arlberg Passhohe to collect stickers and postcards.

DSCN4153

Sankt Anton am Arlberg-20130926-00701

We rejoin at the Wilder Mann for a second delicious dinner and sleep away the cold rain of the day.

From the cozy Hotel Therme, we head south for about 20km to warm up. The route, the Strada Statale dello Stelvio (SS38), takes us through a series of long avalanche tunnels that protected not only our bikes, but our eyes. To return, we try the road running along side of the Flume Adda, the river that brings water down the mountain through Parco Nazionale dello Stelvio. This is far brighter and we get to see the small towns that dot the riverside. Once back through Bormio, the ascent begins. The big day is officially upon us. I’ve planned a shorter stretch so that we have maximum time to soak up the whole Stelvio experience.

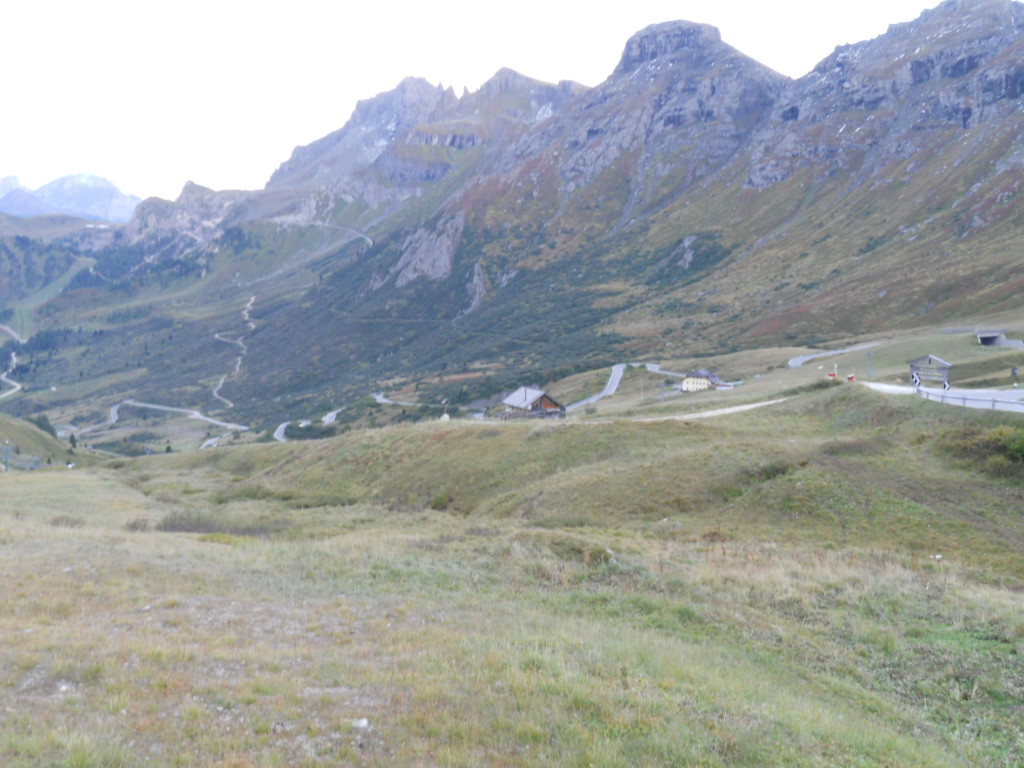
The southwest ramp of Passo dello Stelvio is unjustifiably overlooked. While it is nowhere near the technical challenge that the northeast ramp is, it is still a beautiful, curvy road with plenty of visual interest and technical offering in the form of 39 tornante and beautiful avalanche galleries cut into the rock of the mountain. Near the top is a long flat run featuring uninhabited buildings and livestock. It is surprising to see the livestock at that height, but there are small grazing herds of more very curious cows.

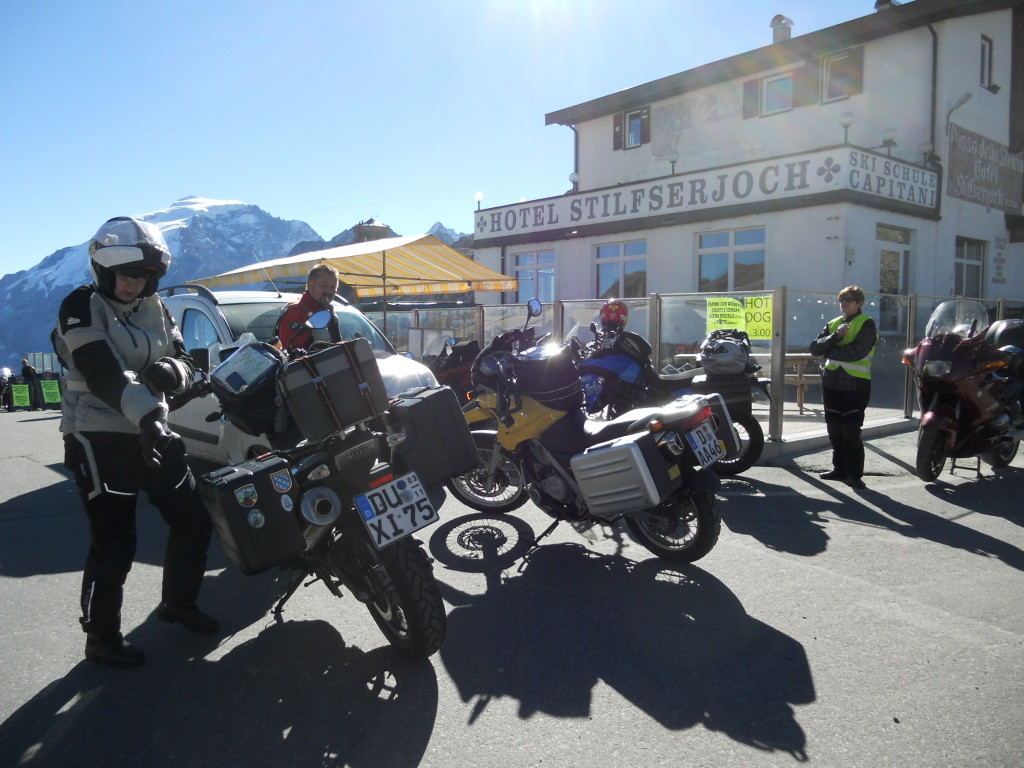
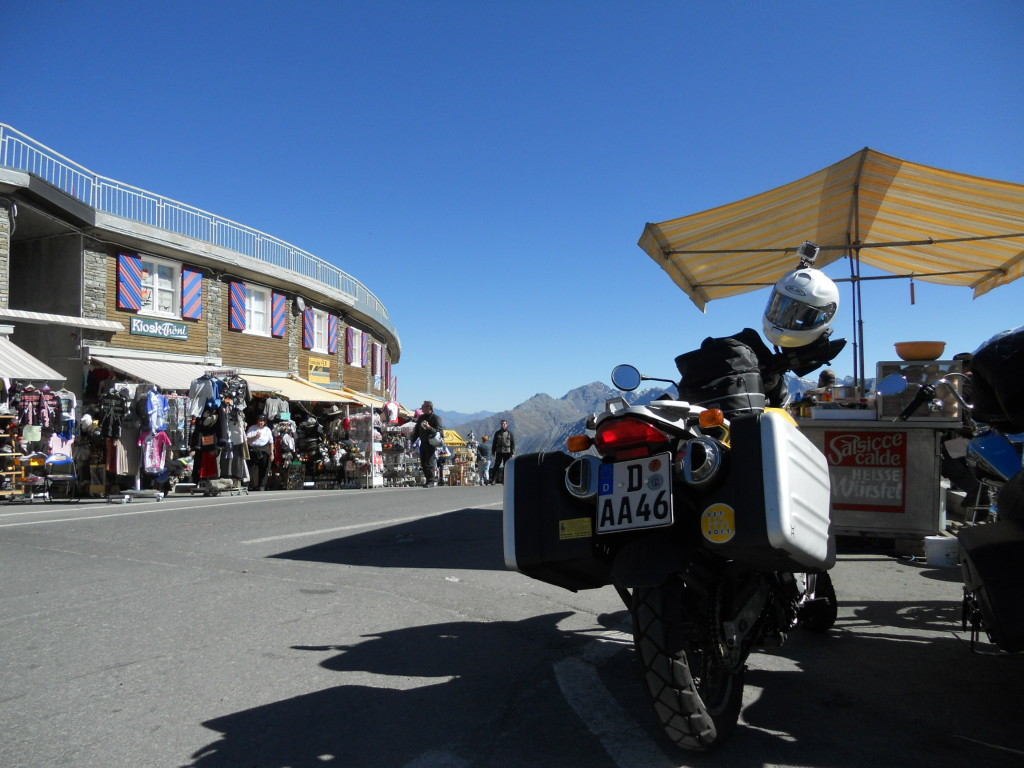
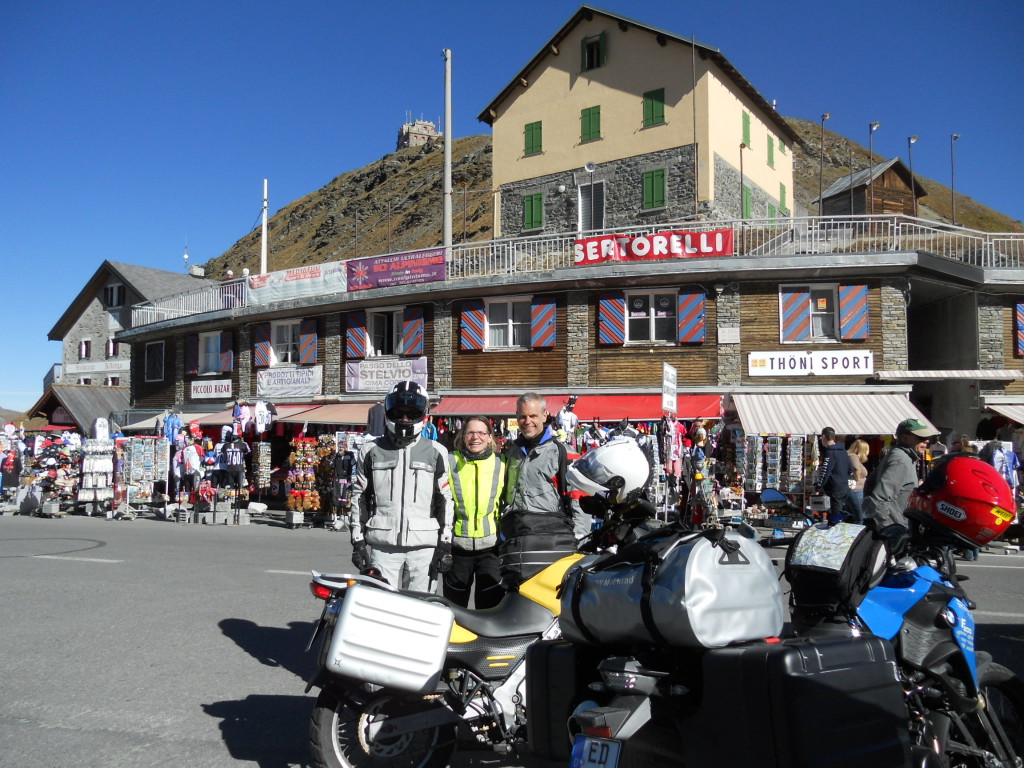
We crest Stelvio and find the circus that is the top of the pass – several hotels, gift shops, and restaurants cater to the visitors braving the ascent. Surprisingly, the hotels charge only 45€ per night, both of us expected much higher prices due to location, and are slightly disappointed that we did not choose to stay up here. We do, however, spend nearly that on stickers and postcards.

DSCN4115

DSCN4126

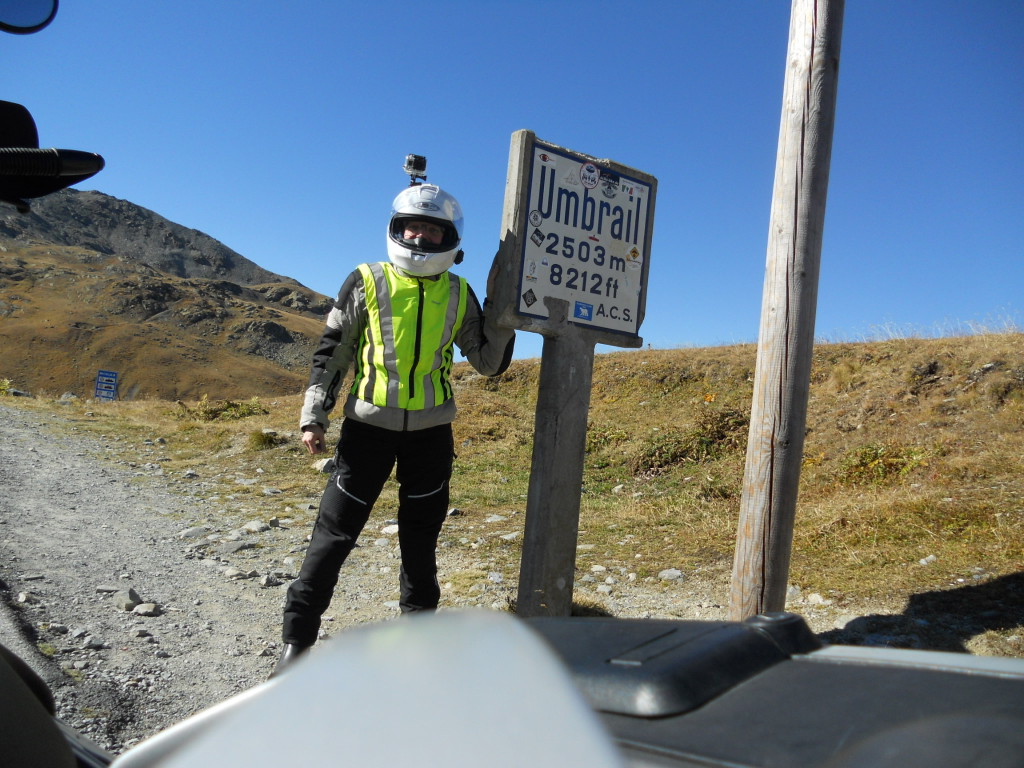
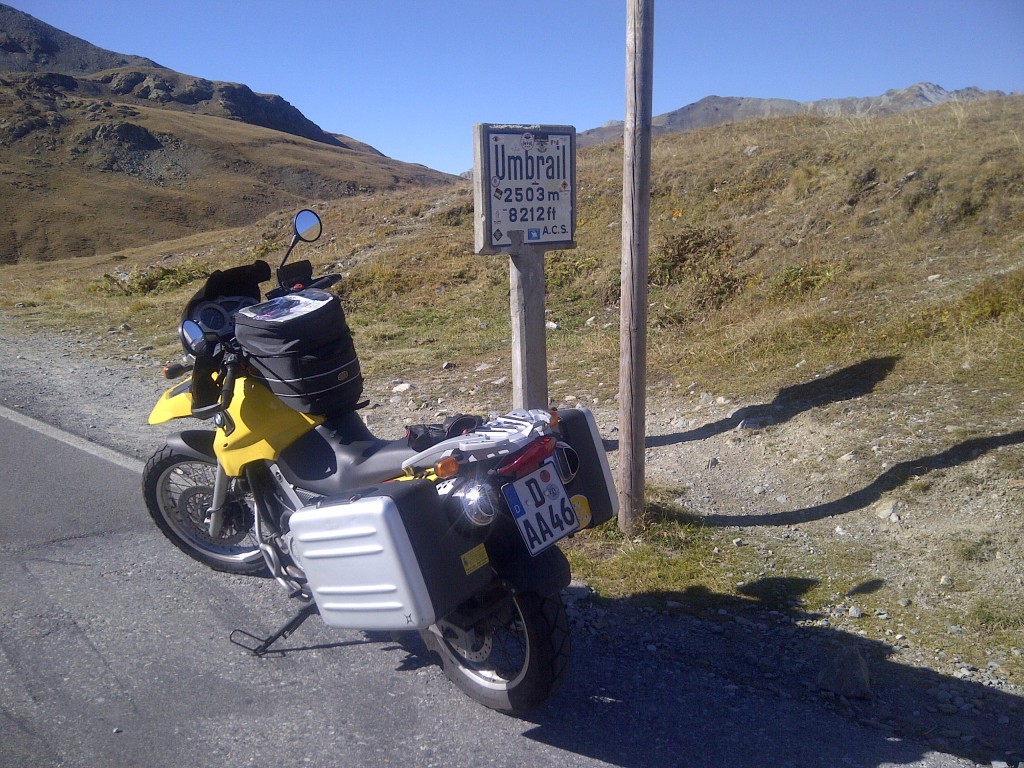
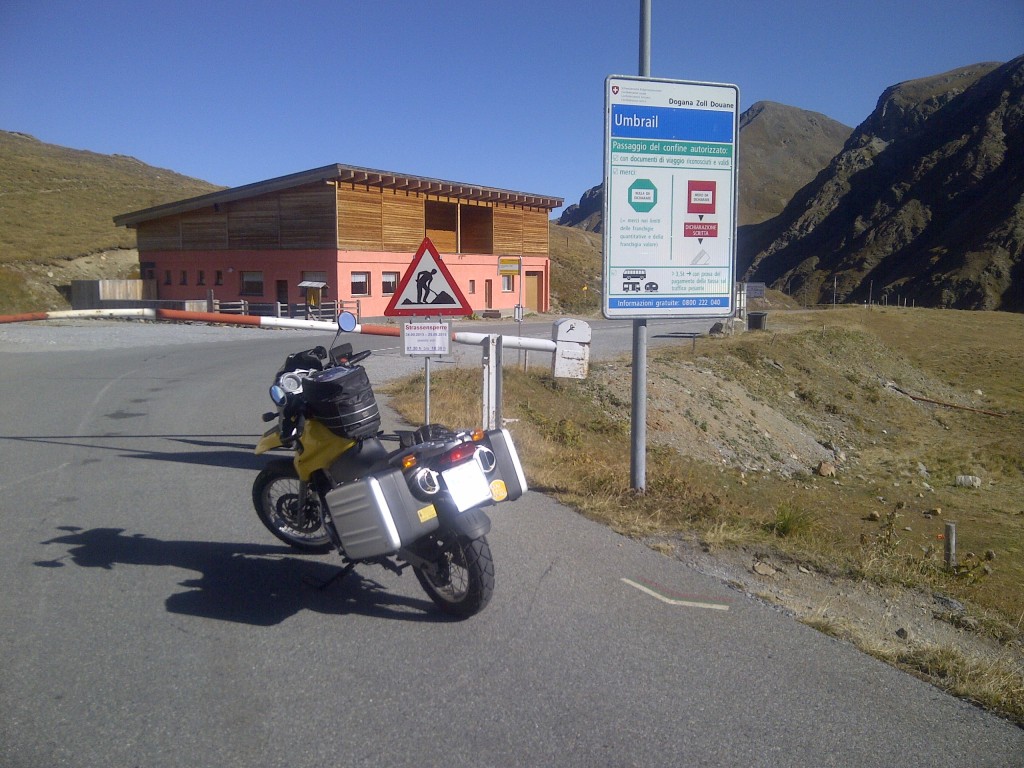
After orienting myself at the top, I identify that Umbrail Pass is only 1.5km and ten tornante away – I split off and ride back to find the pass marker. I’m also disappointed to find that the descent is closed. The gravel stretch of the pass is quite famous, but not accessible, thanks to the closure for road work.

DSCN4117

Val Müstair-20130925-00686

IMG-20130925-00685

As we prepare to descend, we find two brand new F800GSs next to my bike, and two attending freshly-geared riders. Twittering away in German, we attempt to find out where they are from, as the bikes are clearly rentals. After a few minutes, we give up, and I switch to English. The two guys are from Grand Rapids, MI, and are quite familiar with my employer, having done work at both of our Michigan plants. Such a small world.

DSCN4119

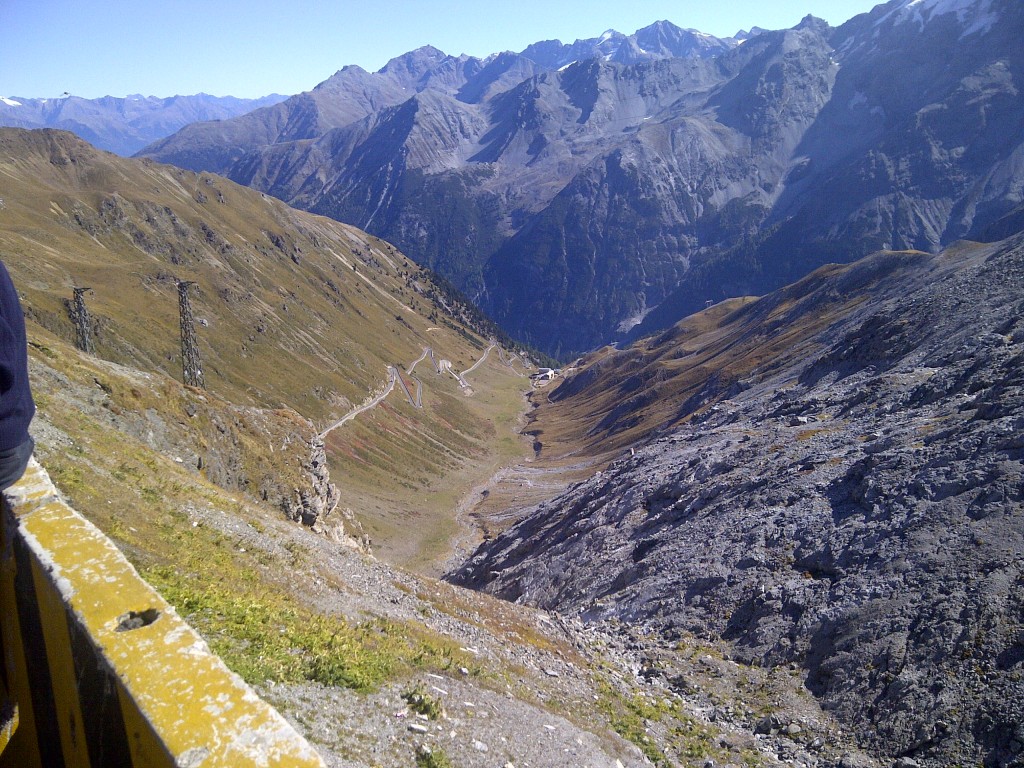
The first step of the descent is looking down.

Bormio-20130925-00688

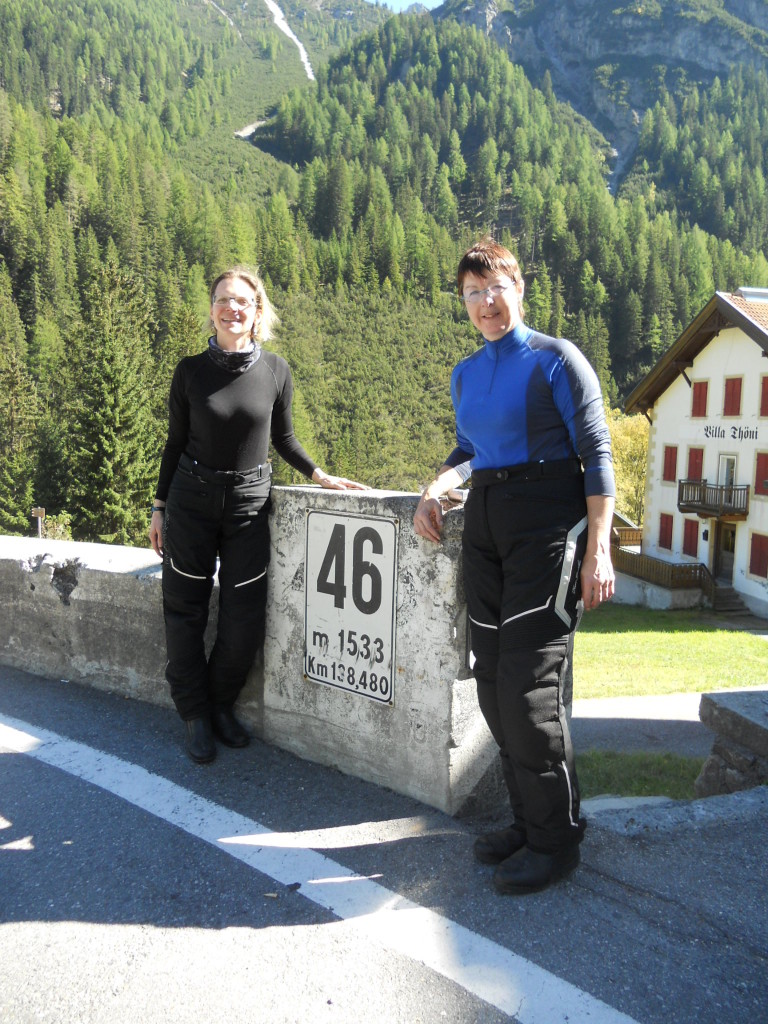
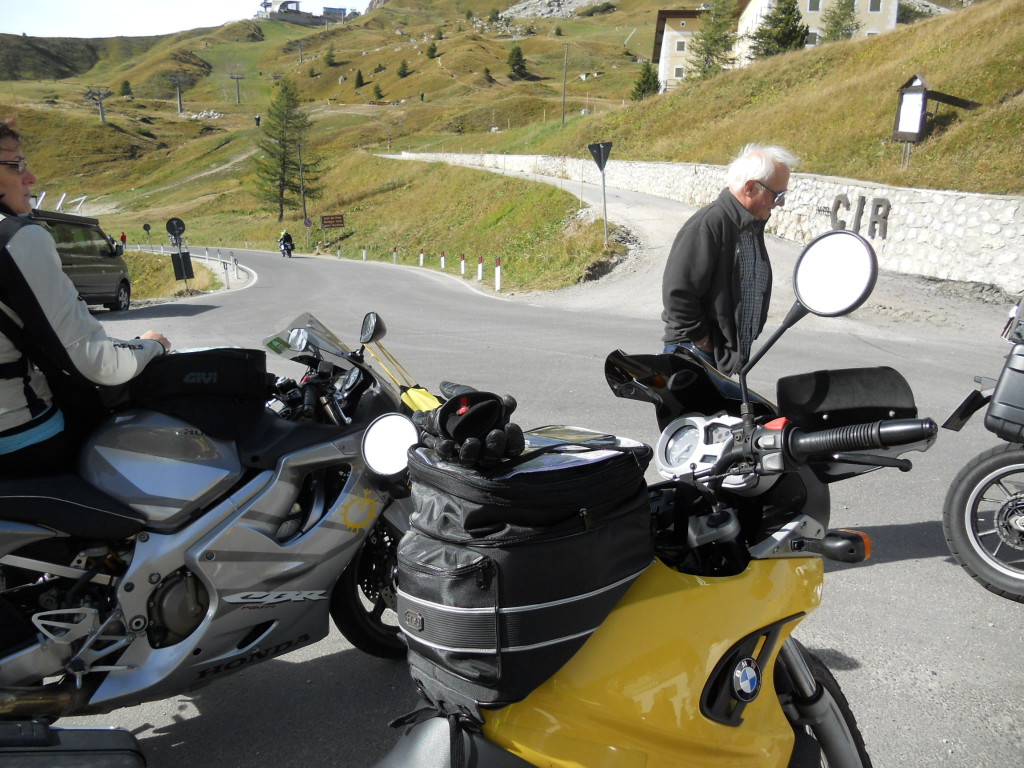
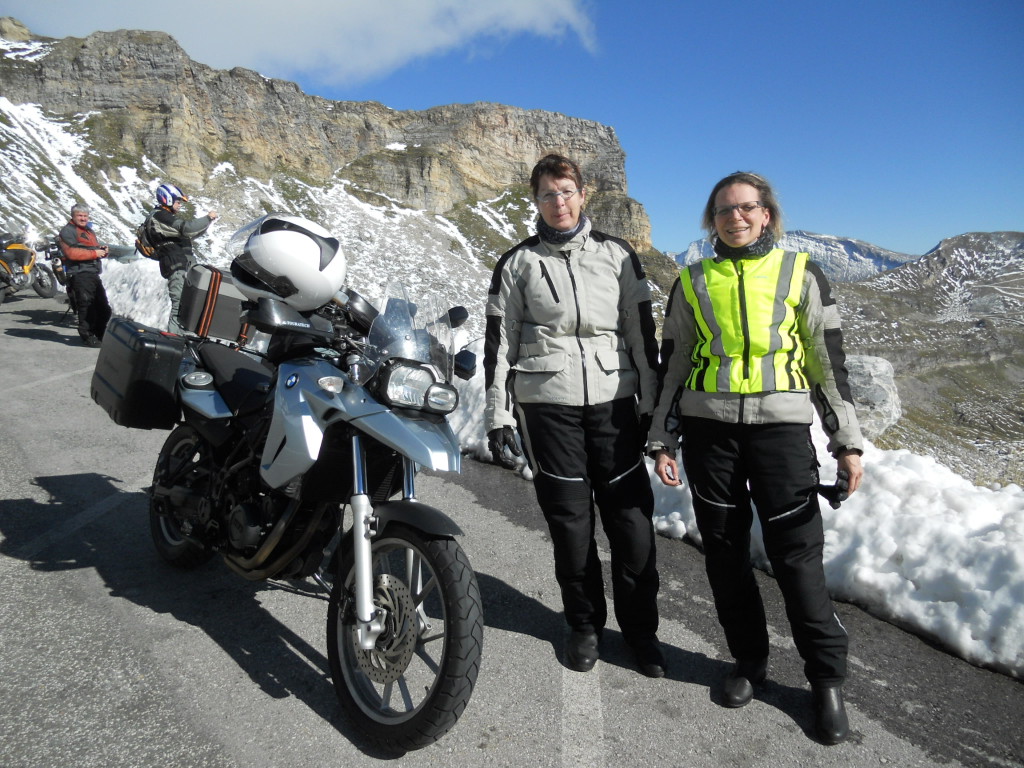
A movie crew is filiming on Stelvio, and there are periodic closures. We are not affected, as we begin our descent prior to the most favorable light. After a rather unsettling miss with a lane-intruding Audi above the tree line, I decide to pull off and relax at the 46th tornant, forgetting there are only two more to go. I’m tense and unhappy with my riding, but in a good mood as I am still in one piece and so is the bike. My riding partner joins me a bit later and we decide to spend a bit of time in the attached park for lunch. We meet several Opel engineers doing engine testing, and ask one to take a photo of us with the sign for the tornant.

DSCN4134

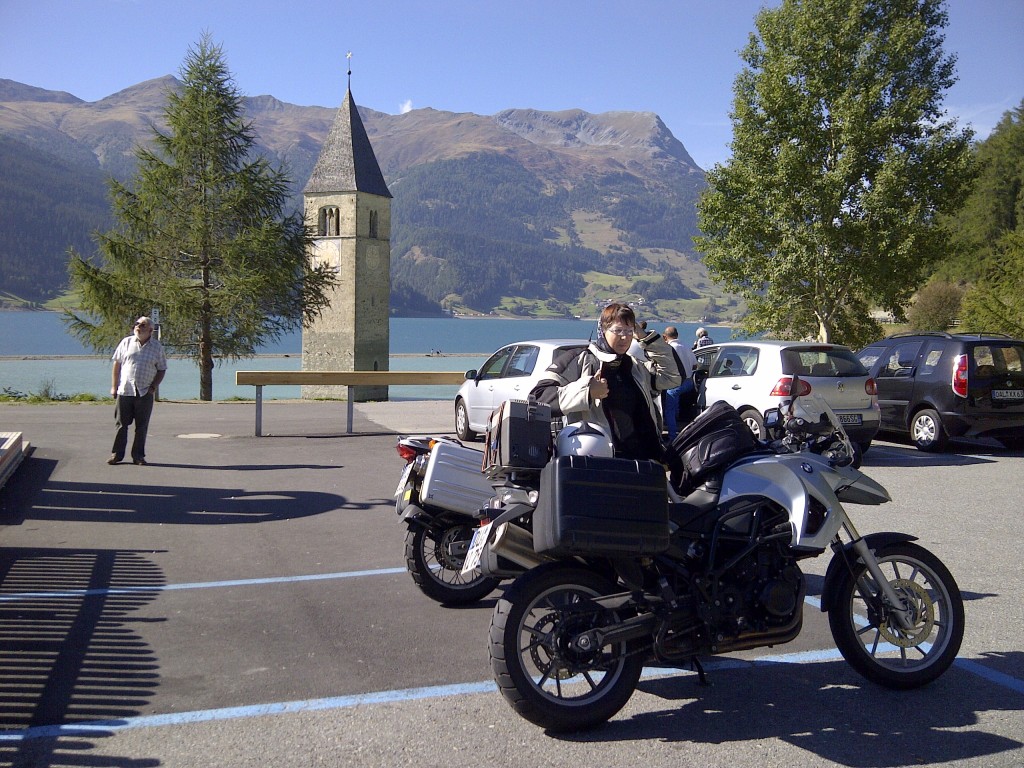
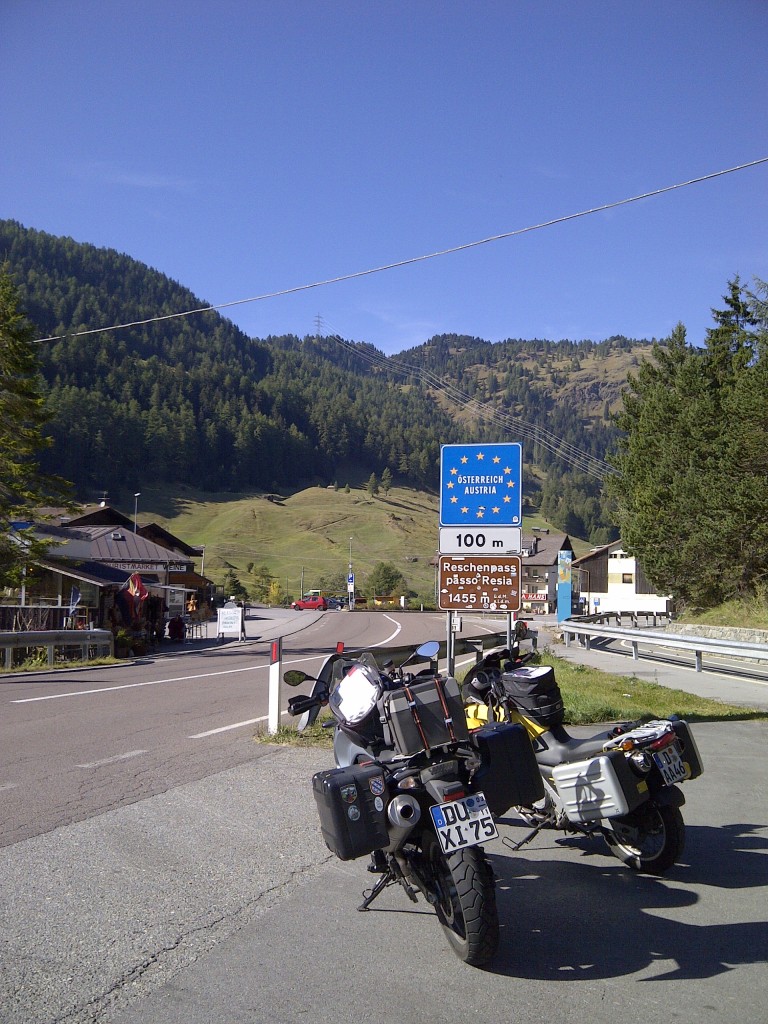
Once we are finally down the pass safely, we make our way over to SS40 and up to the Reschenpass in Austria. The approach to the pass is beautiful, wide open, sweeping Kehren, but the pass itself is a certified “meh” after Stelvio. Prior to arriving at the actual pass sign, we stop at Lake Rescia to photograph the tower of a submerged church.

Curon Venosta-20130925-00694

Curon Venosta-20130925-00697

We proceed north, finding this lovely stone arch, and continue on to Tönsens, a small, quaint town, where we find the Gasthof Wilder Mann. Wondering aloud why there is never a Gasthof Wilde Frau…. With dinner, we spend 54€ for the night.

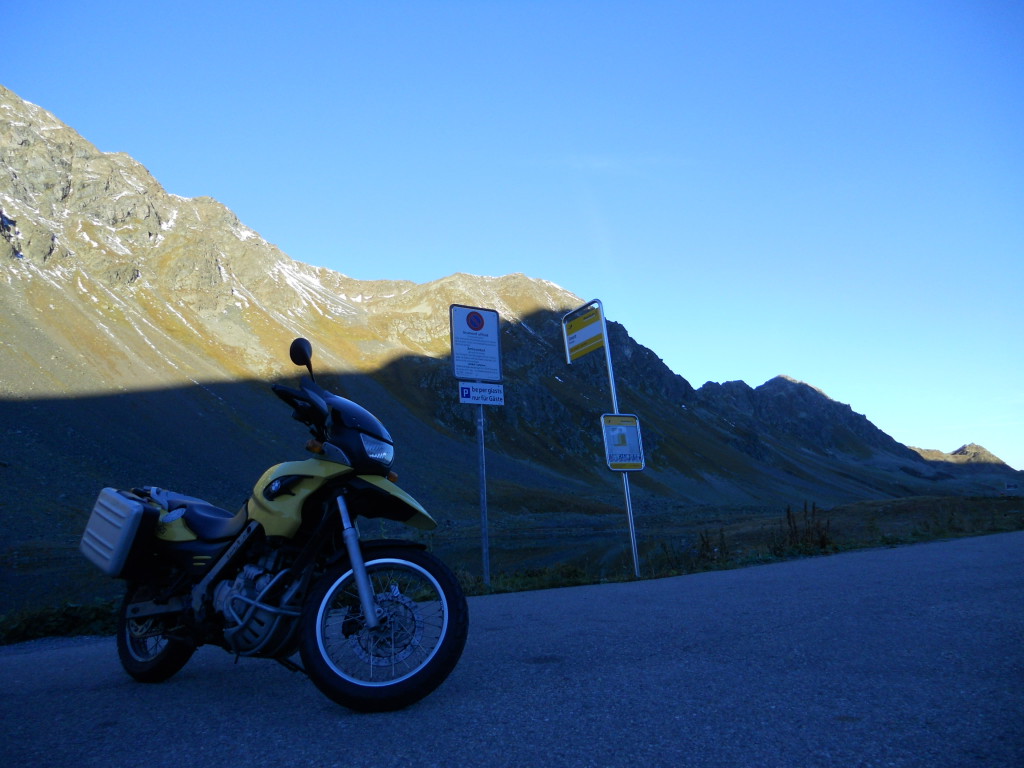
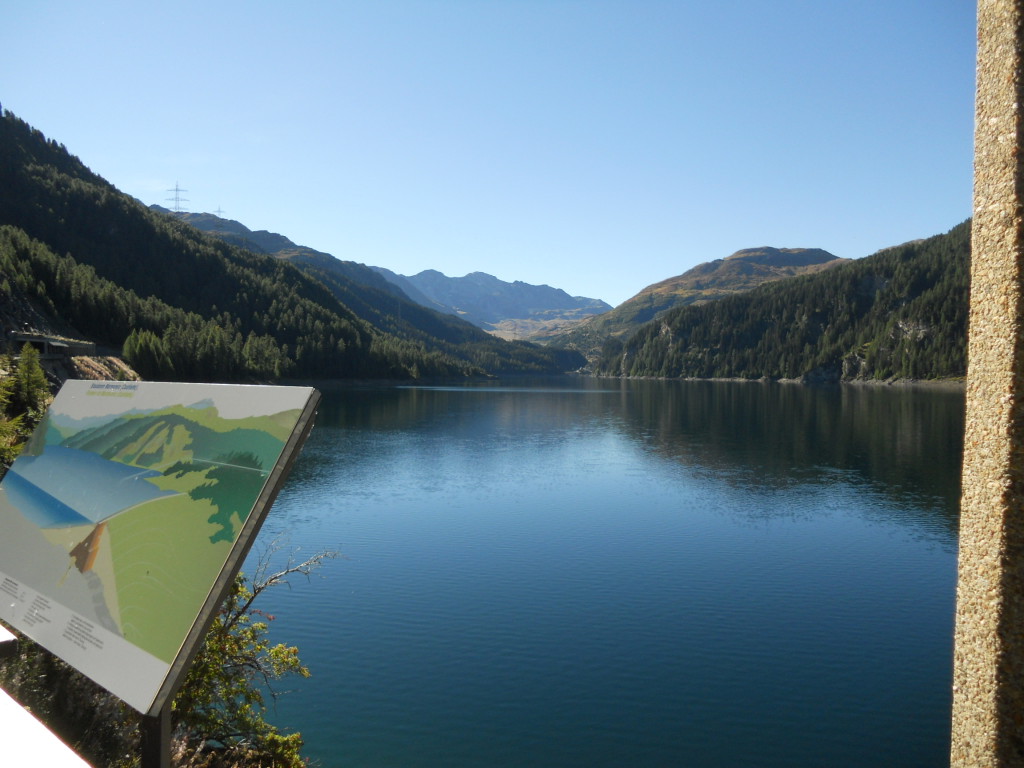
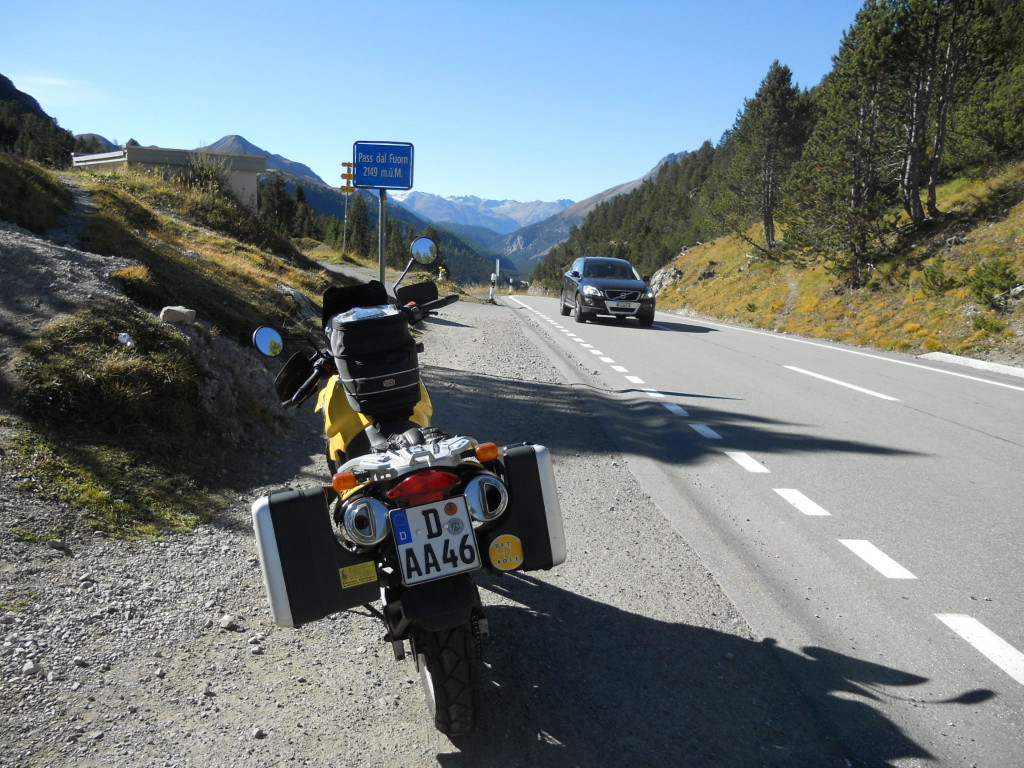
Sunrise on the Flüela Pass is just as eerie as on Pordoi. We kit the bikes after a nice breakfast and set off on the 28 again towards Davos Dorf. Dörfli, actually. Davos is convinced it is not a famoous or exciting place. From Davos, we follow the Landwasserstrasse to Tiefencastle, where we join the 3 and begin the ascent to the Julierpass. We stop on the way up at the Marmorerasee, a retention lake that controls water flow down the assorted mountains and is filled with stunningly clear blue water.

DSCN4092

DSCN4101

DSCN4100

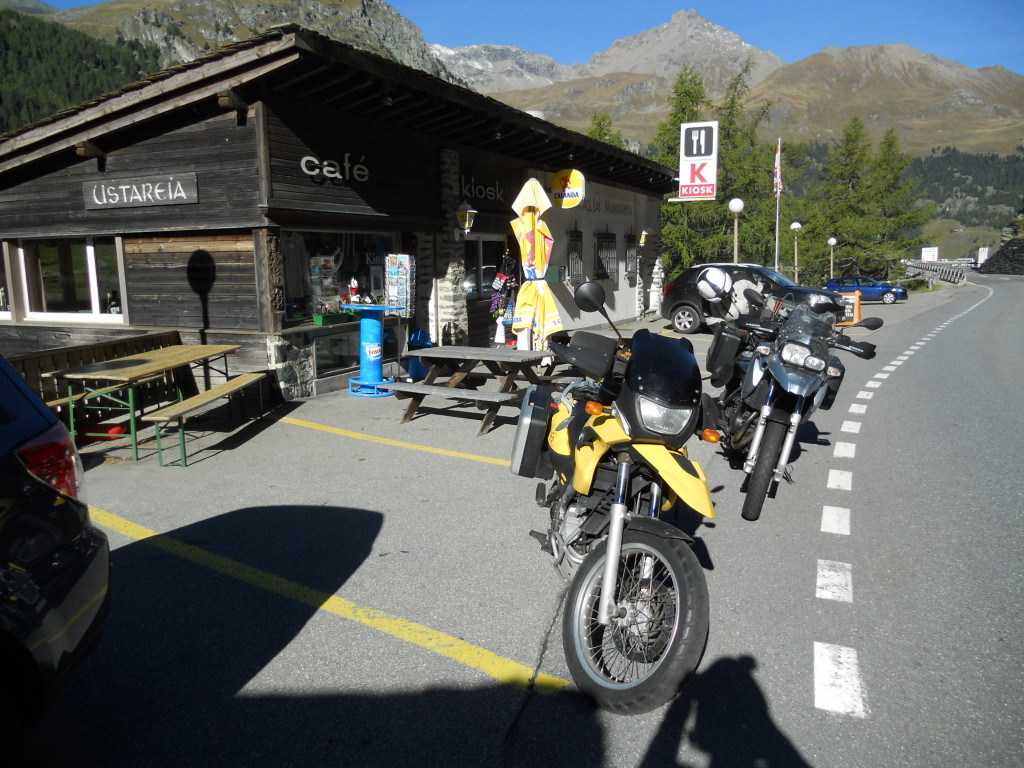
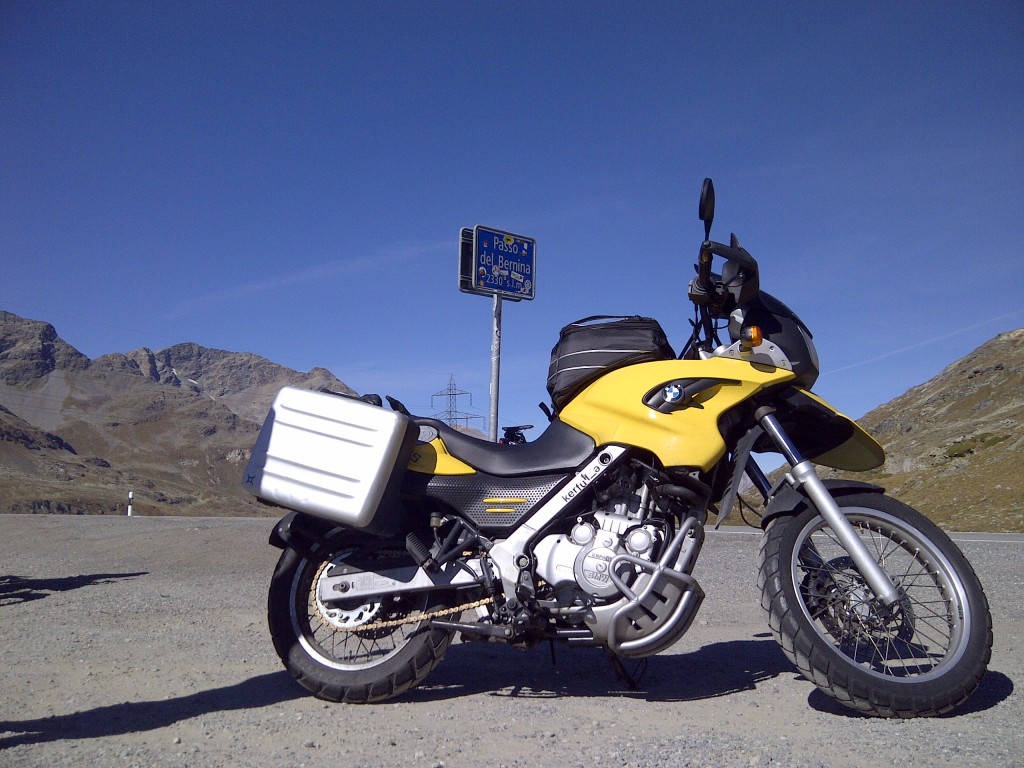
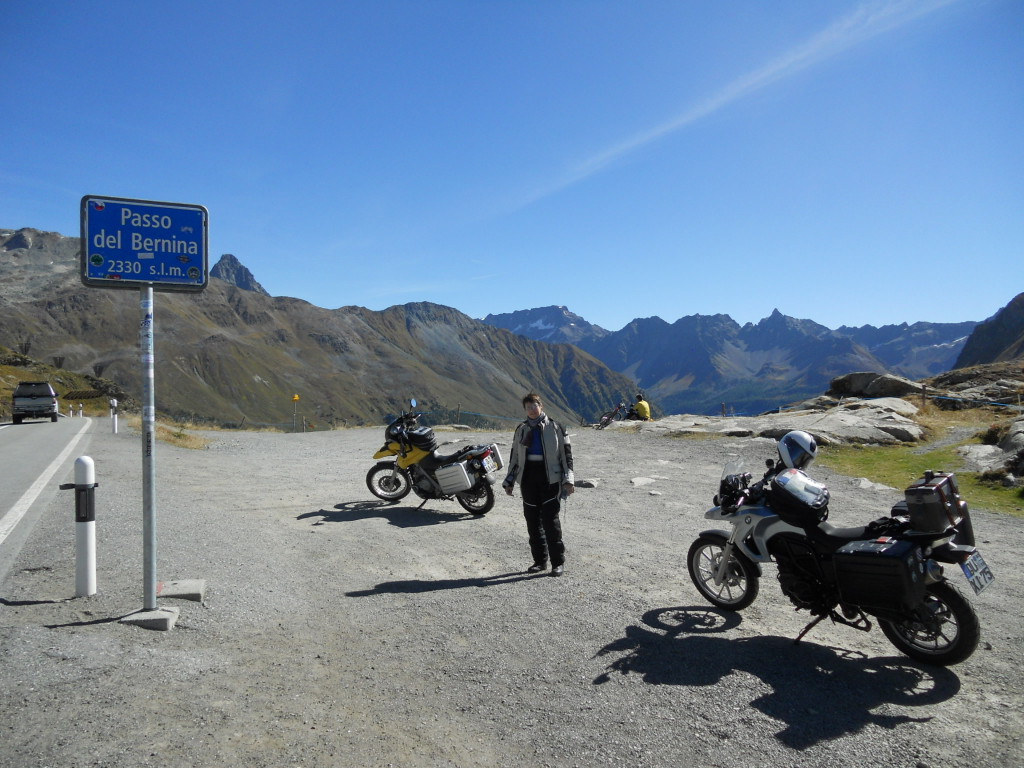
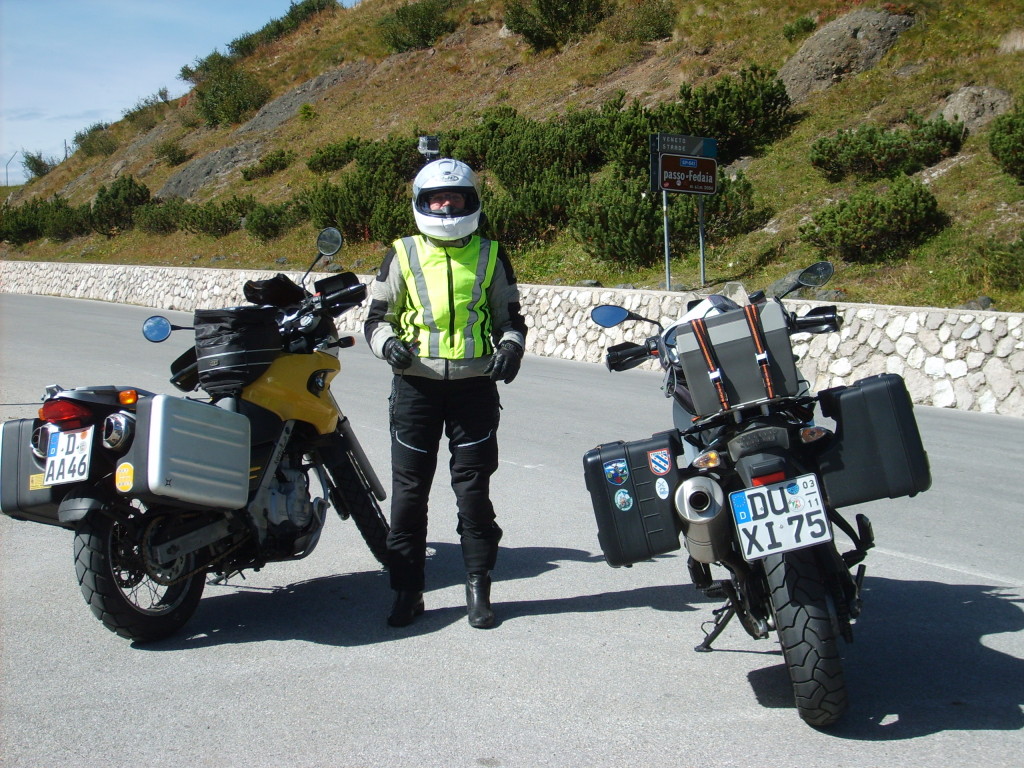
From the Marmorereasee, we continue to the Julier Pass. The ascent to Julier is beautiful with rolling scenery and gentle curves that lend a sense of fulfillment to the viewer. We arrive at the top and find a bicyclist willing to take our picture together. We join the 27 at Silvaplana and the 29 at Pontresina, then it is on to the Passo del Bernina, where I work hard to get the perfect shot. The mountains surrounding the Berninapass are very photogenic.

IMG-20130924-00666

DSCN4105

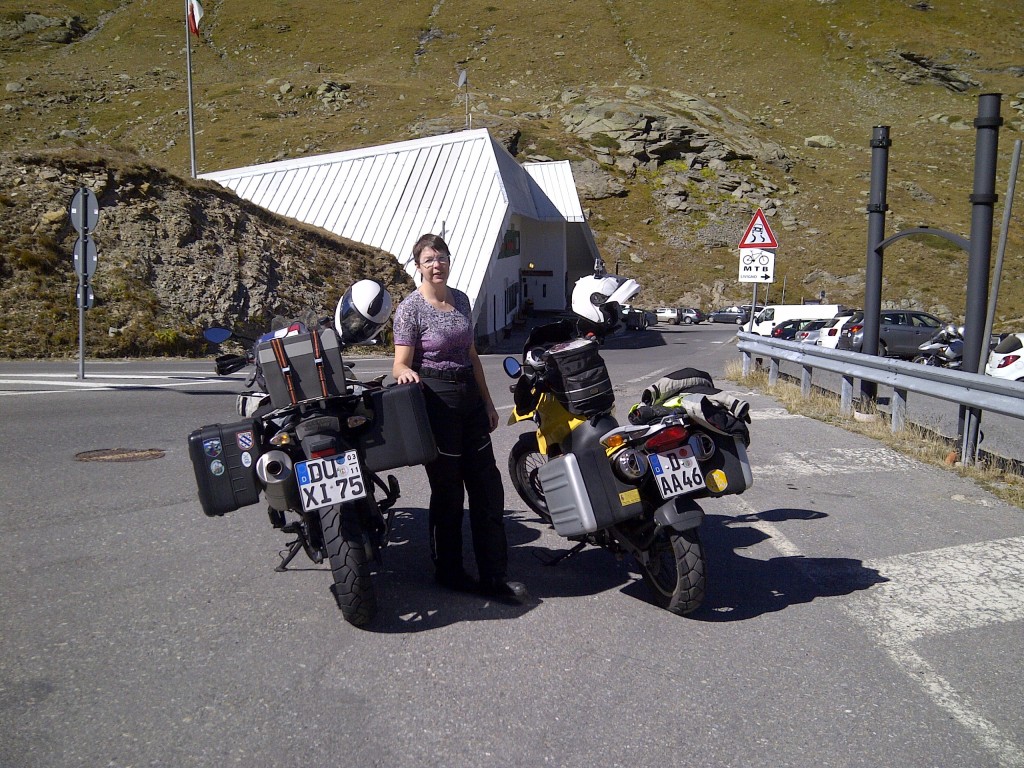
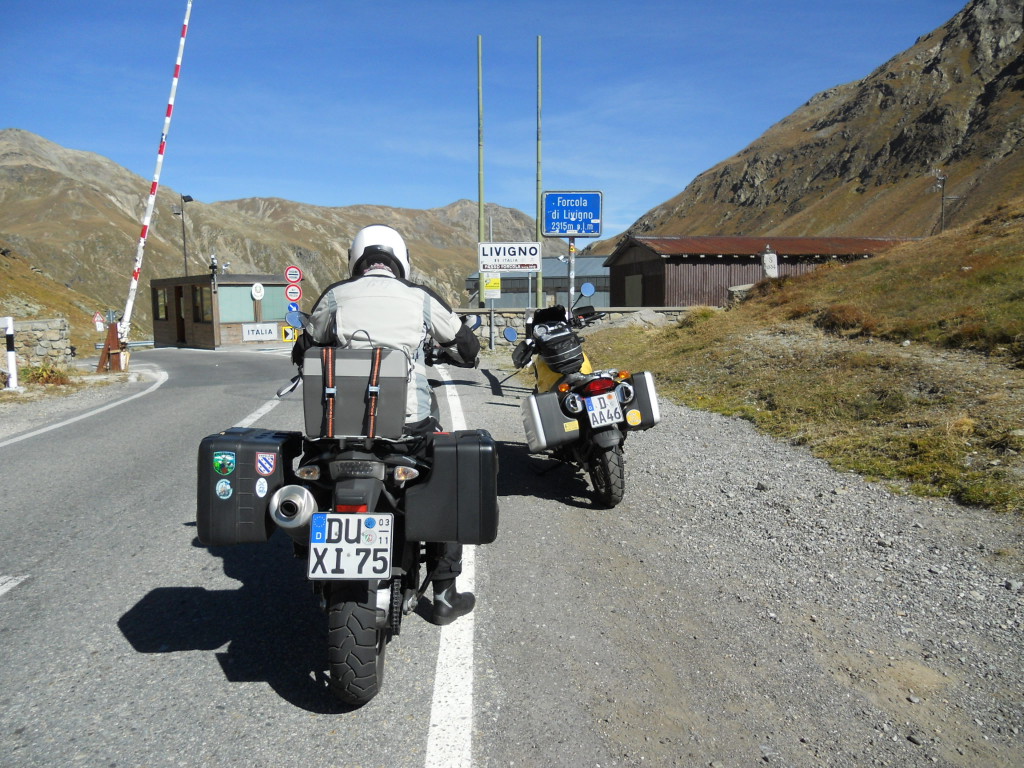
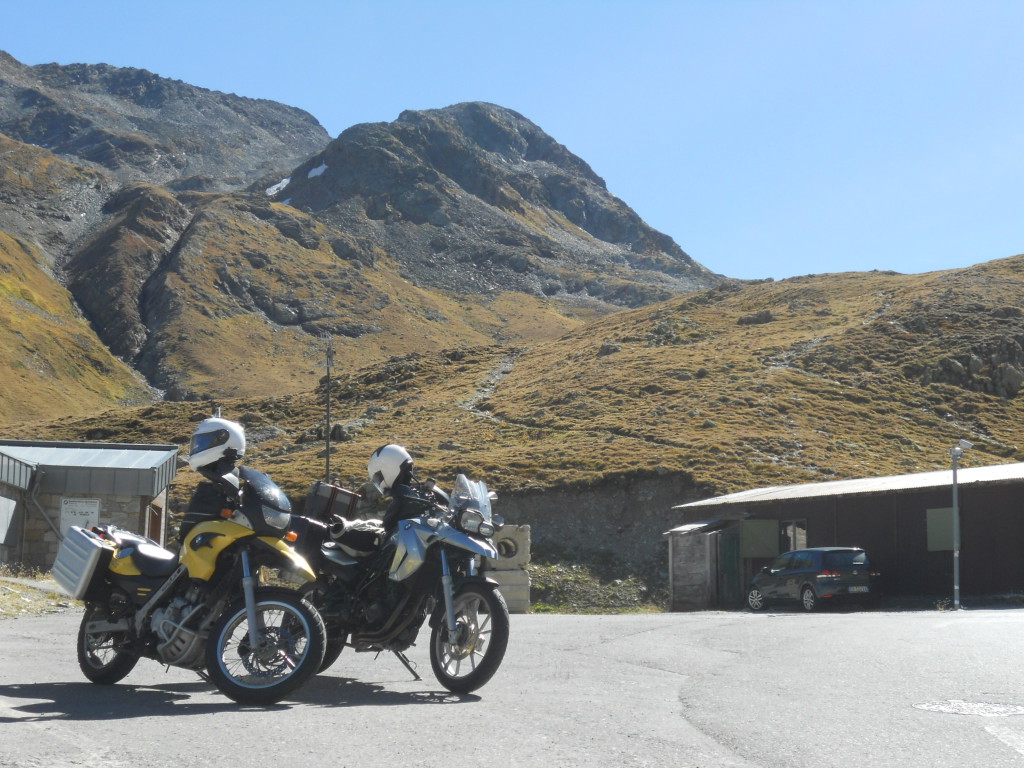
Just past Baracon, we turn off onto the Forcola di Livigno, and proceed to the pass. We collect some cheese for later lunching from a tax-free shop at the pass, and while walking back up the hill, snap a postcard shot of why we ride GSs. Following the pass road, we make our way to the town of Livigno, where we tank up again and add a further 235.9km, for a total of 986,3km. We pick up SS301 southbound for the next planned pass: Passo di Foscagno.

IMG-20130924-00673

DSCN4106

DSCN4112

On the was to Passo di Foscagno, we are surprised by a small sign for Passo d’Eira. Not famous, not loved, but still counts!

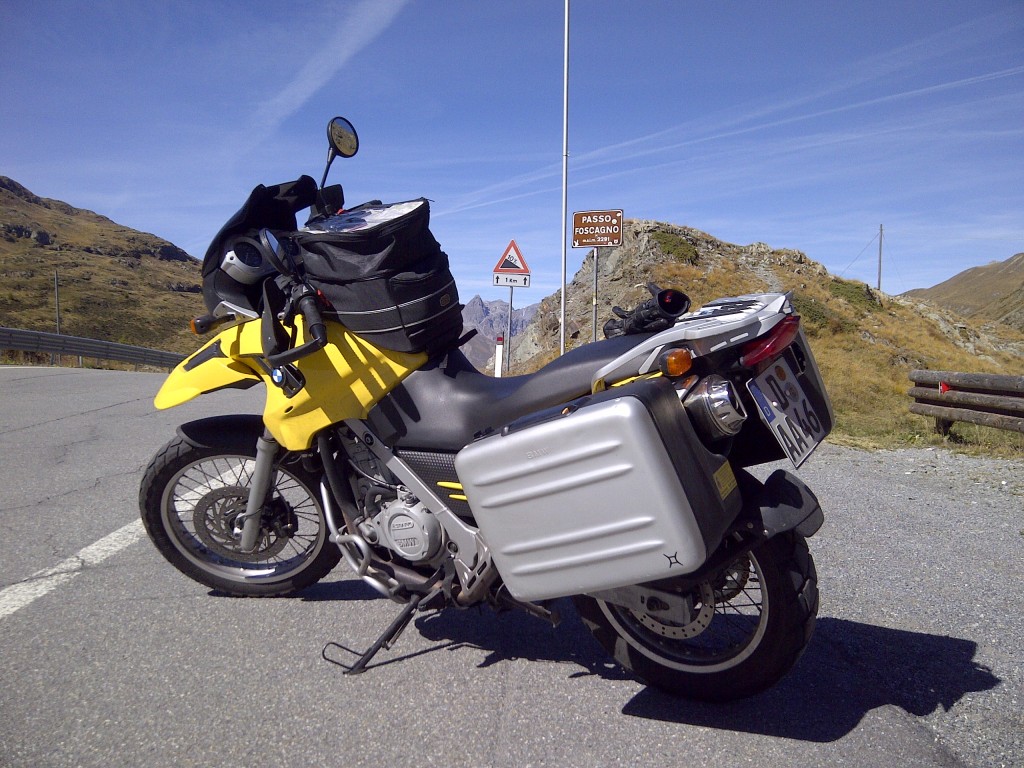
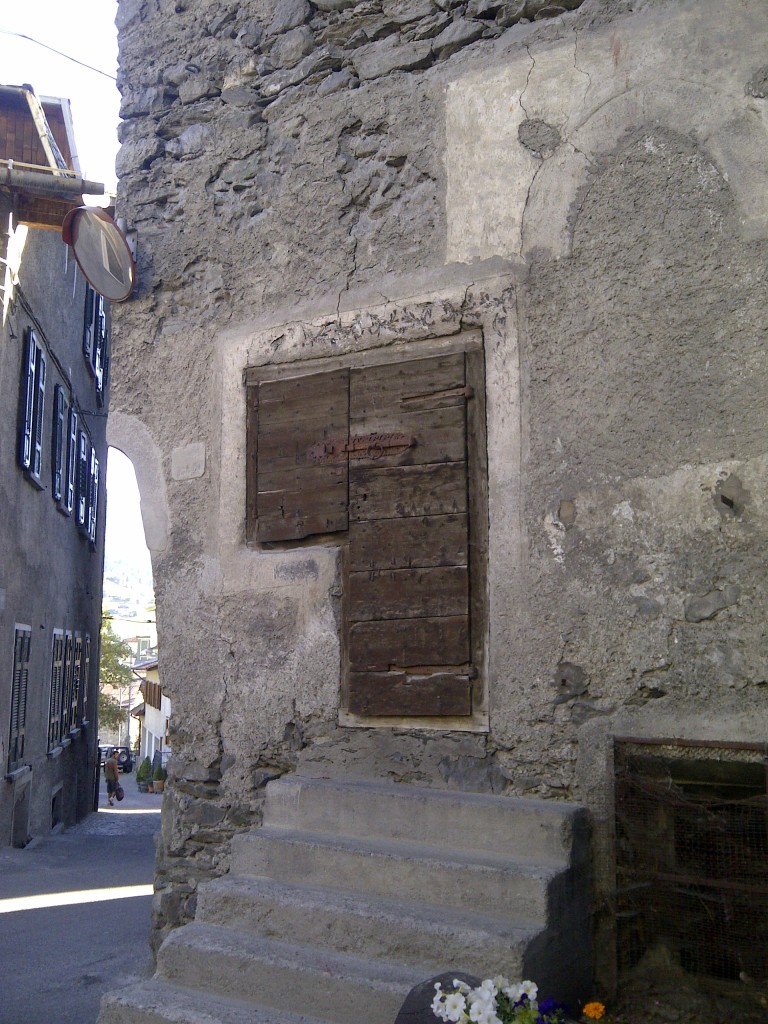
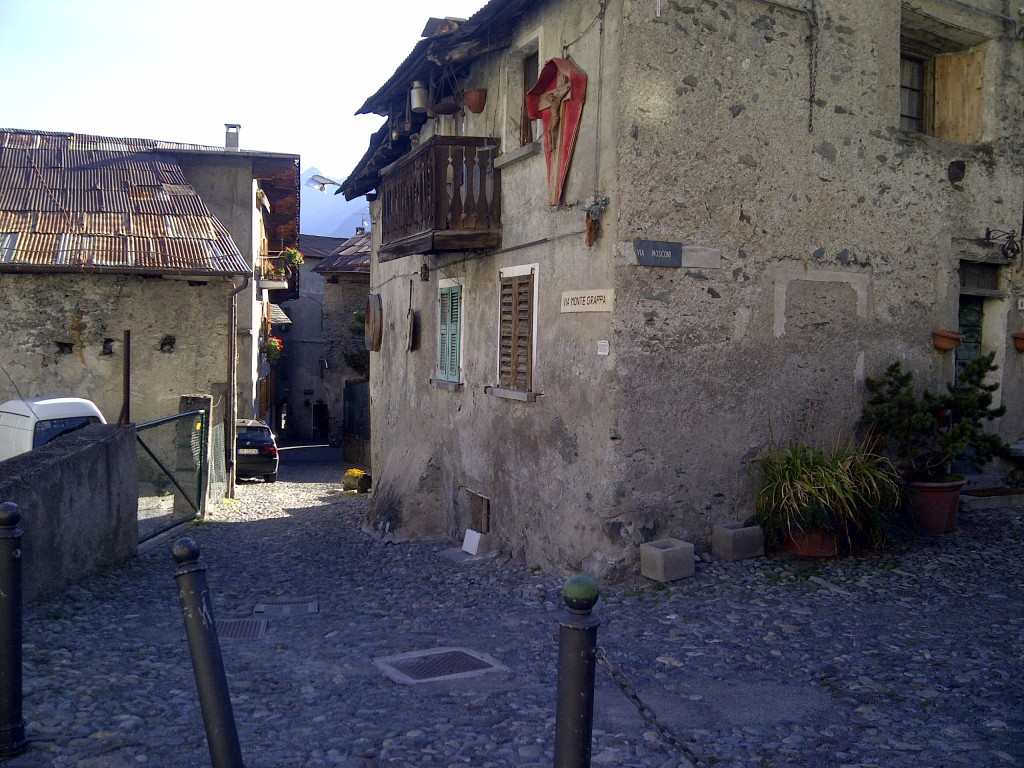
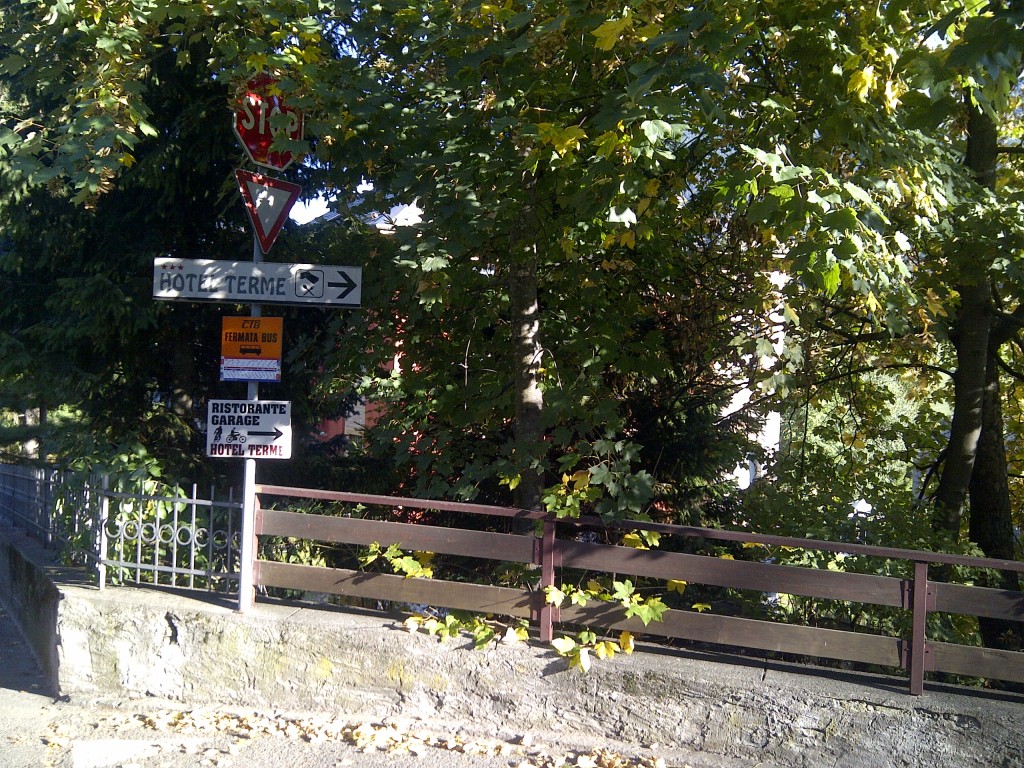
From Passo d’Eire, we continue to Passo di Foscagno, and on to Bormio. We want to be fully rested and ready to attack Stelvio in the morning, hoping to beat the tourist traffic. Bormio has a spa and appears to have nice restaurants. We find many medieval buildings and small grottos as we search for food. Alas, Bormio has the day off on Tuesday, and we end up at the only open restaurant in town, the Bar Nuovo. The staff are quite helpful and happy to have customers. We spend the night at Hotel Therme, where there is time to relax, but, alas, no spa. It’s also closed. For Tuesday.
Livigno-20130924-00677

Bormio-20130924-00680

Bormio-20130924-00683

Bormio-20130924-00684

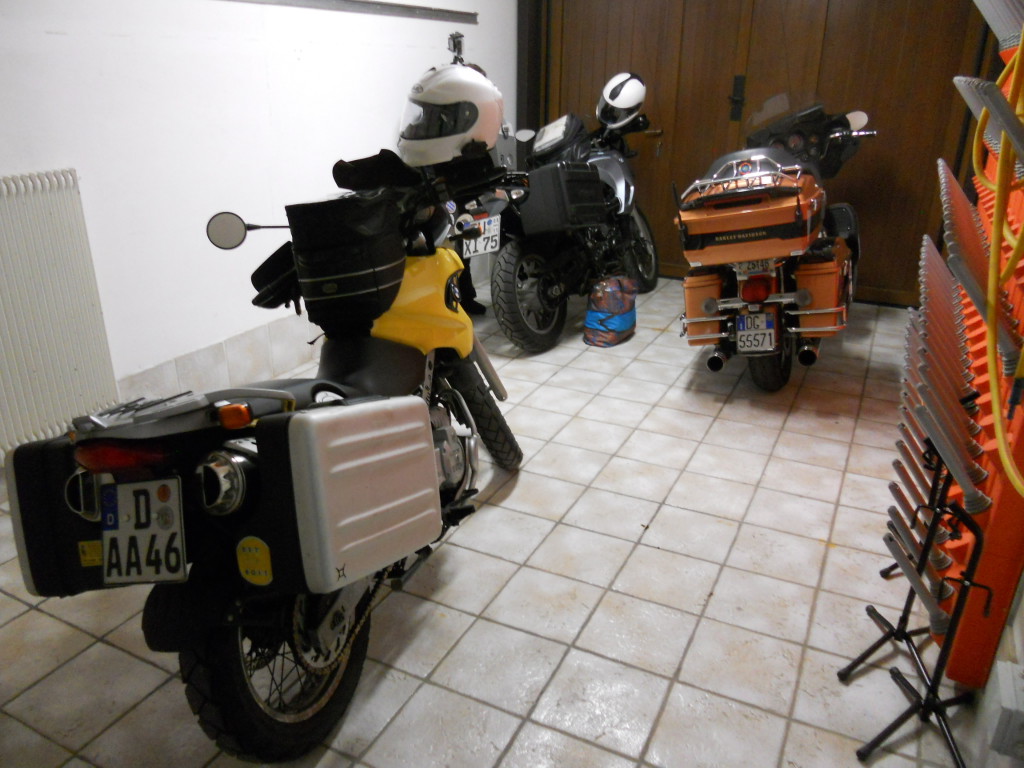
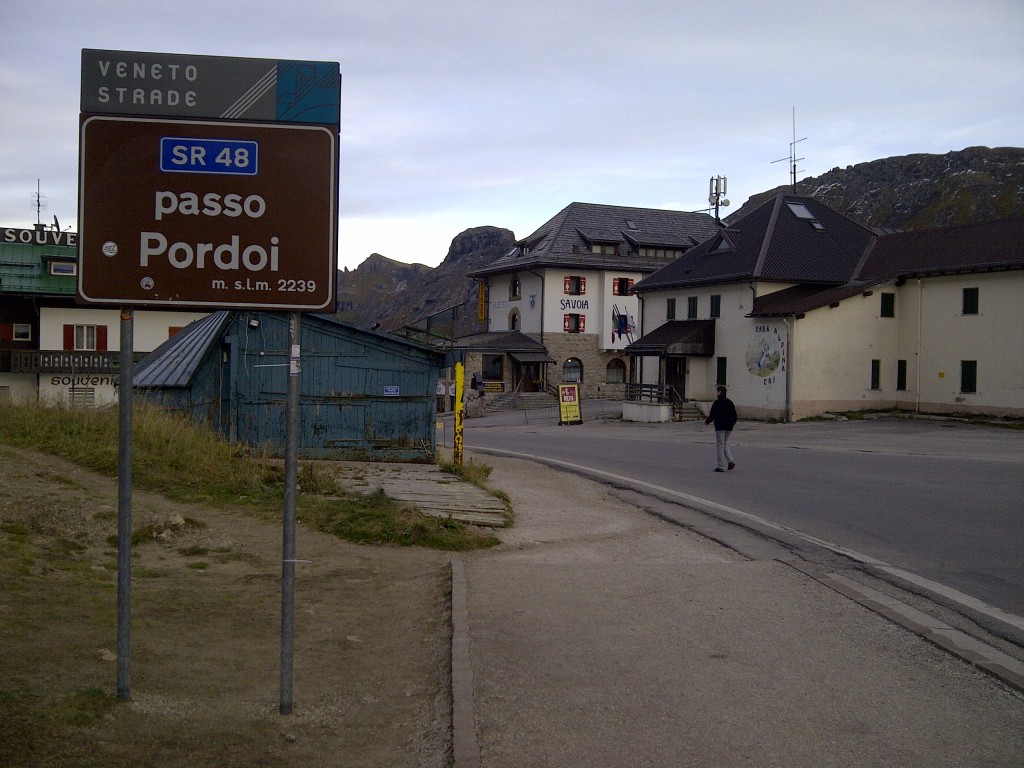
The  landscape around the Hotel Savoia (which we highly recommend) is positively lunar as the sun rises. We are greeted by fog burning off outside, and a surprise guest inside – a fully-dressed Harley has joined us in the garage overnight. The garage functions as a ski rack in the winter time, when the mountains are covered with white stuff and skiers descend on them like flies on pigs. The openness to motorcycle tourism came about as the thousands of small guesthouses in the Alps discovered that the “off season” can also be profitable – riders flock to the passes as long as they are open, and with open wallets. Breakfast at the Savoia is well-covered, and we can’t say enough about this overnight, it will define accomodations for us for the remainder of the trip.

DSCN4068

We head out on SR48 and rejoin SS242 to go back over Passo Sella, this time with less traffic. The mountain views are breathtaking and we spend plenty of time checking out the peaks that bring so much fame to Sella.

DSCN4069

DSCN4070

DSCN4073

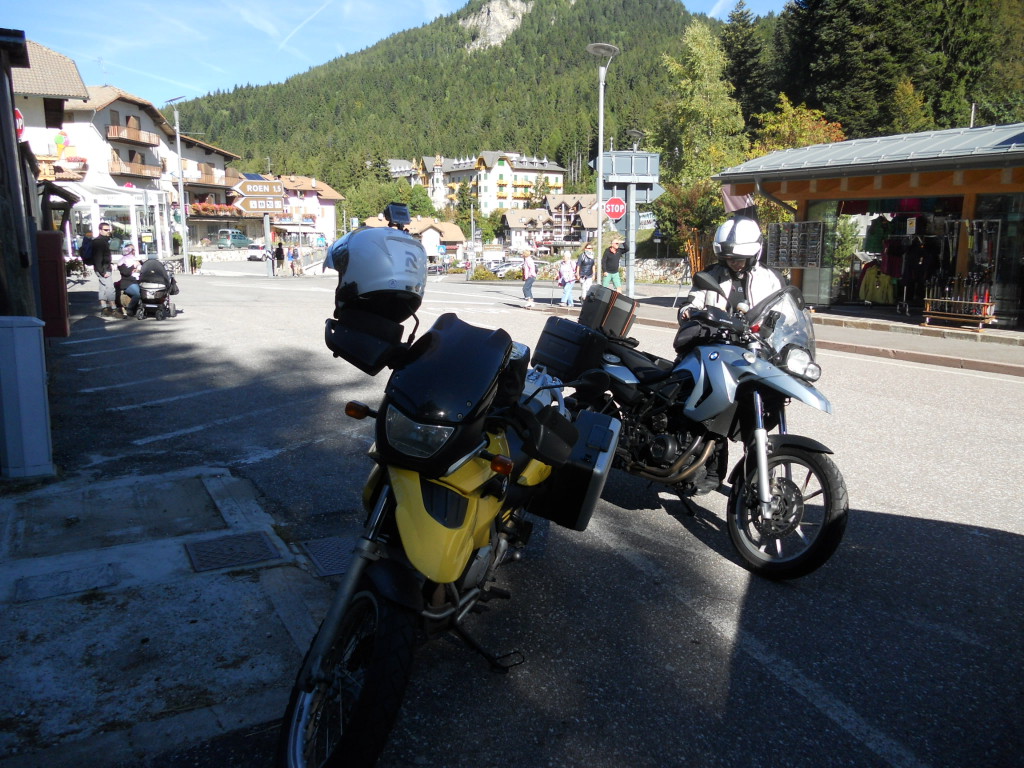
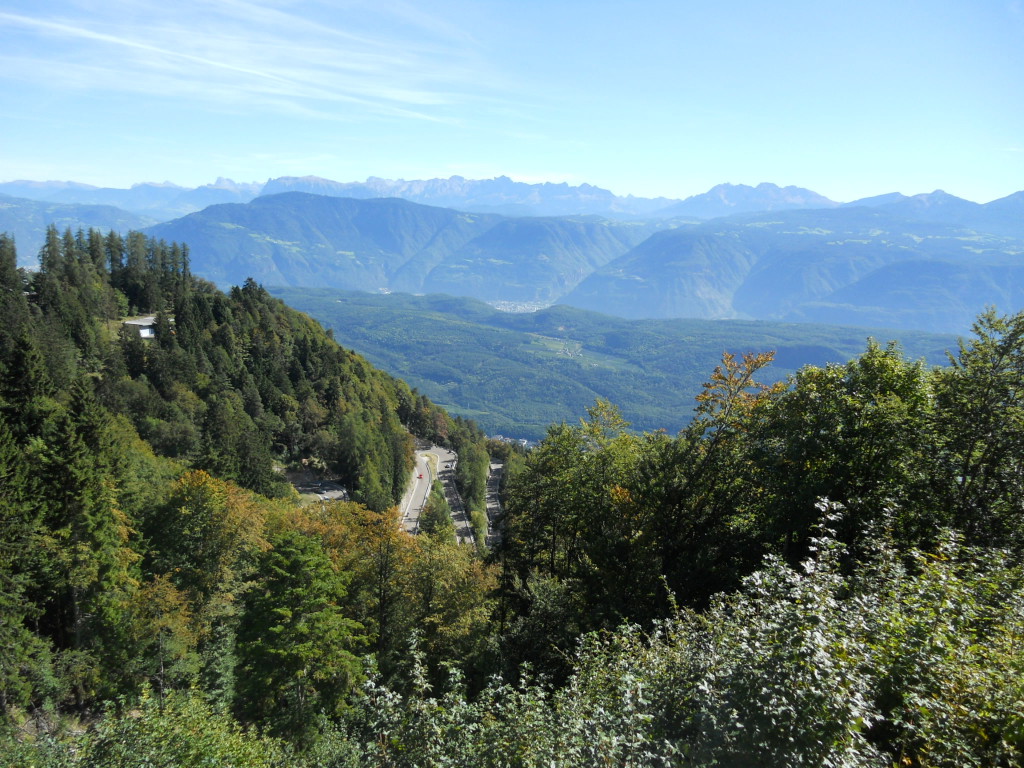
From Sella, we stay on the SS242 west to Ponte Gardena, where we pick up SS12 heading south to Bolzano. We join SS22 and find the three guys from the train and cows – some honking and waving and total shock that we actually did meet up go on. West of Bolzano, we pick up SS42 to Passo Mendola.  The approach to Passo Mendola is one of the most striking stretches we ride, with a stunning view of the valley below. For a long stretch, the narrow road clings to the side of the rockface and the mood is entirely surreal. The final group of tornante bring us to the town of Roen at the top of the pass, where we stop for coffee and to admire the views.

DSCN4075

DSCN4077

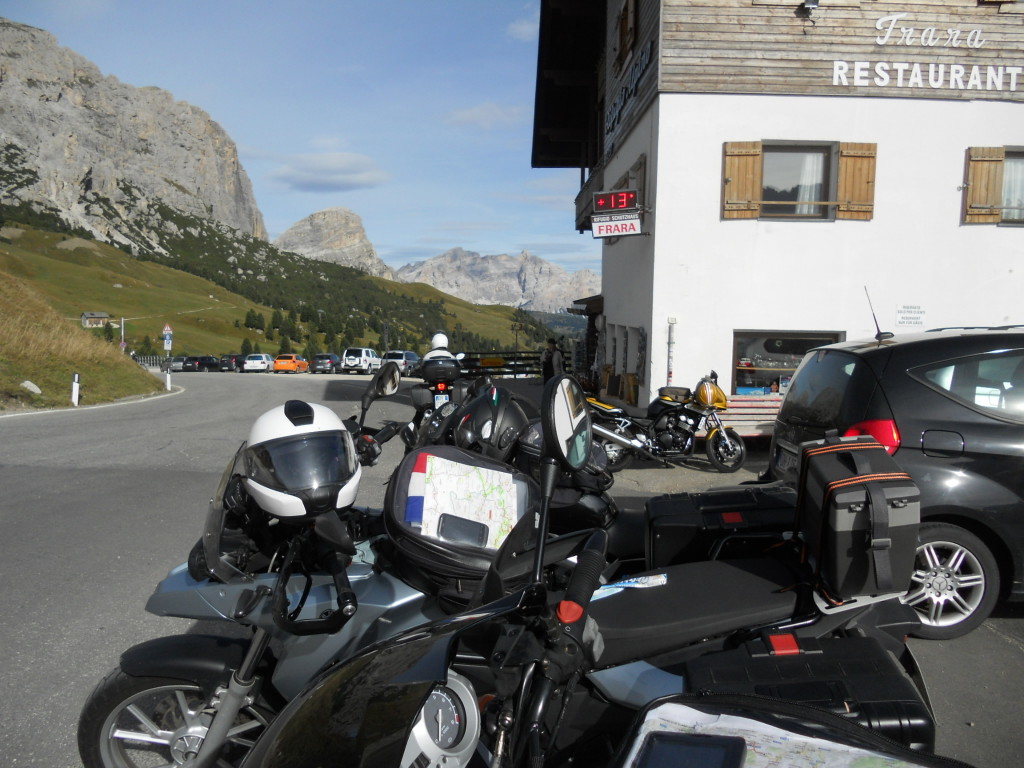
In Fondo, we tank up (250.3kms, 750,4km total) and are berated by a Bavarian Ducatisto who wants us to know that there is no passing in Italy. Perhaps he should have told the Italians? We ask him to speak German as his dialect is so thick. We pick up SS238 north to Merano crossing the Passo Palade. I expect more from Merano, the spa no connisseur of spas can miss, but it is quickly past and we are into a transit stage that will take us up and west on SS38 to Prato. We have been riding parts of the Italian Wine Road since Bolzano, admiring the fruit orchards that line the road to within two meters of the fog line. We stop for a quick lunch, then ride on  with SS40 and SS41 (becomes 28) to the Ofenpass, where it is actually too warm to remain fully dressed.

DSCN4079

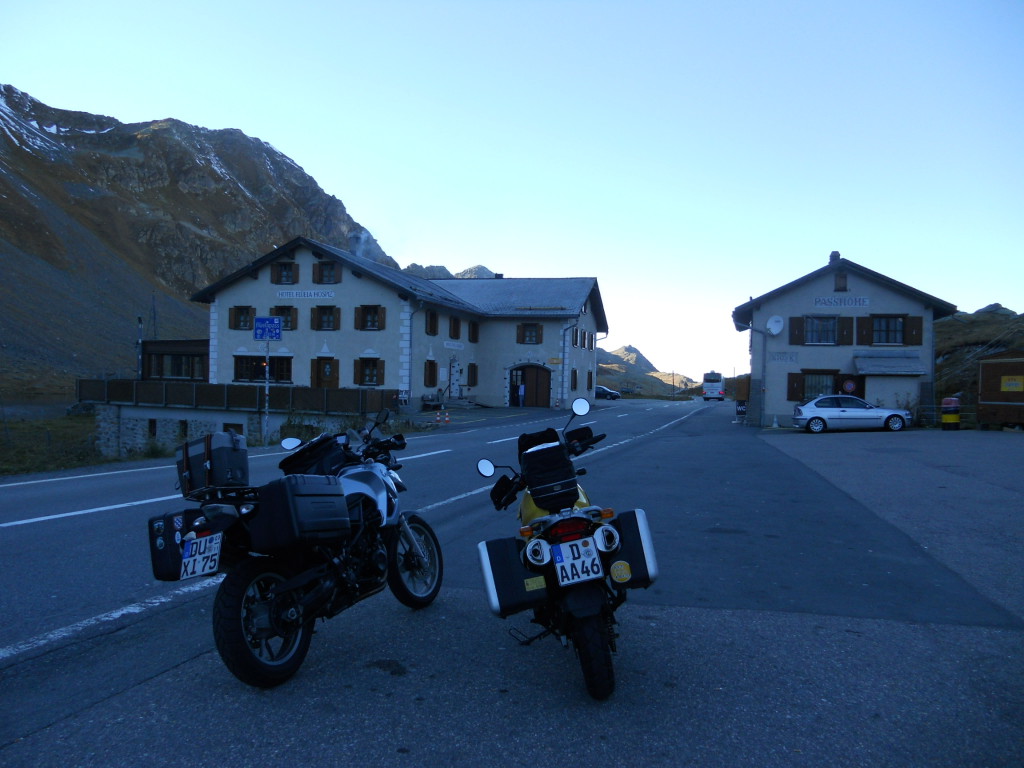
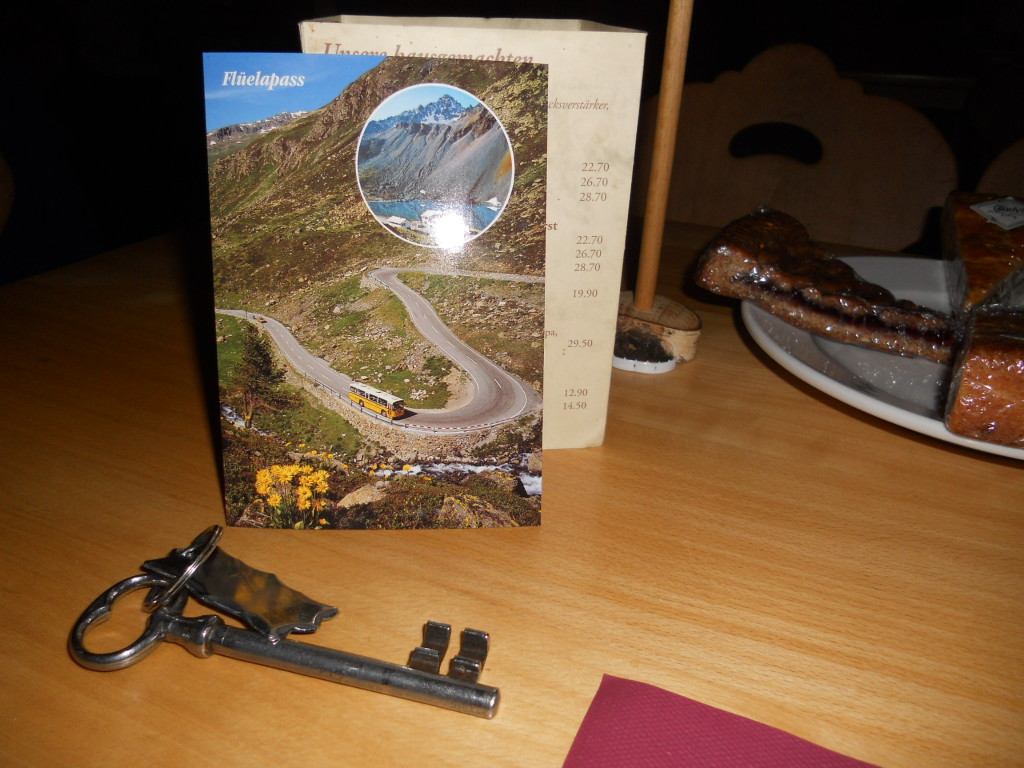
We finish the day at the top of the Flüelapass, where we discover Swiss prices. The Flüela Hospiz is as old as the pass and offers timely accomodations. This is a euphemism for out-of-date – we get a room with “washing possibility” – a sink – for 87€ each, including breakfast. Aside from the price and the warning to fully unpack the bikes and bring everything inside for the night, it is uneventful. Dinner is a welcome mix of traditional swiss Röstis and salad.

DSCN4082 DSCN4084

I suppose it would be pointful to review the equipment.

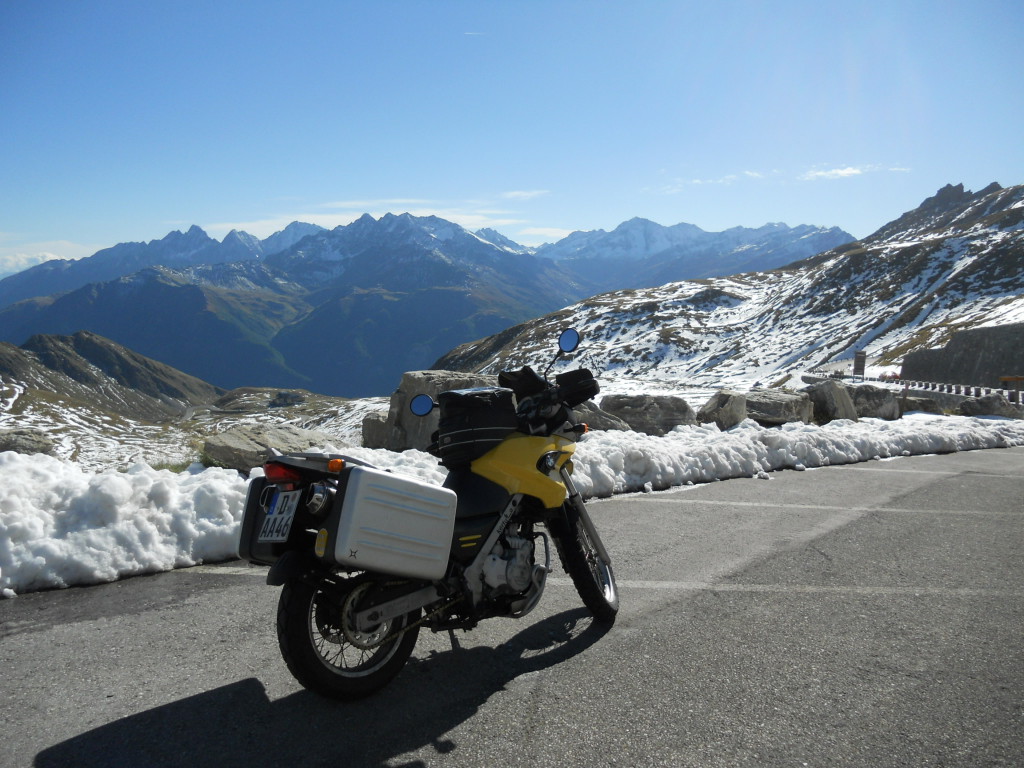
Bike: one fully-factory-farkled 2004 BMW F650GS, 66K kms on the frame, ~25K on the 2006 GS engine purchased from ebay and installed a month earlier

Luggage: One Held tank bag with rain cover, three small Streetline drybags, and two BMW Vario boxes, one extended

Clothes: Three sets of functional liners – one warm polypro (Anzoni), one light polypro (Maier, star of the trip!), and one nylon running set with no leg zips (Nike/Alex). Six pair assorted socks, nine pair nylon underwear, six tshirts, one pair jeans, two fleeces, one pair shorts, one pair Nike Free original, one pair pyjama bottoms, one neoprene vest

Gear: Hein Gericke Grace GoreTex jacket and pants, HG City gloves, Louis silk glove liners, Polo Road warm gloves, Oxford hi-vis vest, Dainese GoreTex ladies boots, HJC RPHA-Max helmet

Electronics: Garmin nüvi 1435 navigation unit, GoPro Hero3 Silver camera, BlackBerry Torch smartphone, Nikon CoolPix S3000 camera, Midland BTNext commset, Hexcode GS911 interface, LG phablet thingy, assorted USB cables and chargers

Comments: The bike was great, only issue was a siezed centerstand pivot that caused a tipover and resulted in a seat tear. The luggage was just right. Too many socks, should have gone for fewer pairs but all synthetic. The Falke ski socks were perfect, three pair would have done it. More lighter-weight tshirts would have been better – the skinny hipster cap sleeve ts were the best ones. I could have gone without the heavy polypros, a second pair of the Maier set is being sought out now. Very light weight meant very washable and dry within hours. This alone could cut the space required quite a bit. The jeans were a must-have. Not having to wash underwear was nice.

The GoreTex outer gear worked perfectly. Absolutely the best decision of the planning phase was to go with textile over leather. Flexibility was fantastic thanks to the easily removeable liners. The (old) City gloves paired with the silk liners made the normal cold-weather gloves unnecessary. Even in heavy rain.

The Garmin nüvi unit worked (and continues to work) well, even for motorbiking. The routes were developed in BaseCamp and uploaded to a microSD card in the device, then installed as needed. One issue was identified with routes having multiple loops from a single point, the unit would attempt to shorten the route by cutting out loops. This should be minded by users. The GoPro (helmet-mounted) produced good, if not publishable, videos, due to the rider talking too much in her helmet. Thankfully, the GS911 and little LG phablet were not required, but took up so little space that it would be silly not to bring them. The BlackBerry had connectivity in nearly every place we went, allowing at a minimum email and BlackBerry Messenger communication. The little Nikon produced characteristically good pictures in all light levels. The BTNext unit was unused.

Overall comment would be to refine the clothing packing and the tool packing. I made a custom tool roll to pack only the tools I felt would be useful, but even this was likely too much. In a less redneck bike (see swapped motor above), I would be much more comfortable traveling with fewer tools. More GoPro locations will be explored.

If I’d guessed that I would end up sleeping on top of the Alps at one point, I would have never believed myself.

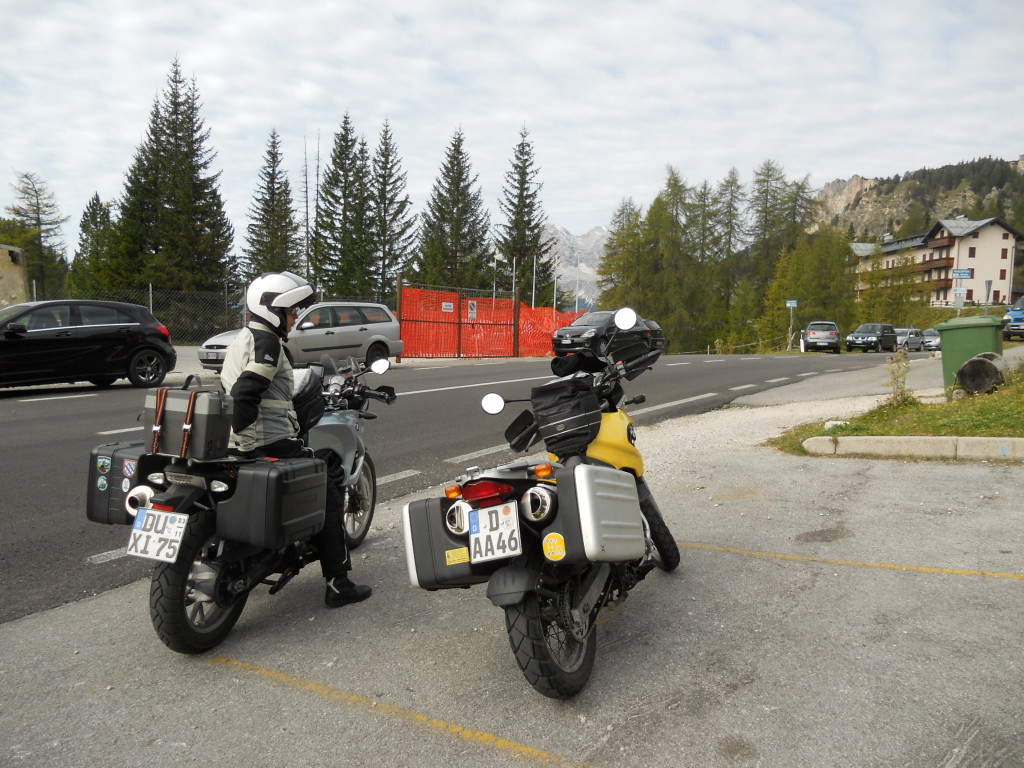
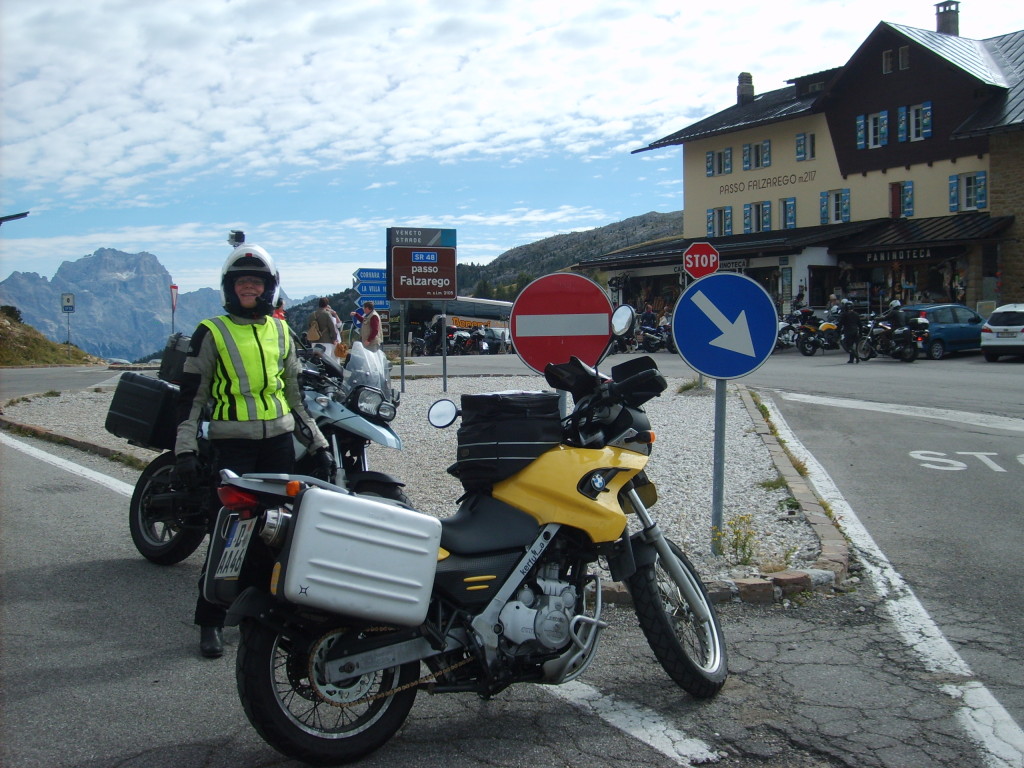
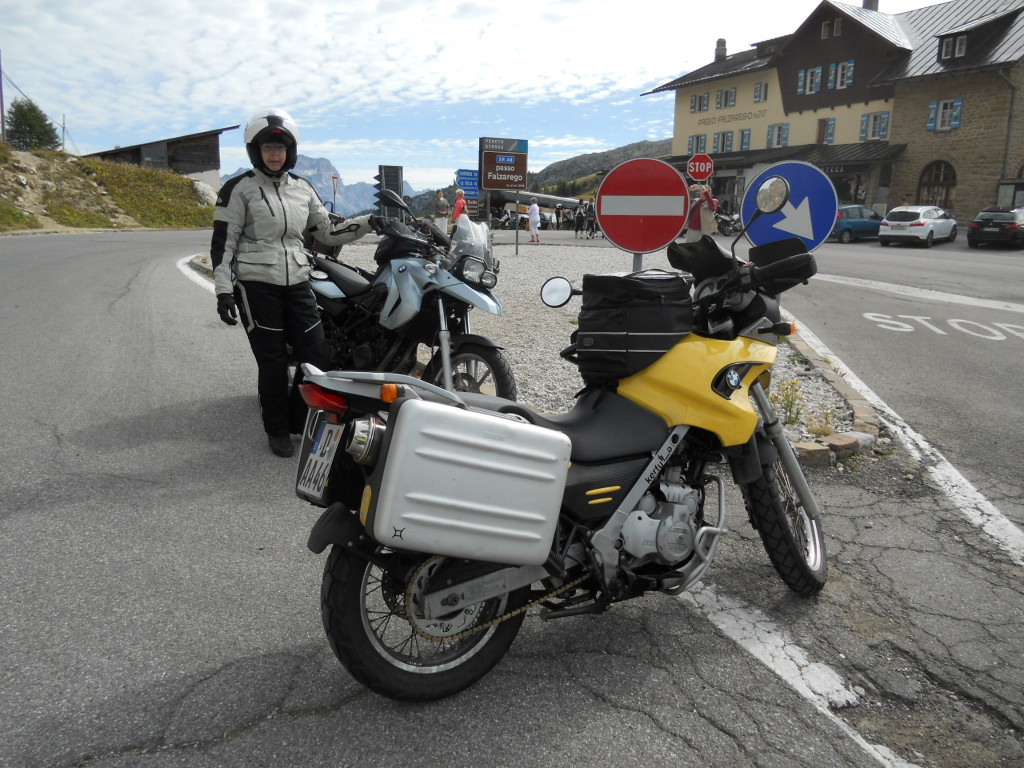
The sunrise in Linz is beautiful. Tucked into a mountain valley, we watch the sun fall over the farmyard prior to taking off from our feathery nest. We head west on the 100 toward San Candido, and in the process beginning a day that would end with nine passes surmounted. We cross into Italy, and on the Stata Stradale 52 (SS52),  meet the first pass of the day – the Kreuzberg Pass. For the most part, a basic pass that is surmounted without event. Turning off onto Strada Provinciale 532 (SP532), we ride over the Passo San Antonio and, on Strada Regionale 48 (SR48), the Passo Tre Croci without stopping – nothing to stop for, as the signs are almost invisible and there are no souvenier huts to buy stickers at. Yes, we collect stickers for every pass we can get them for. The fun really starts further along SR48 with the Passo di Falzarego, where we photobomb a bunch of Swiss guys  trying to take a group shot at the pass sign.

DSCN4023

DSCN4020

DSCN4027

IMG-20130922-00651

DSCN4030

DSCN4035

From Falzarego, we head west on the north side of the Marmolade Group, to better see the peaks. Stunning from the road, for sure. We have our first experience with Italian fuel stations, which are not open normal hours and require use of an automat. 252,3kms for a total of 500,1kms. Figuring that out is so exhausting that we have to sit down and eat lunch. We turn south on SR203, then onto SP641. Next up is Passo Fedaia, with a beautiful view of a Stausee (retention lake) high up in the middle of the group. From Fedaia, we briefly rejoin SR48 and enter the venerable Sella Group on SR242, and meet the first real traffic of the trip.

DSCN4039

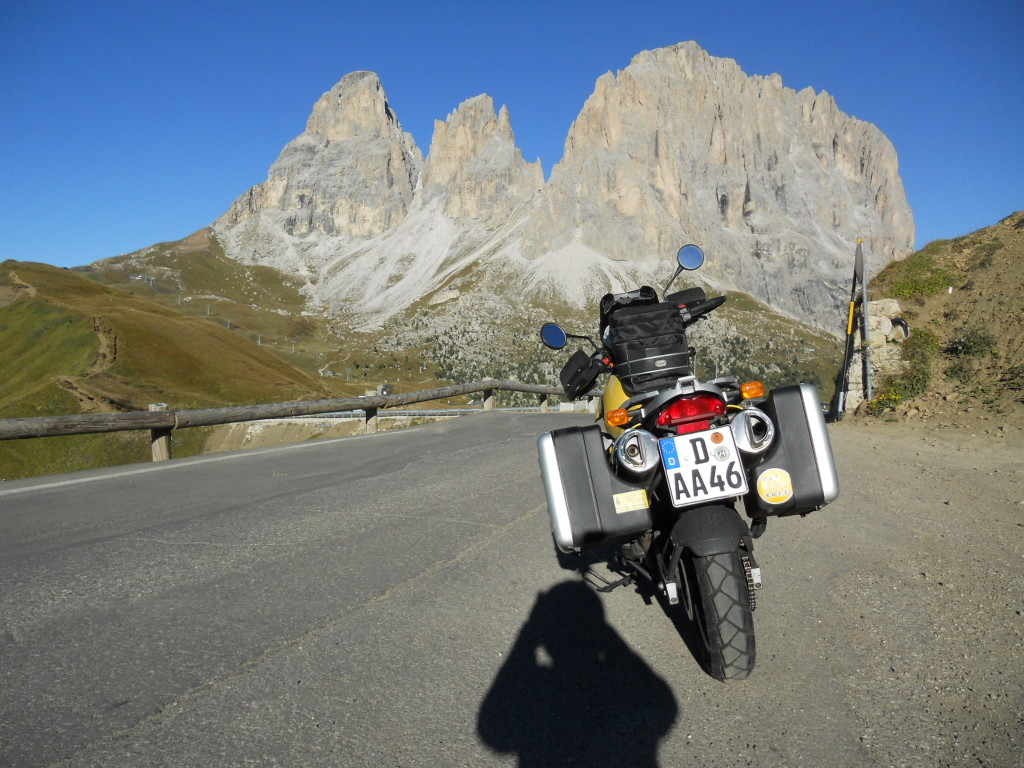
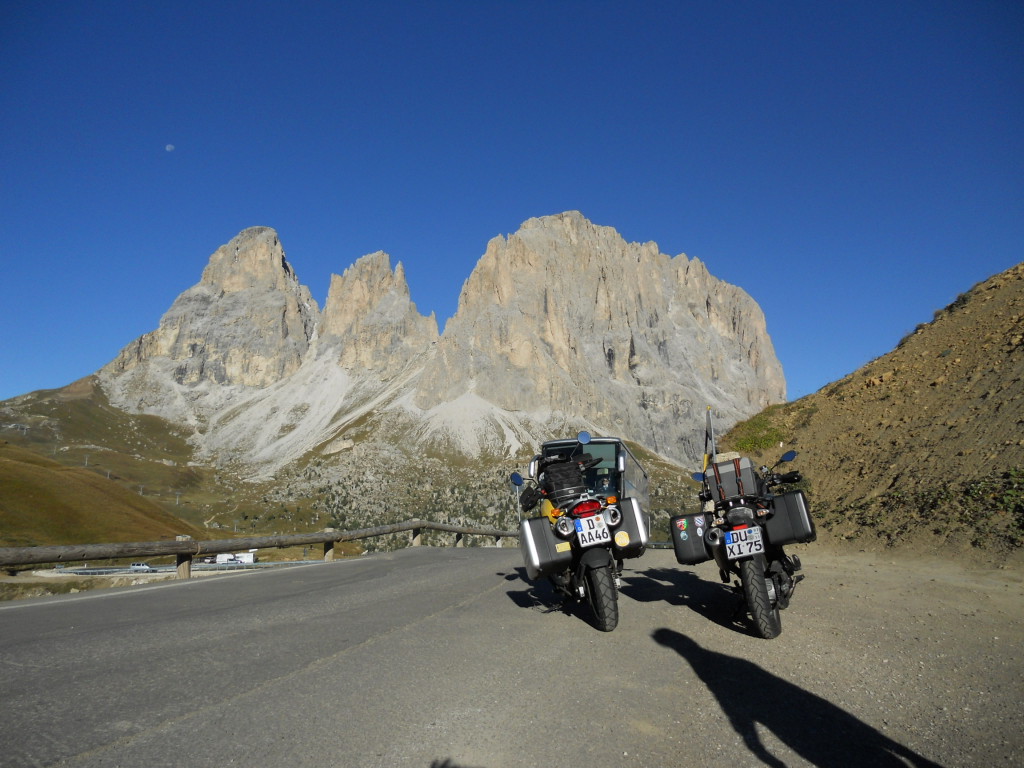
The Sella Group offers some of the most profound scenery of the entire trip. The terrain varies from gently rolling meadows to Martian landscapes. The first ascent is to Passo di Sella (Sellajoch), and is miserable with tourist busses. The traffic is very heavy and very unfun. When we halt at the top, we wait for a gap in busses before beginning the descent. We ride the rest of the Sella circuit clockwise, turning onto SS243 to ride through the Grödner Joch (Passo di Gardena), where we encounter a group of elderly tourists with an endless parade of questions, starting with “Why do your motorcycles have BMW stickers on them?”, “Are those real BMWs?”, “Did you ride those here all by yourselves?” and continuing on. After a few more, I inform the small crowd that all info on the bikes is available at their local BMW dealer.

DSCN4044

DSCN4048

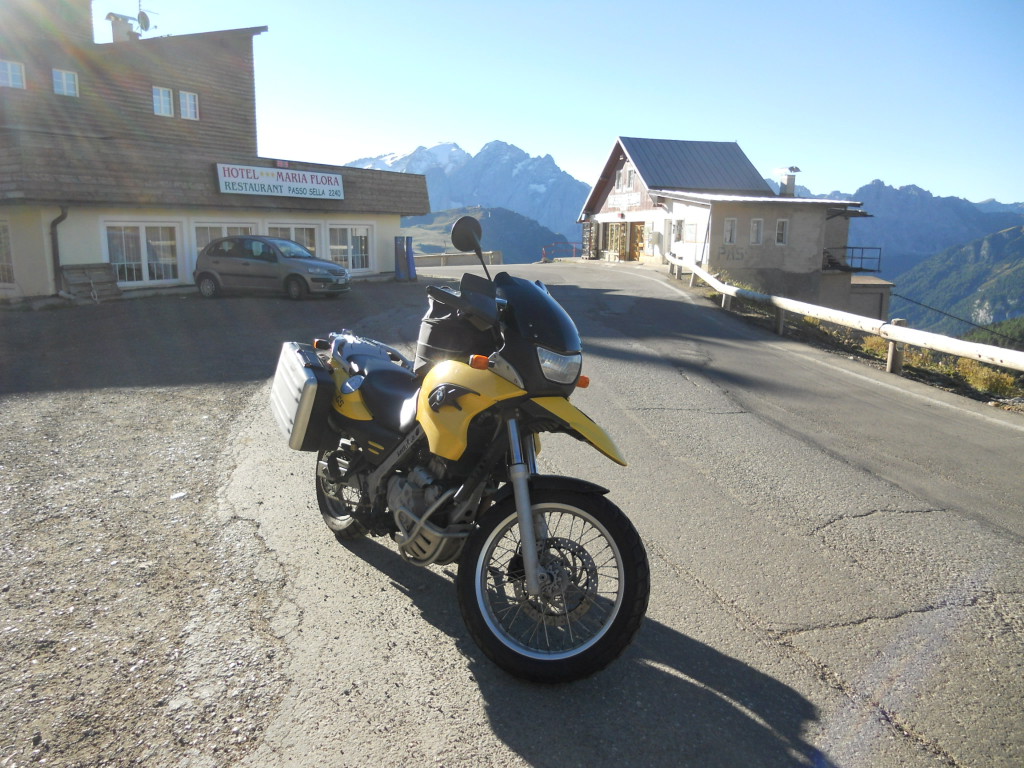
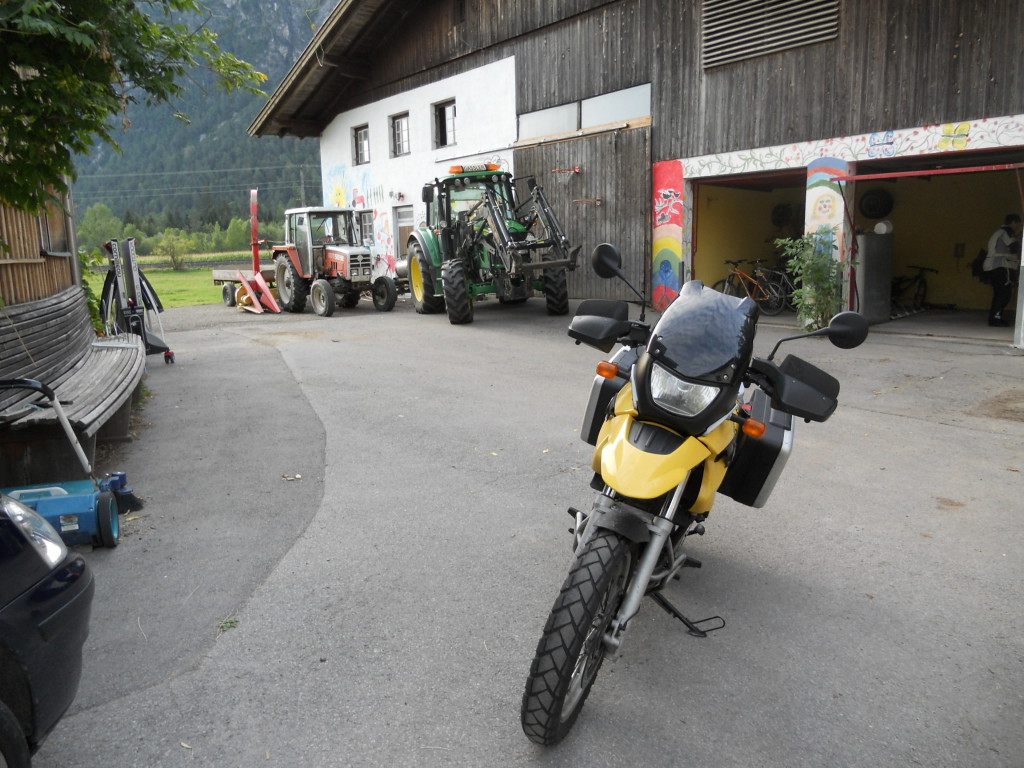
We ride on to SP244 over the Passo Campolongo (nothing to stop for), and finish the day on SR48 on top of Passo Pordoi after a quick 33 tornante ascent that counts as one of the highlights of the trip due to the absence of traffic, the road character, and the unusually curious cows penned at the roadside. We hole up in the Hotel Savoia for 50€ a head including breakfast, garage, and a four-course dinner. We highly recommend this hotel. Excellent service, food, and accessibility.

IMG-20130922-00660

DSCN4063

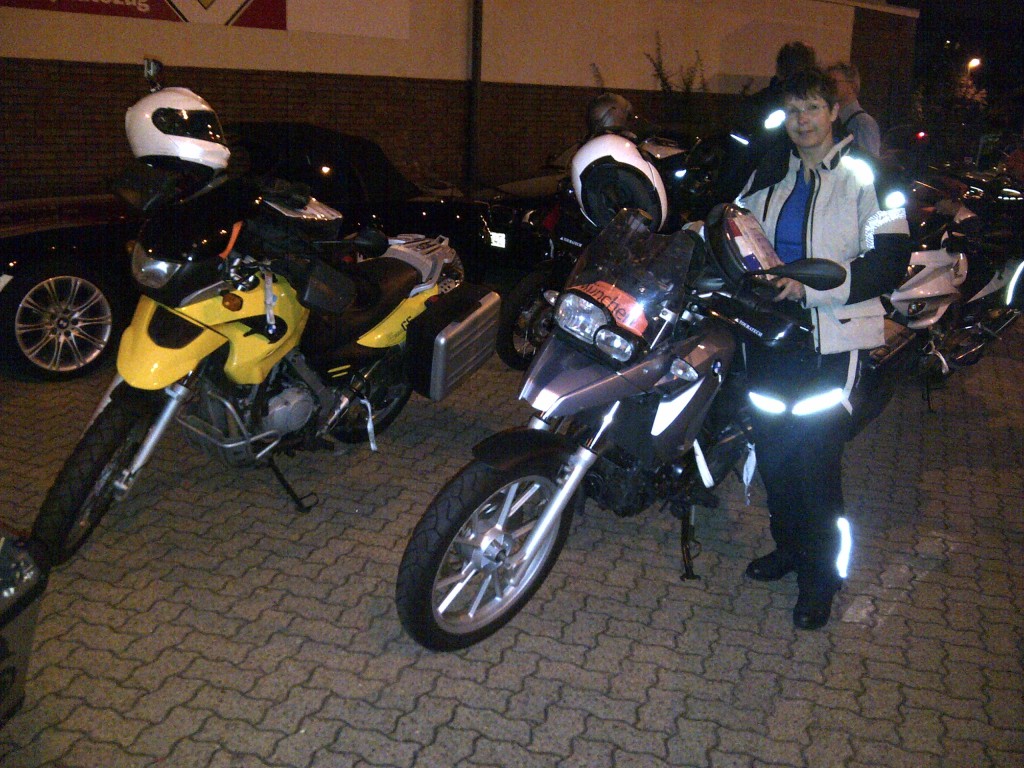
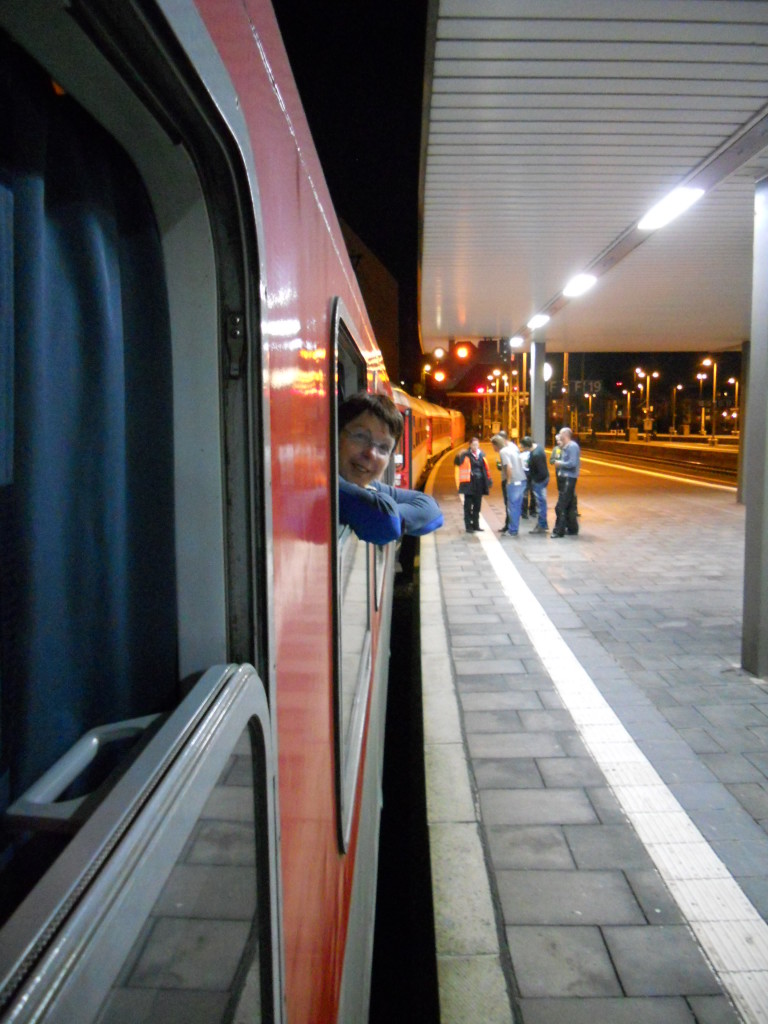
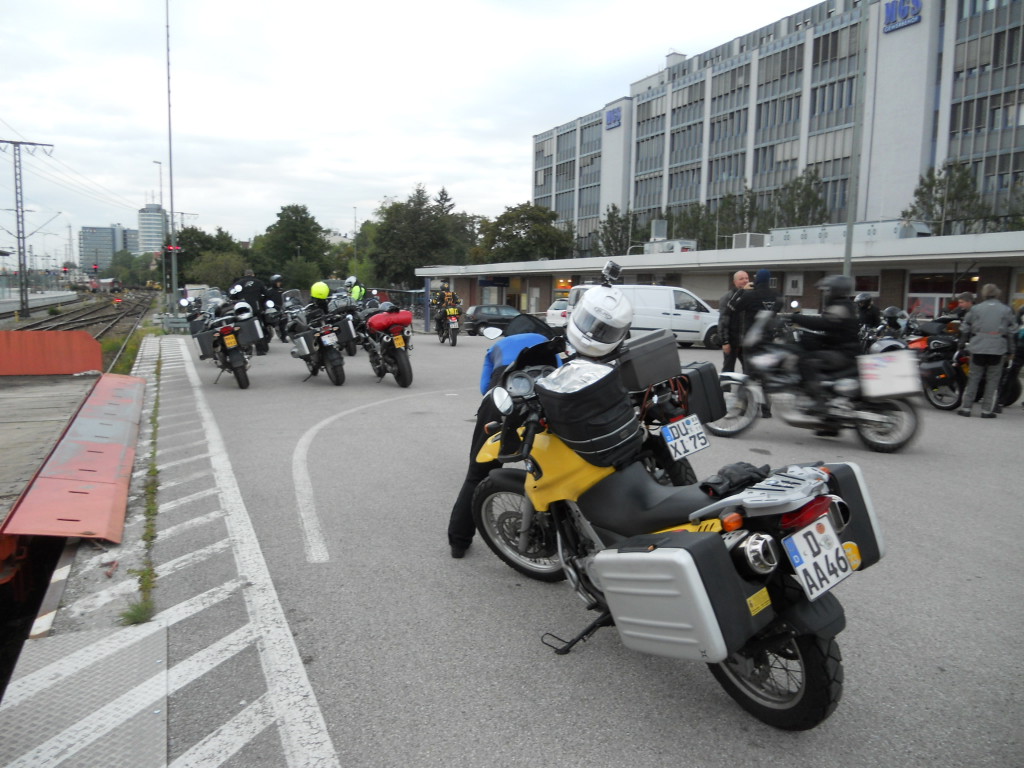
Two chicks, two F650s, and two big dreams. Katherine, on an F650GSa single with an ebay engine that was installed a whole three weeks before the start, and Sabine, on a F650GS twin that she has owned from new, off to ride the Alps in a nine-day pass-bagging adventure that would check off entire bucket lists for some people. What started as a wish to see the Sella Group (Sabine) and a burning desire to run Stelvio (Katherine) ballooned into a trip that eventually included 2600kms, the weirdest train ride ever, and 36 Alpine passes. The trip actually started on Day 0, when we boarded the DeutscheBahn AutoZug in Düsseldorf with 37.4 miles on the trip odometer. Lined up at 20.00 or so, we were in a group of roughly 40 motorcyclists and 30 cars bound for München. The train also included a section going to Innsbruck – the vehicle carriers were separated in Munich so that the Innsbruck-bound passengers would not have to wait for unloading. Among the cars going to Munich were a group of British Elise enthusiasts who we would see and speak with again, and a group of three riders who we agreed (with a smile) to meet in Bolzano, as we were all headed there at one point in our journeys. Funny how everyone had similar itineraries… Düsseldorf-20130920-00638

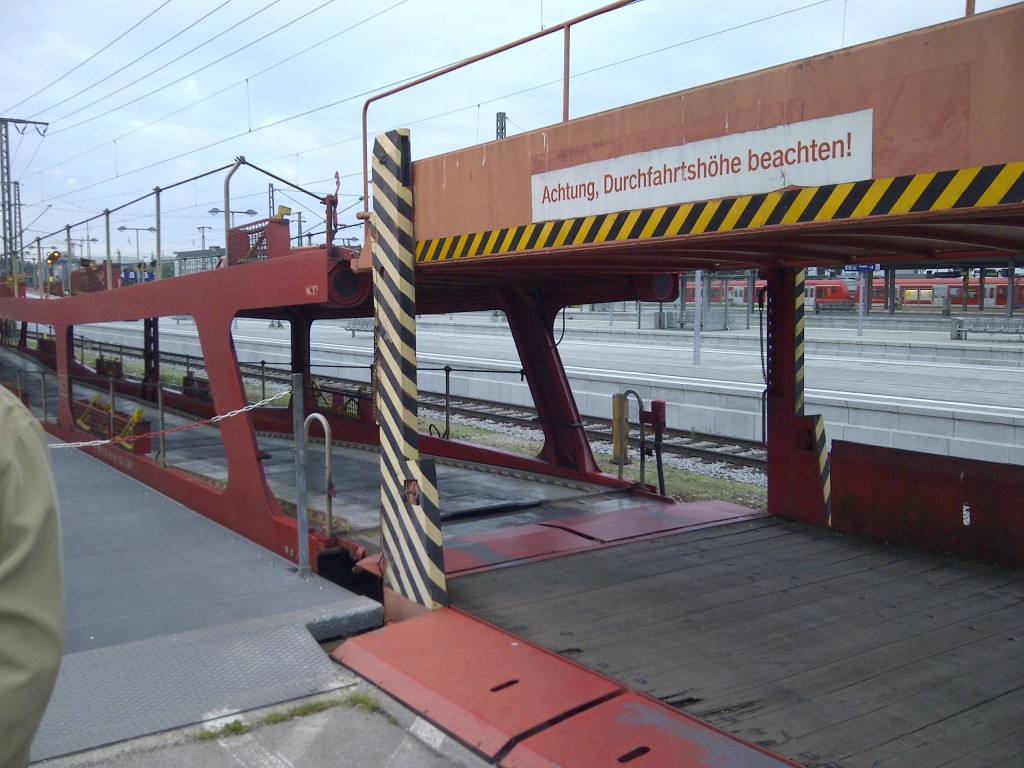
The AutoZug is not for the faint of heart. The carriers are two-level and motorbikes live on the lower floor. The clearance is 1.56m, shorter than me. Motorcyclists attach tiedown straps to prefered points on their bikes, ride them in, and ride out after the trip. I rode in with my chin bar firmly pressed to my tank bag, and was warned to remove my GoPro from my helmet. Rats, I really wanted that on video, too. The DB crew moved in and secured the bikes with cleats front and rear and tiedowns. DSCN3947 IMG-20130921-00644 DSCN3939

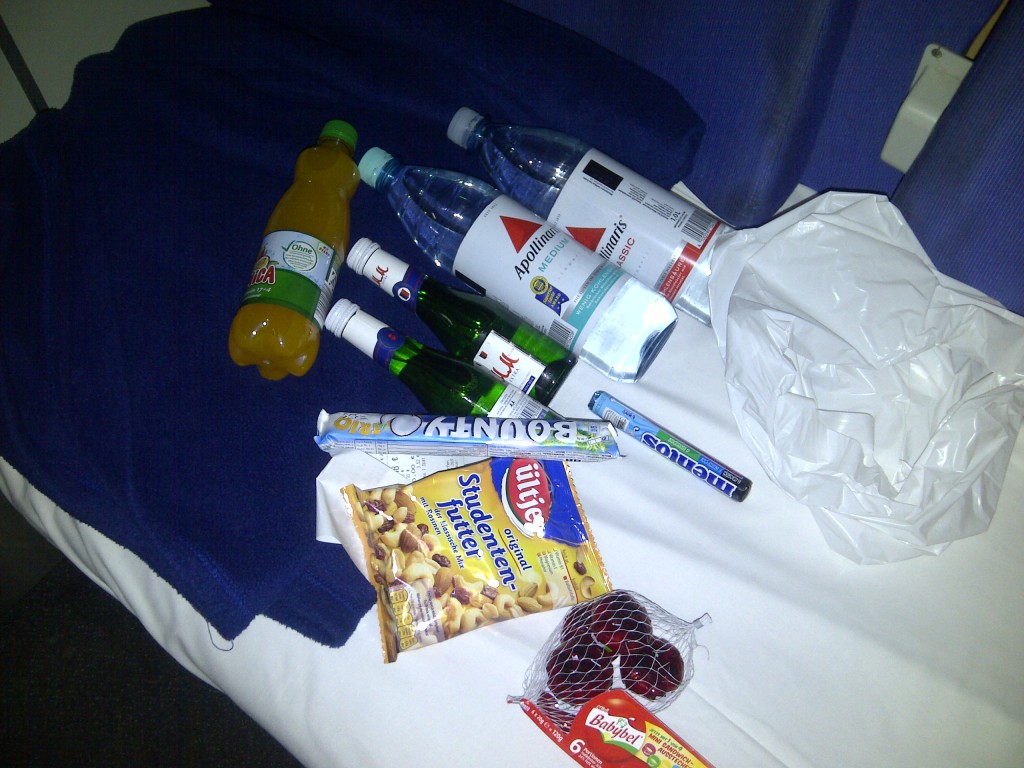
We booked a compartment for ourselves – adding about 15€ per head to the ticket price. As we managed to get a pretty smoking deal on the tickets, this was a logical upgrade. 187€ total, including two passengers, two bikes, and two breakfasts. By booking the entire compartment, we did not have to deal with anyone else. Many groups had the same idea – the three guys were two cabins over. The changing in the hallway thing worked for them, but not us. On the other side was a group of five riders, also bound for the Alps, but east instead of west. DB equips the compartments with standard european power outlets, plenty of lights, good curtains, and these things that function as beds. It all adds up to a decent way to get some sleep and distance in, at least for what was going to be a transit stage anyway. I collected some additional items at the Bahnhof grocery store, and we tucked in for the night. DSCN3941   IMG-20130920-00639
Getting off the carrier is no worse than getting on. If you’re 2.2m tall and riding a GSA, it’s clearly not fun, but for short people on short bikes, it’s not that bad. Just don’t lift your head up. You exit the carrier into a deployment lot where the riders assemble and build up their bikes for the big trip. Any luggage carried into the cabin is remounted, and then it’s off on tour! We are the last out, as I wait for my riding partner to get her bike built. DSCN3959

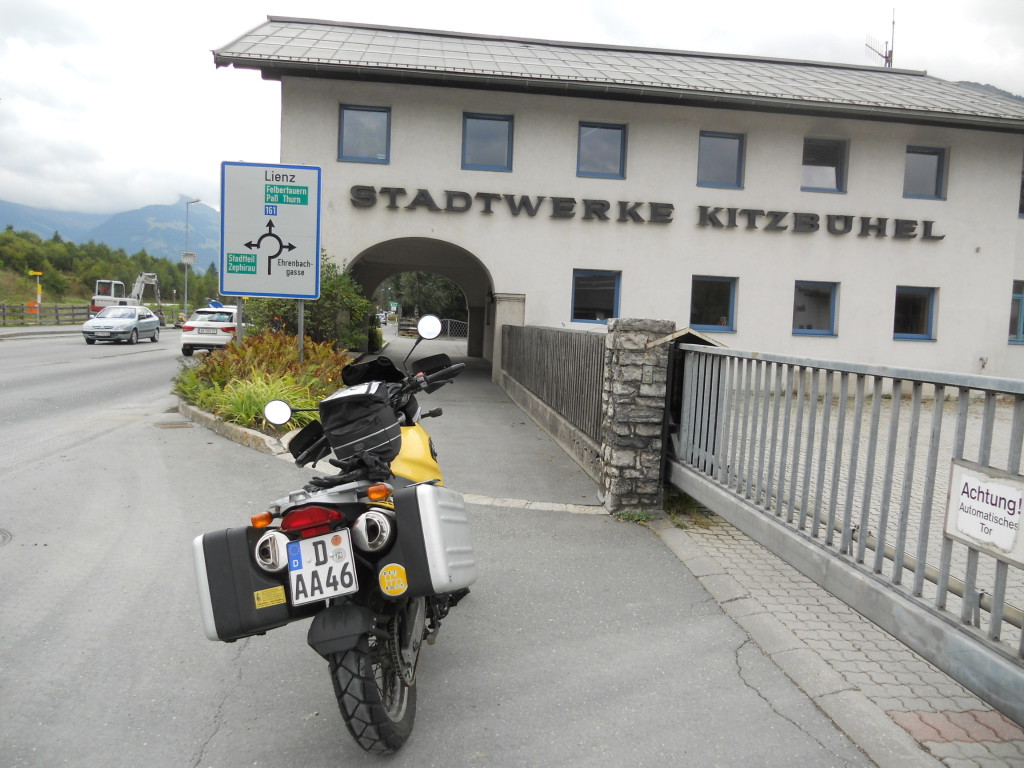
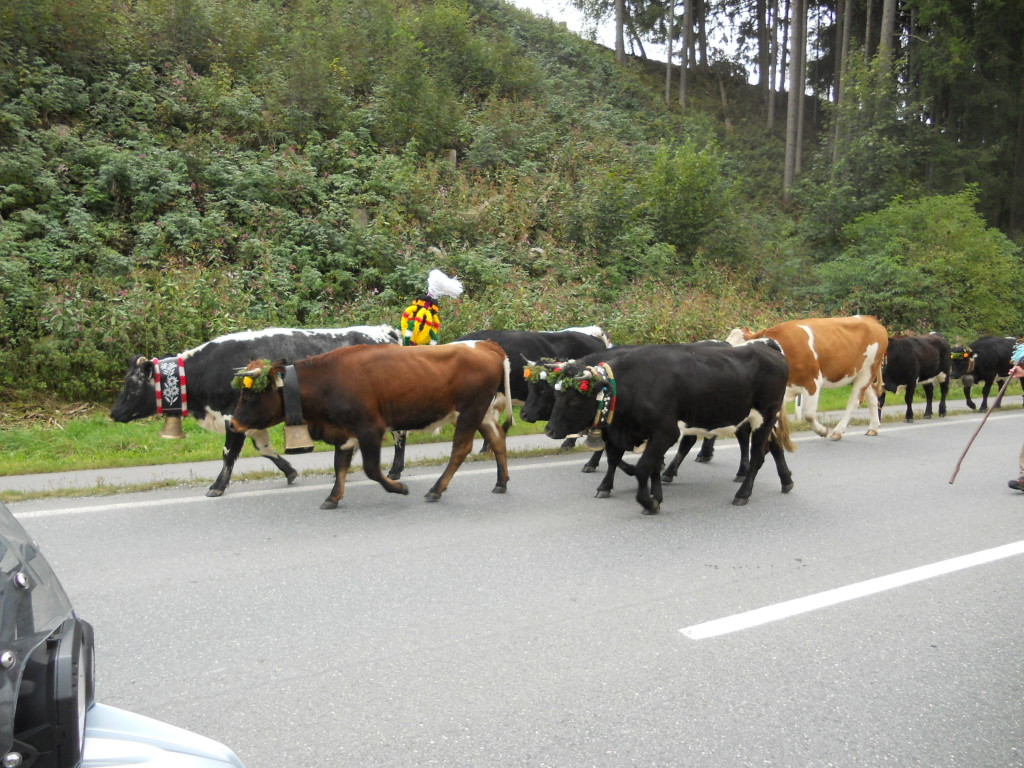
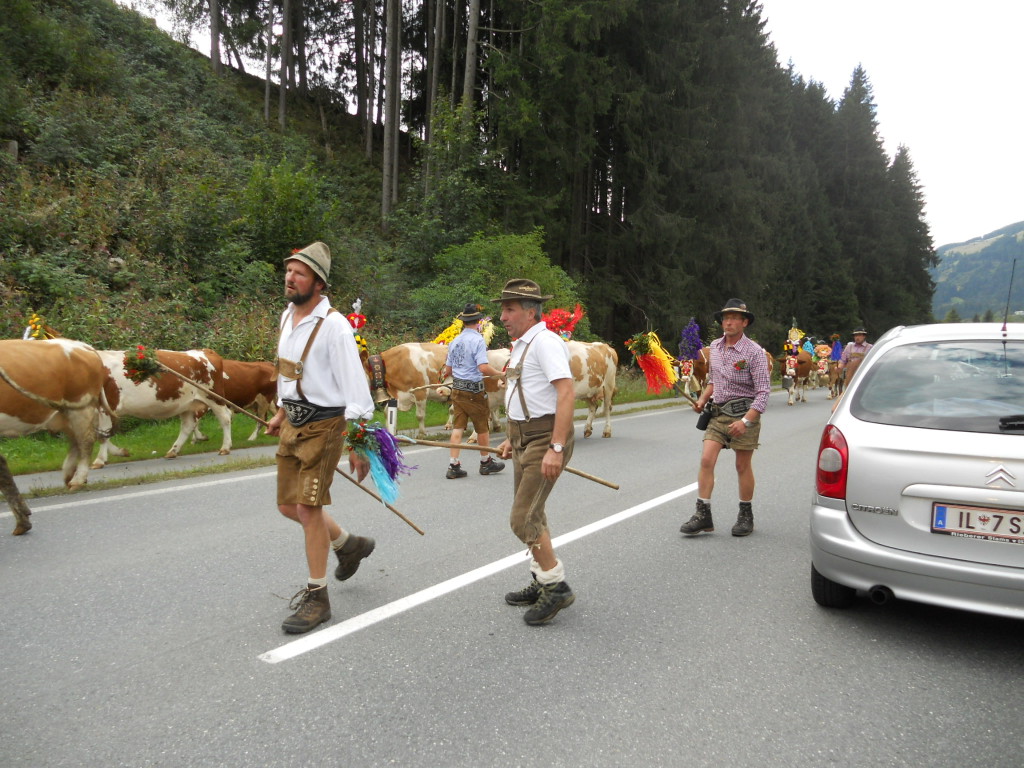
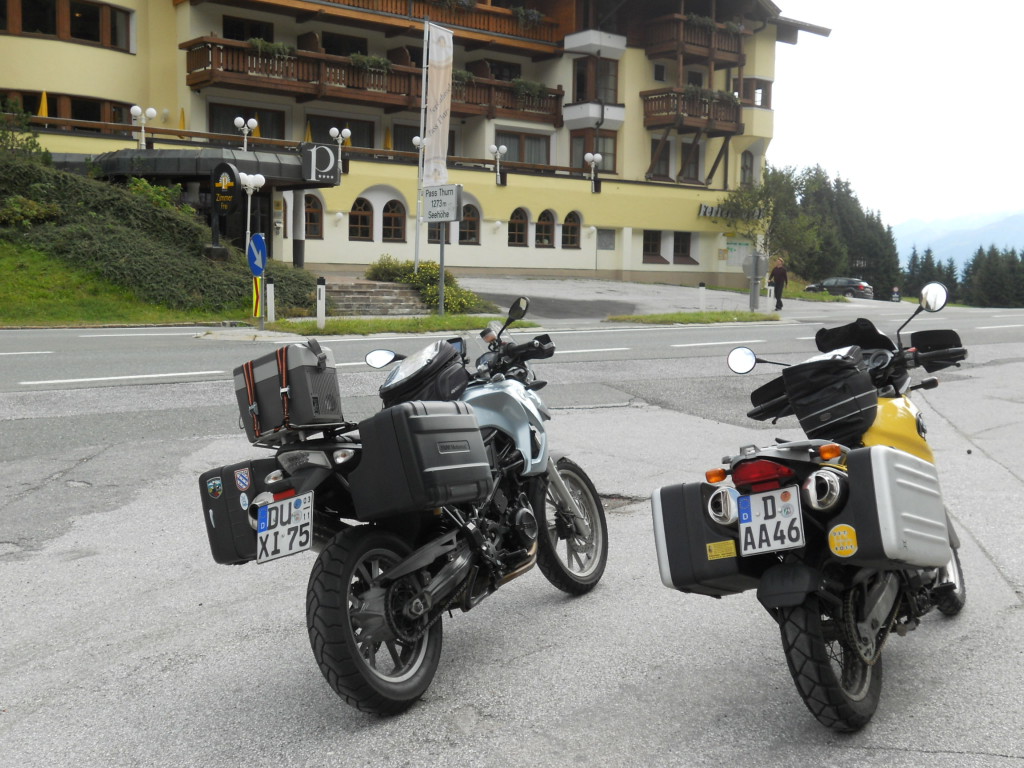
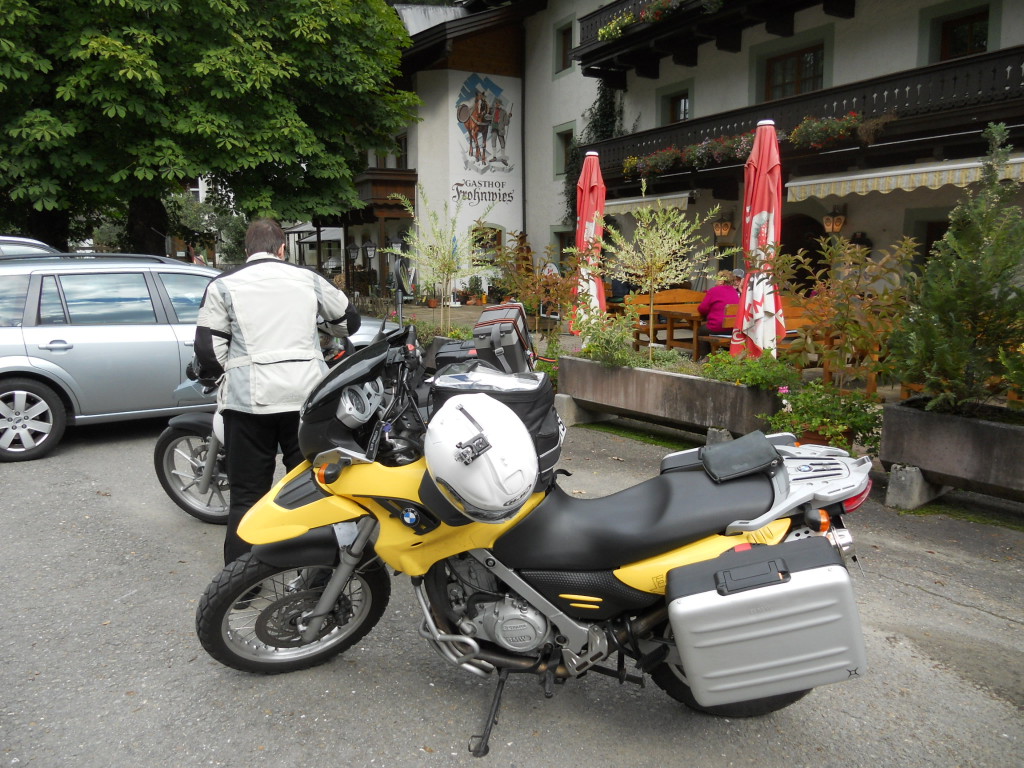
Day 1 is planned to take us first to the Sudelfeldstrasse and Tatzelwurm, then to Kitzbühel, Saalfelden, and down the Grossglockener Hochalpenstrasse to Linz, Austria. We start off on the A8, southbound to the B307 and the Tatzelwurmstrasse. The Tatezlwurm consists of a few linked up Kehren, or switchbacks, but not much else. The scenery is pretty, though. I’ll continue to use the words Kehren and tornante to describe these turns, depending on where I am at the time. From Kufstein, we head across the B173, B178, and B161 down to Kitzbühel over Pass Thurn, the first real pass we took. On the way, we stop for a bunch of decorated cows, the annual Almabtrieb in which the cows are driven down from the mountain peaks into the valleys for the winter. At this point, we run into the three guys from the train for the first time. At Pass Thurn, a tourist bus driver moves his bus for us so we could take a photo with the pass sign. From there, it is across the B168 and stopping for fuel (285.2kms on the odo, total 247,8 total), then up to Saalfelden for a quick shoppping stop and lunch at the Gasthof Frohnwies.

DSCN3960 DSCN3961 DSCN3972 DSCN3969 DSCN3977

DSCN3980

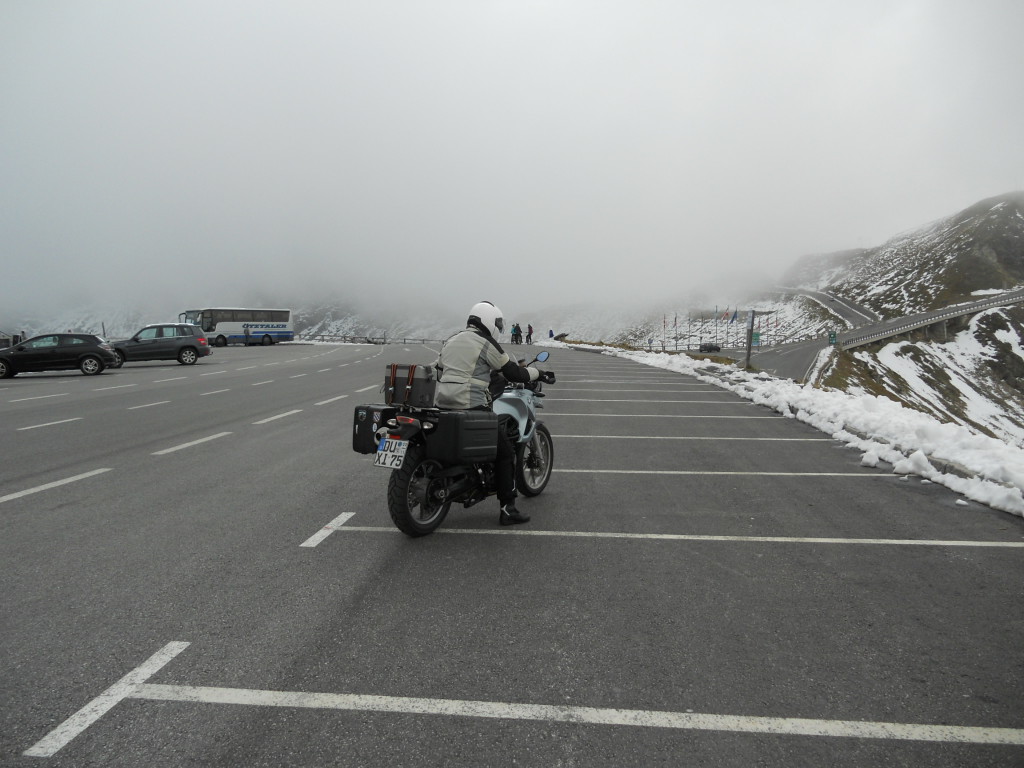
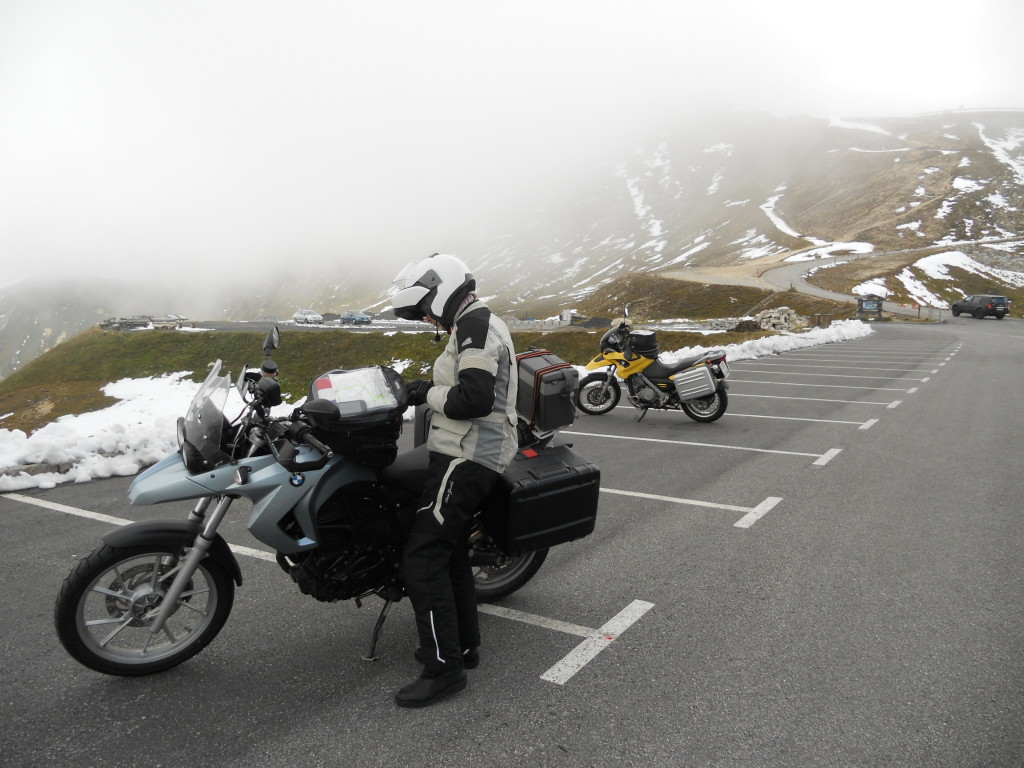
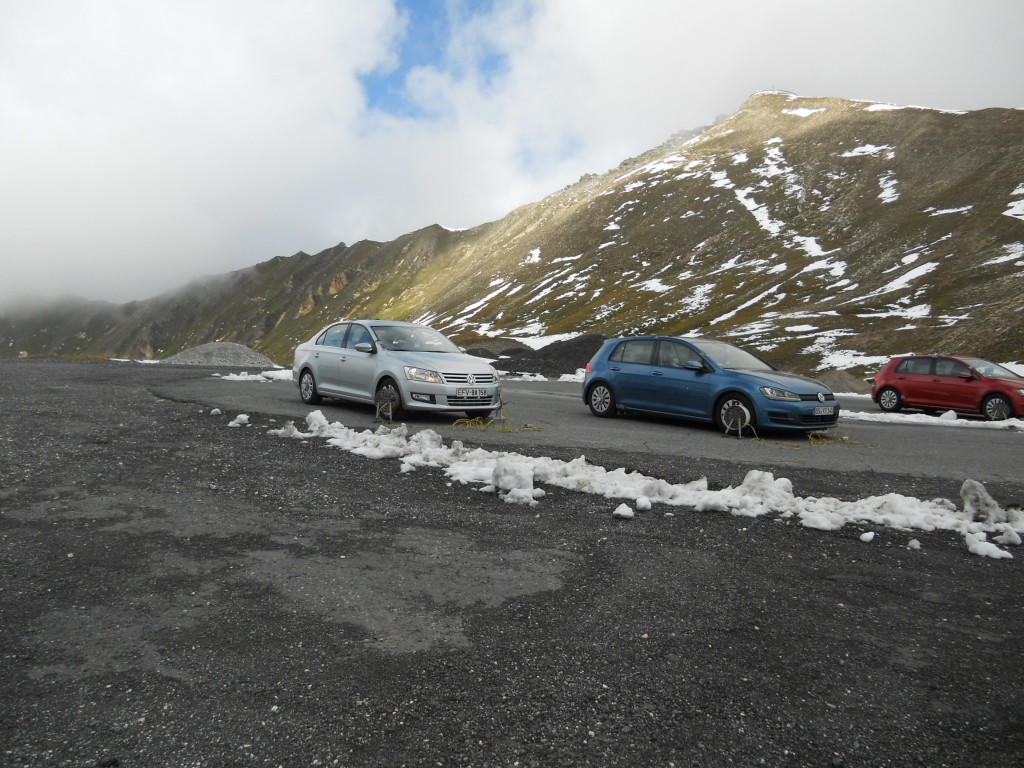
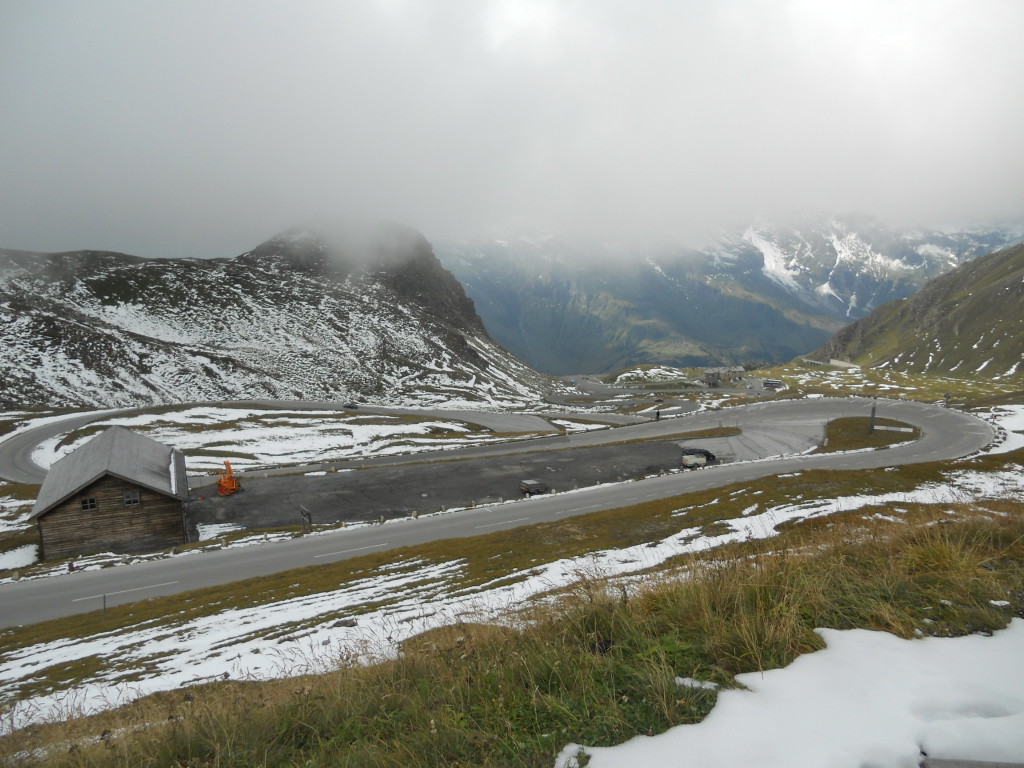
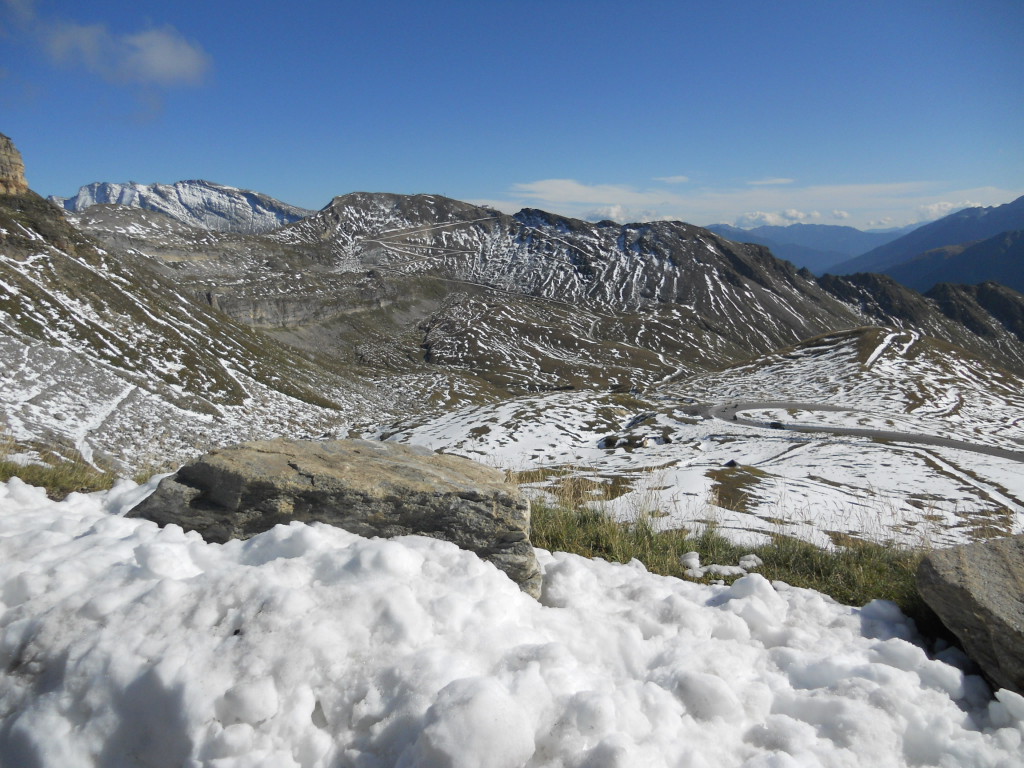
After lunch, we head on to the Grossglockener Hochalpenstrasse, one of the original Alps passes and the highest in Austria. It consists of beautiful ascent and descent ramps and two actual passes, the Fuscher Törl and the Hochtor. The Fuscher Törl is in the clouds when we ascend, on the other side, the Hochtor is in the sun. Not bad for our fist big ascents. We avoid the Edelweisespitze as it is not only in a dense cloud, but paved with cobblestones, a surface neither of us love. At the Fuscher Törl, we find cars being tested for braking function.

DSCN3983 DSCN3988 DSCN3991 DSCN3994 DSCN4001 DSCN4011 DSCN4014

We wind down the day by heading to Linz, and just past there, find a small pension that offers us room and board for the grand sum of 35€ a head. Including a garage for the bikes, not so bad! On the way there, I have to make an ugly uturn and my bike takes a nap, but no damage and those Vario boxes are a lot tougher than they look. DSCN4021

I’ve planned an Alps tour with a GF.

Links to Google Maps tracks…

1 München Ostbahnhof to Lienz

2 Lienz to around the Sella Group

3 Sella Group to La Rösa

4 La Rösa to Landeck

4a Landeck/Perfuchs side loop

5 Landeck to Stanzach short way

6 Landeck to Stanzach long way

7 Stanzach to Stuttgart

The idea was to allow ourselves some short cuts and extra roads to use, depending on how the trip goes. We may also take an extra hour to ride into Lichtenstein, just to say we were there.

I’m one of the riders who wanted my feet down on my first bike. I am not ashamed of this. It was some security and I needed it. Being able to put both of my feet down gave me confidence that I wasn’t going to tip over, wasn’t going to damage my bike, and was going to make the ride. When I found my lowered F650GS, I was ecstatic. Honestly, it’s been the perfect starter for me. It’s got a propellor on the side, I can get my feet down, and it’s Mandarin Yellow. It’s autobahn-friendly, dirt-friendly, and (grrr!) garage-friendly. And, if I didn’t mention it, I can get my feet down. With a slight bend in my knees! I spent a year and a half with it becoming a confident and reasonably capable rider. To that end, it served its purpose with distinction.
My confidence grew as I got proficient with the baby GS and I was starting to wonder what it would be like to ride a non-lowered bike. I was starting to only use my toes at stops. I was bending my knees so that my heels weren’t down. I was experimenting with not having my feet down by tripoding all the time. Due to some motor issues this summer, I made the decision to buy a second bike. The prospect of a vintage BMW floated by, but I dropped it due to not wanting two dead bikes.  I wanted to try something sportier and smaller, but also, something that was a bit taller.
I went with a Honda CBR250R. Before I broke it in, I could sort of get my feet down, but not all the way. My heels had quite a sliver of air under them, depending on where I was on the seat. My feet came down in front of the pegs (gasp!!) when they came down at all.

Riding the CBR250R is a completely different experience from the GS, not the least of which is the fact that my legs are straight and my feet are mostly down when I am stopped. I tripod it everywhere, because both feet don’t go down on the ground like on the GS. And it is good. My increased confidence lends itself well to the higher seat and less foot contact. My improved balance makes handling the more top-heavy CBR much less of a challenge. And, frankly, having my down leg straight is really stable. Much more stable that I could have ever imagined when I started this whole riding thing. Now I understand those guys who look so cool and calm with a bike balancing against one leg, the other foot up on the peg. I can do that too now. 

Recently, though, I’d started to question my choice of the CBR, due mostly to the cost and the extent of the issues with the GS, partly due to the amount of back pain I’m enduring as I convert to the new riding position. I got the GS back on the road last night, and I now have a different perspective on the matter.

After riding the GS last night, I know that the CBR was not only the right decision, it was a good one and a very good one at that. Just as wonderfully good as the yellow GS has been. The CBR is teaching me confidence in a different way than the GS did. And honestly, the stupid GS pretty much rides itself. You tip it into a turn, it pops right back up. It’s so stable. The CBR wants to lean and lean and lean. Just going right to my dream bike, a 1983 R65, would not have given me a new view of riding like the CBR is giving me. I also wonder if starting low gave me a edge up on the going taller game – basically, I have something to compare taller to. I can from the get-go understand why the taller CBR is just fine and in some ways even more stable at a stop than my low GS. I can appreciate the CBR more because I know what it is not. Also, did I mention the GS is low. Like too low. What do I do with my legs low. I still love it, but now I think it needs a lift kit – I’ll find someone in the US to swap regular parts over for my short parts when I get home so I can put down a straight leg instead of a bent one and get some of that newfound stability.

I think that I can serve as the poster girl for starting with a lower bike and moving up. The low GS gave me the tool I needed at the time. It’s still a fantastic tool that I adore riding. But I didn’t stop there. I moved a bit higher, and I can now see an F800GS in my future. The seat height no longer scares me. I might not be seeing that if I was still fighting with a taller bike from day one. Just like your first bike doesn’t have to be your last one, it also doesn’t have to be te tallest one you ever ride. You can always move on up with the next one.

The answer to getting your feet down is do it if you need or want to, but stay open the idea that one day, you might find yourself pretty comfortable up in the air, sticking a toe out once in a while to touch down. It worked for me.

note – It was pointed out to me that the CBR is very light, and that is helping with the transtion. Yes. And there will be more transitions in the future, thanks to that.

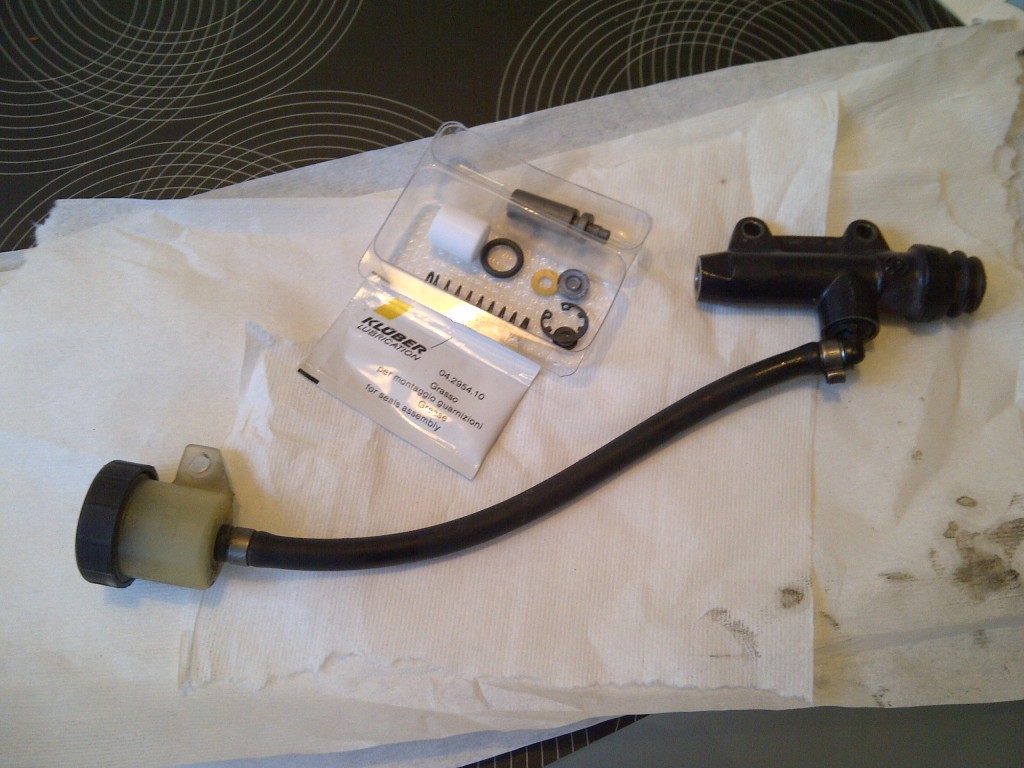
The 11mm Brembo master cylinder fitted to the rear braking system on many Aprilia, BMW, and KTM motorcycles is a weak point, to put it mildly. Regardless, it is fixable. See below for how and why.

0. Tools required
Inside circlip pliers
10mm socket
5mm hex drive
2mm long drift (10cm) or 2mm Allen wrench
Tack hammer
Long-nose pliers
Flat-head screwdriver
Dental picks
Dremel with small round cutting bit
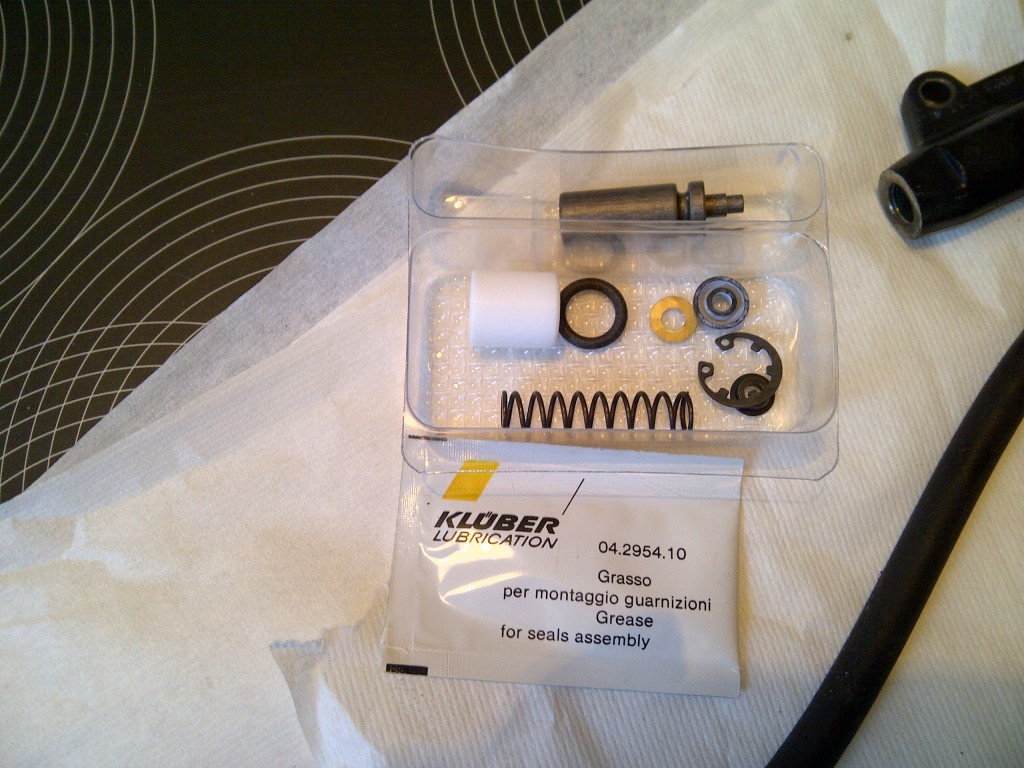
One full rebuild kit from Brembo, part number 110.4362.41

1. Remove the master cylinder from the bike. To do this, remove the bolt holding the brake fluid reservoir and washer with a 10mm socket. Return the bolt and washer to the hole to insure they are not lost. Drain the reservoir and replace the lid and gasket. Release the brake line fitting from the top of the master cylinder and back it out entirely. Remove the two bolts securing the MC to the bike using a 5mm hex drive. Lift the MC away from the bike, clearing the brake line at the top. The push rod will slide out of the rubber boot at the bottom with a slight tug. Return the two hex screws to the bike for safekeeping.

2. Retire to somewhere warm (or cool…), you might be there for a while. Bring the MC with you. Spread some paper towels or other protection out, and drain the master cylinder fully. Set aside the rebuild kit for later.

IMG-20130113-00182

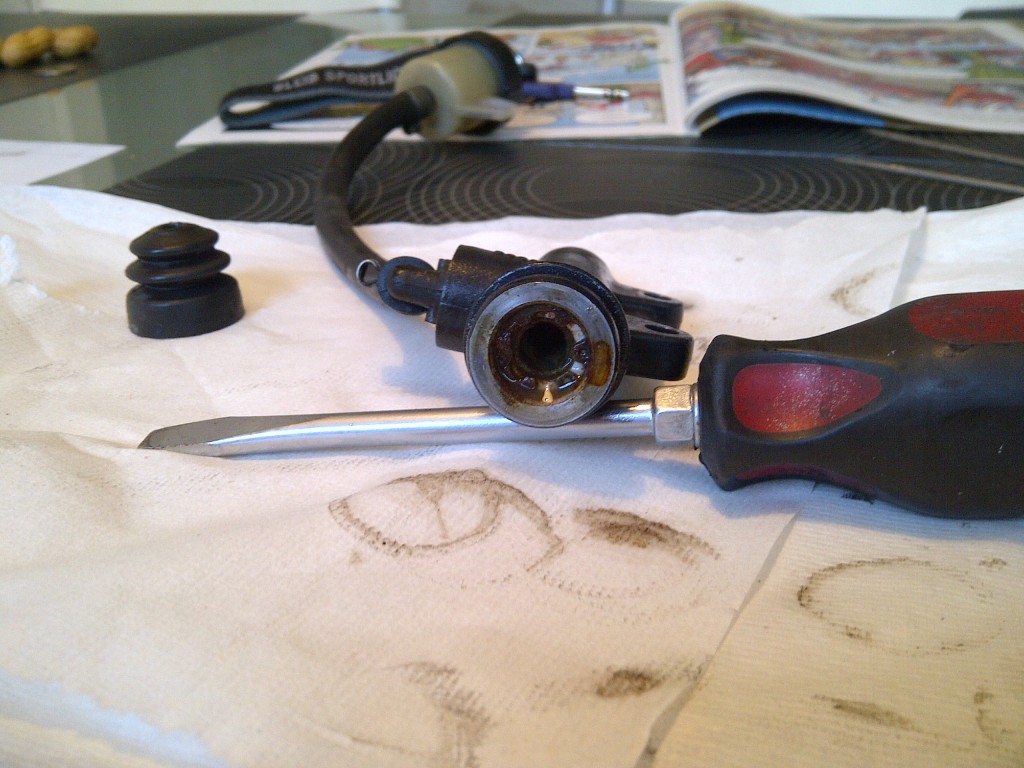
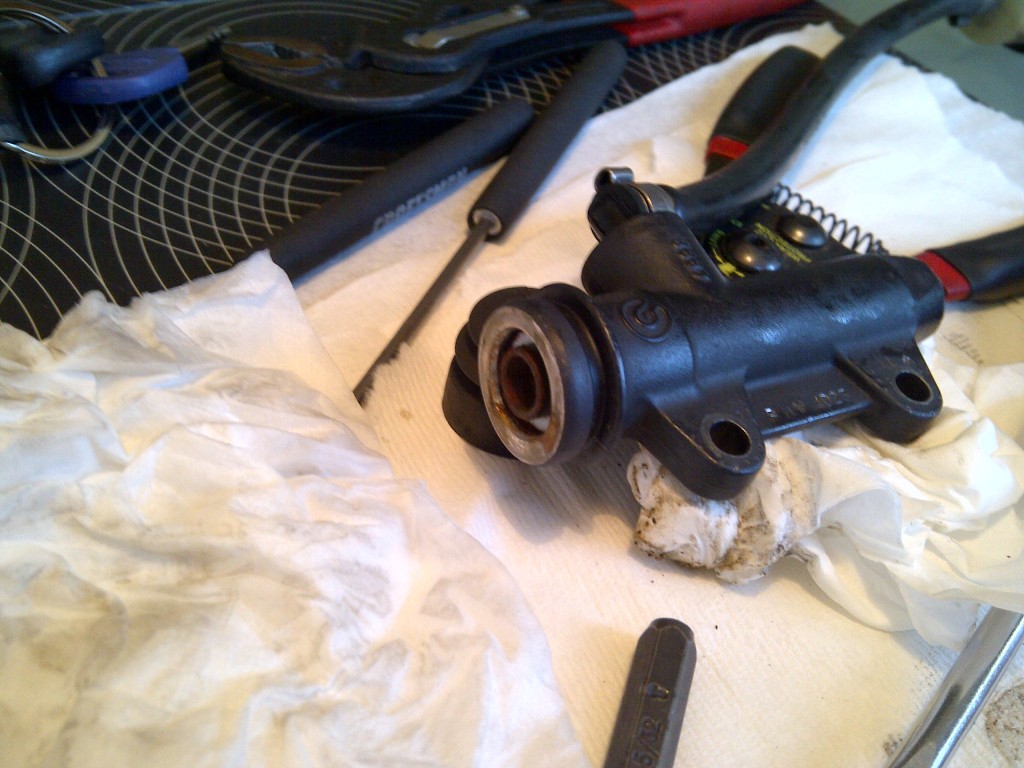
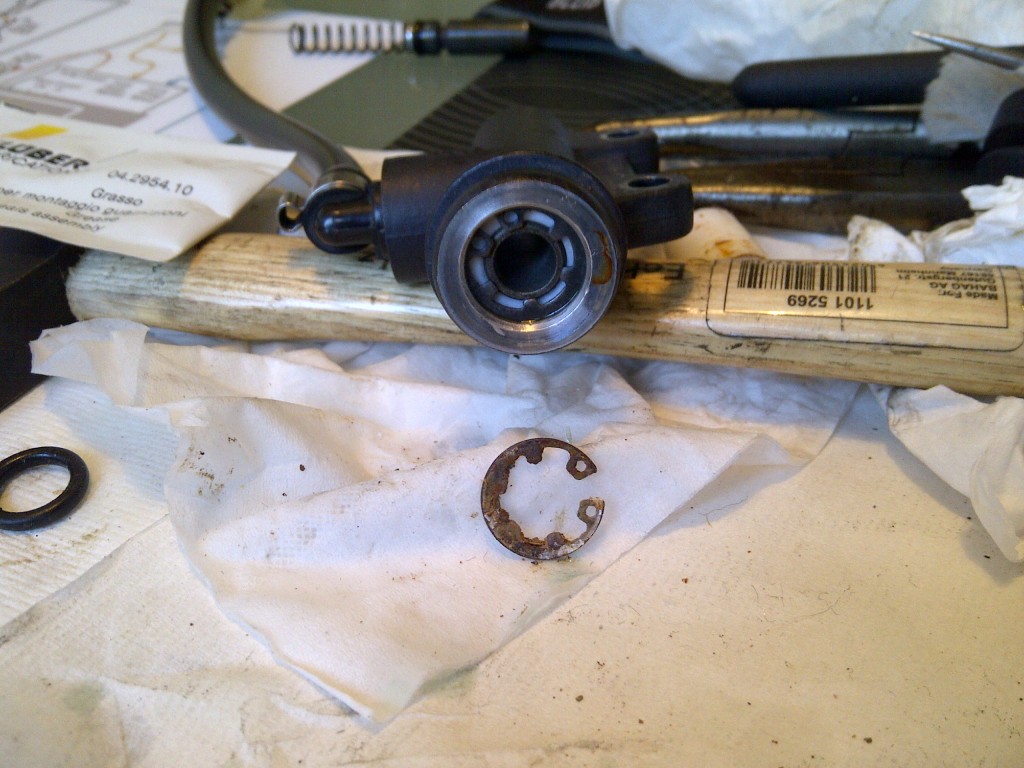
3. Carefully examine the MC. Remove the rubber boot by tugging at it gently. To help it, insert a flat screwdriver into the groove at the base of the MC and gently prise the boot away. Looking down the bore of the MC, you will see the piston at the center, a white spacer surrounding the piston, and a circlip holding it all together. The circlip may be rusty, if it is, you have some work on your hands. See below for a good (bad) example of a rusty circlip.

IMG-20130113-00184

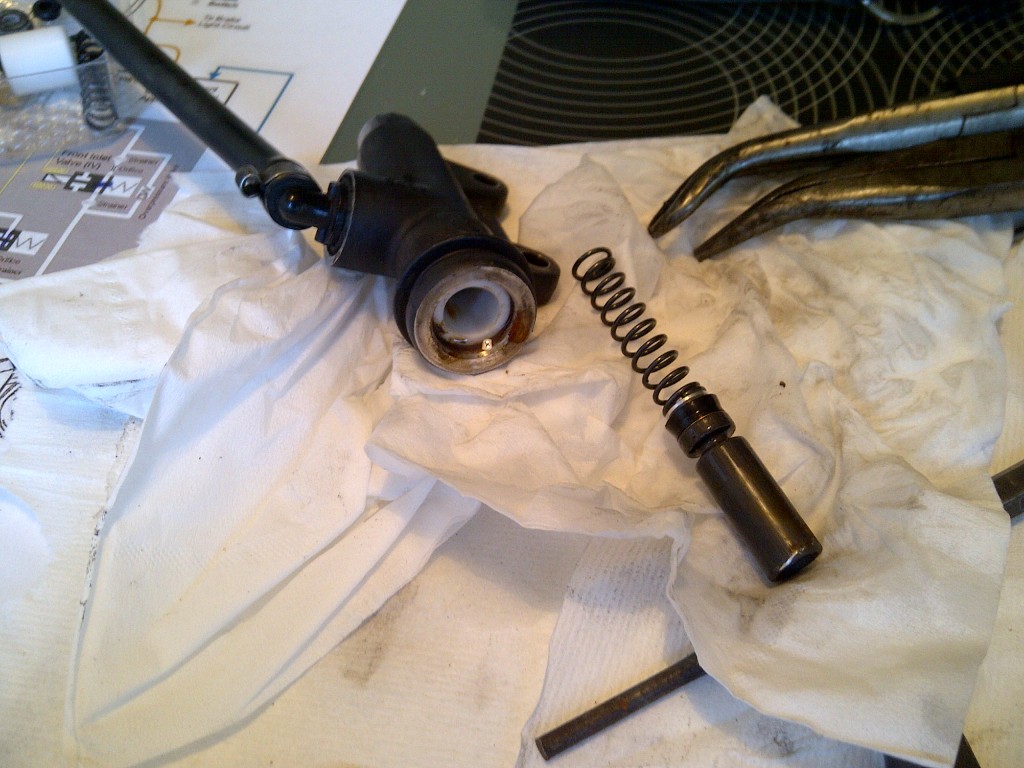
4. Remove the circlip using inside ring removing pliers. If the piston is stuck, use a long 2mm drift or a 2mm Allen wrench to drive it out from the top side. Tap the drift or the Allen key gently with a tack hammer, checking the other end for progress occasionally. When approximately 4mm of piston are exposed, gently grab the piston with long nose pliers and slide it out. This will all require some effort. The spring and spring seat will also come out at this time, or can be shaken out gently. Examine the piston for corrosion and clean it.

IMG-20130113-00185

IMG-20130113-00187

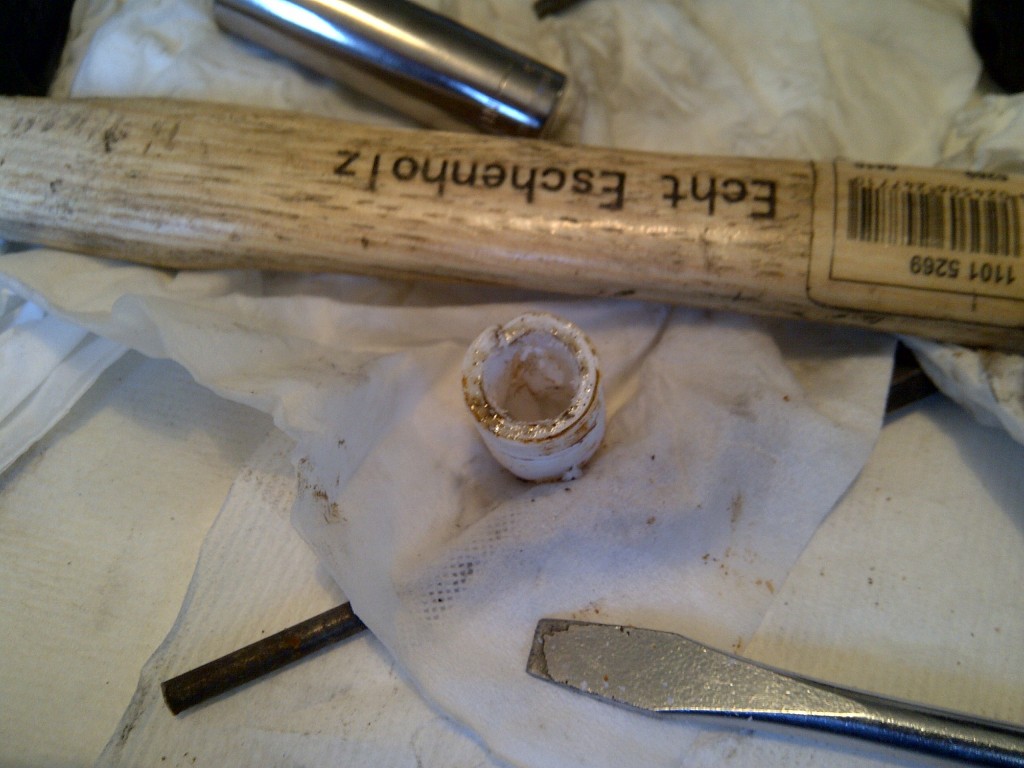
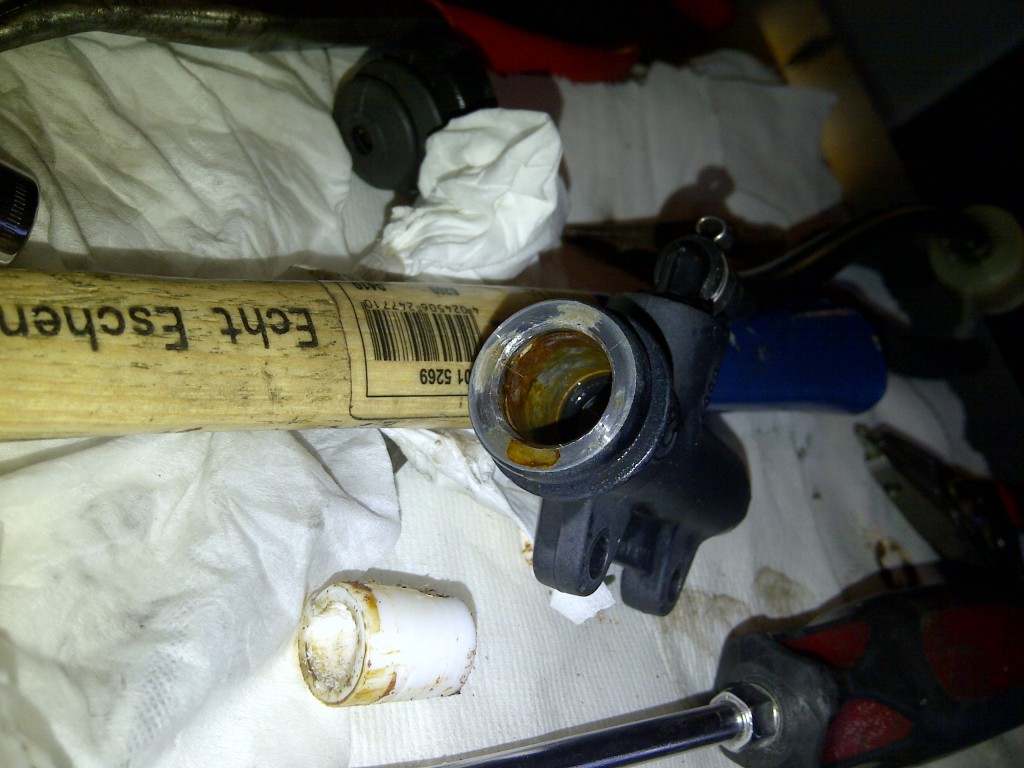
5. Now for the fun. The white sleeve may not slide out willingly. If it did, you would not likely be attempting this repair. A rather easy way to remove the sleeve is to grind or cut a groove in it. I used a 2mm ball-shaped cutting bit on my Dremel and ground out two channels, one the full length of the sleeve. Using the circlip pliers, twist the sleeve in the MC body and slowly work it out. Another way to remove the sleeve is to turn the bits of a 90° circlip tool to the outside and use it as a puller. In either case, take care not to damage the surface of the bore. It is not a sealing surface, but smooth is very important to the cylinder staying functional for any length of time. After removing the white sleeve, remove the o-ring that is still in the bore.

IMG-20130113-00190

6. Once the white sleeve is removed, you will have to clean the inside of the outer bore where the sleeve was sitting. If the circlip was rusty, you will likely also find rust inside of the bore. Using Scotchbrite, steel wool, or very fine sandpaper, remove the red rust from the bore. Clean the bore to remove the residue from this round of cleaning.

IMG-20130113-00188

7. This step is critical to determining whether the MC is going to be repairable for any length of time. After the red rust is removed, use a pick to investigate the condition of the outer bore. If you have tiny fingers, they will work, too. Now, you are looking for corrosion of the aluminium cylinder body. This is the corrosion that is causing the piston to stick, not the red rust. Using a pick, gently flake away any aluminium oxide that has built up in the bore. Under the oxide will be pits. There is no getting around this. Fortunately, these pits do not interfere with the operation of the cylinder if they are properly treated prior to reassembly. This process is slow and time-consuming, but will pay off in the end. When you have removed the fluffy stuff, carefully clean the entire MC and the reservoir and feed line. Blow them out well with clean water and air, and dry thoroughly.

8. When you have removed the aluminium oxide from the bore, it is time to open up the rebuild kit and start putting things back together. Remove the white sleeve from the kit and test fit it to the bore. It should float smoothly in the bore with only very slight resistance to turning or sliding. This indicates that the bore is free of oxide. Remove the white sleeve, and coat the inside of the bore with Loctite Silver or Heavy Duty (black) antiseize. Do not use copper-based antiseize! This coating should be very very light. Coat the new o-ring with brake assembly grease (HMW polyoxyethylene, supplied in the kit) and insert it into the bore. Insert the white sleeve and twist it gently in the bore. Assemble the spring to its spring seat, and slide the spring into the bore. Coat the piston and seal with brake assembly grease and insert them into the bore. The piston will stick out a bit.

IMG-20130113-00183

9. To finish the assembly, fit the new circlip to the inside circlip pliers.  Secure the master cylinder body and hold the circlip over the piston. Using a suitable drift, inserted through the center of the circlip, depress the piston into the MC, and secure the circlip. Treat the circlip with a drop of wicking grade low-strength threadlocker and, using a pick, draw the threadlocker around the circlip to coat it evenly.

IMG-20130113-00191

10. Bench bleed the MC and install it to the motorbike, in reverse order of removal. Fully bleed the braking system, including at least one ABS activation in the middle of the process.

Conclusion: The boot on the MC is poorly designed and encourages water to enter the space within the boot. Basically, the boot should be inserted into the MC, not sitting on the outside. This moisture leads to corrosion of the circlip. However, corrosion of the circlip is not the reason the whole thing fails, it is just part of a chain reaction of fail. Once the iron starts to go, it triggers a galvanic reaction in the aluminium and the aluminium begins to corrode. The problem is that aluminium oxide is fluffy. Very fluffy. And very incompressibly crystalline. This increase in volume puts pressure on the white sleeve and eventually causes the piston to bind.

My fix: Forget grease. It won’t hold up. Use a heavy duty anti-seize product like Loctite Silver or Heavy Duty (black) to fill the void between the sleeve and bore, and then coat the circlip with low-strength (green) wicking threadlocker, which is commonly used as an anti-corrosive coating on automotive fasteners. If you are in Aviation and have access to Alodine 1424 or the like, a coating of this on the inside of the sleeve bore (along with overnight drying) will also go a long way to preventing repeat performances.