
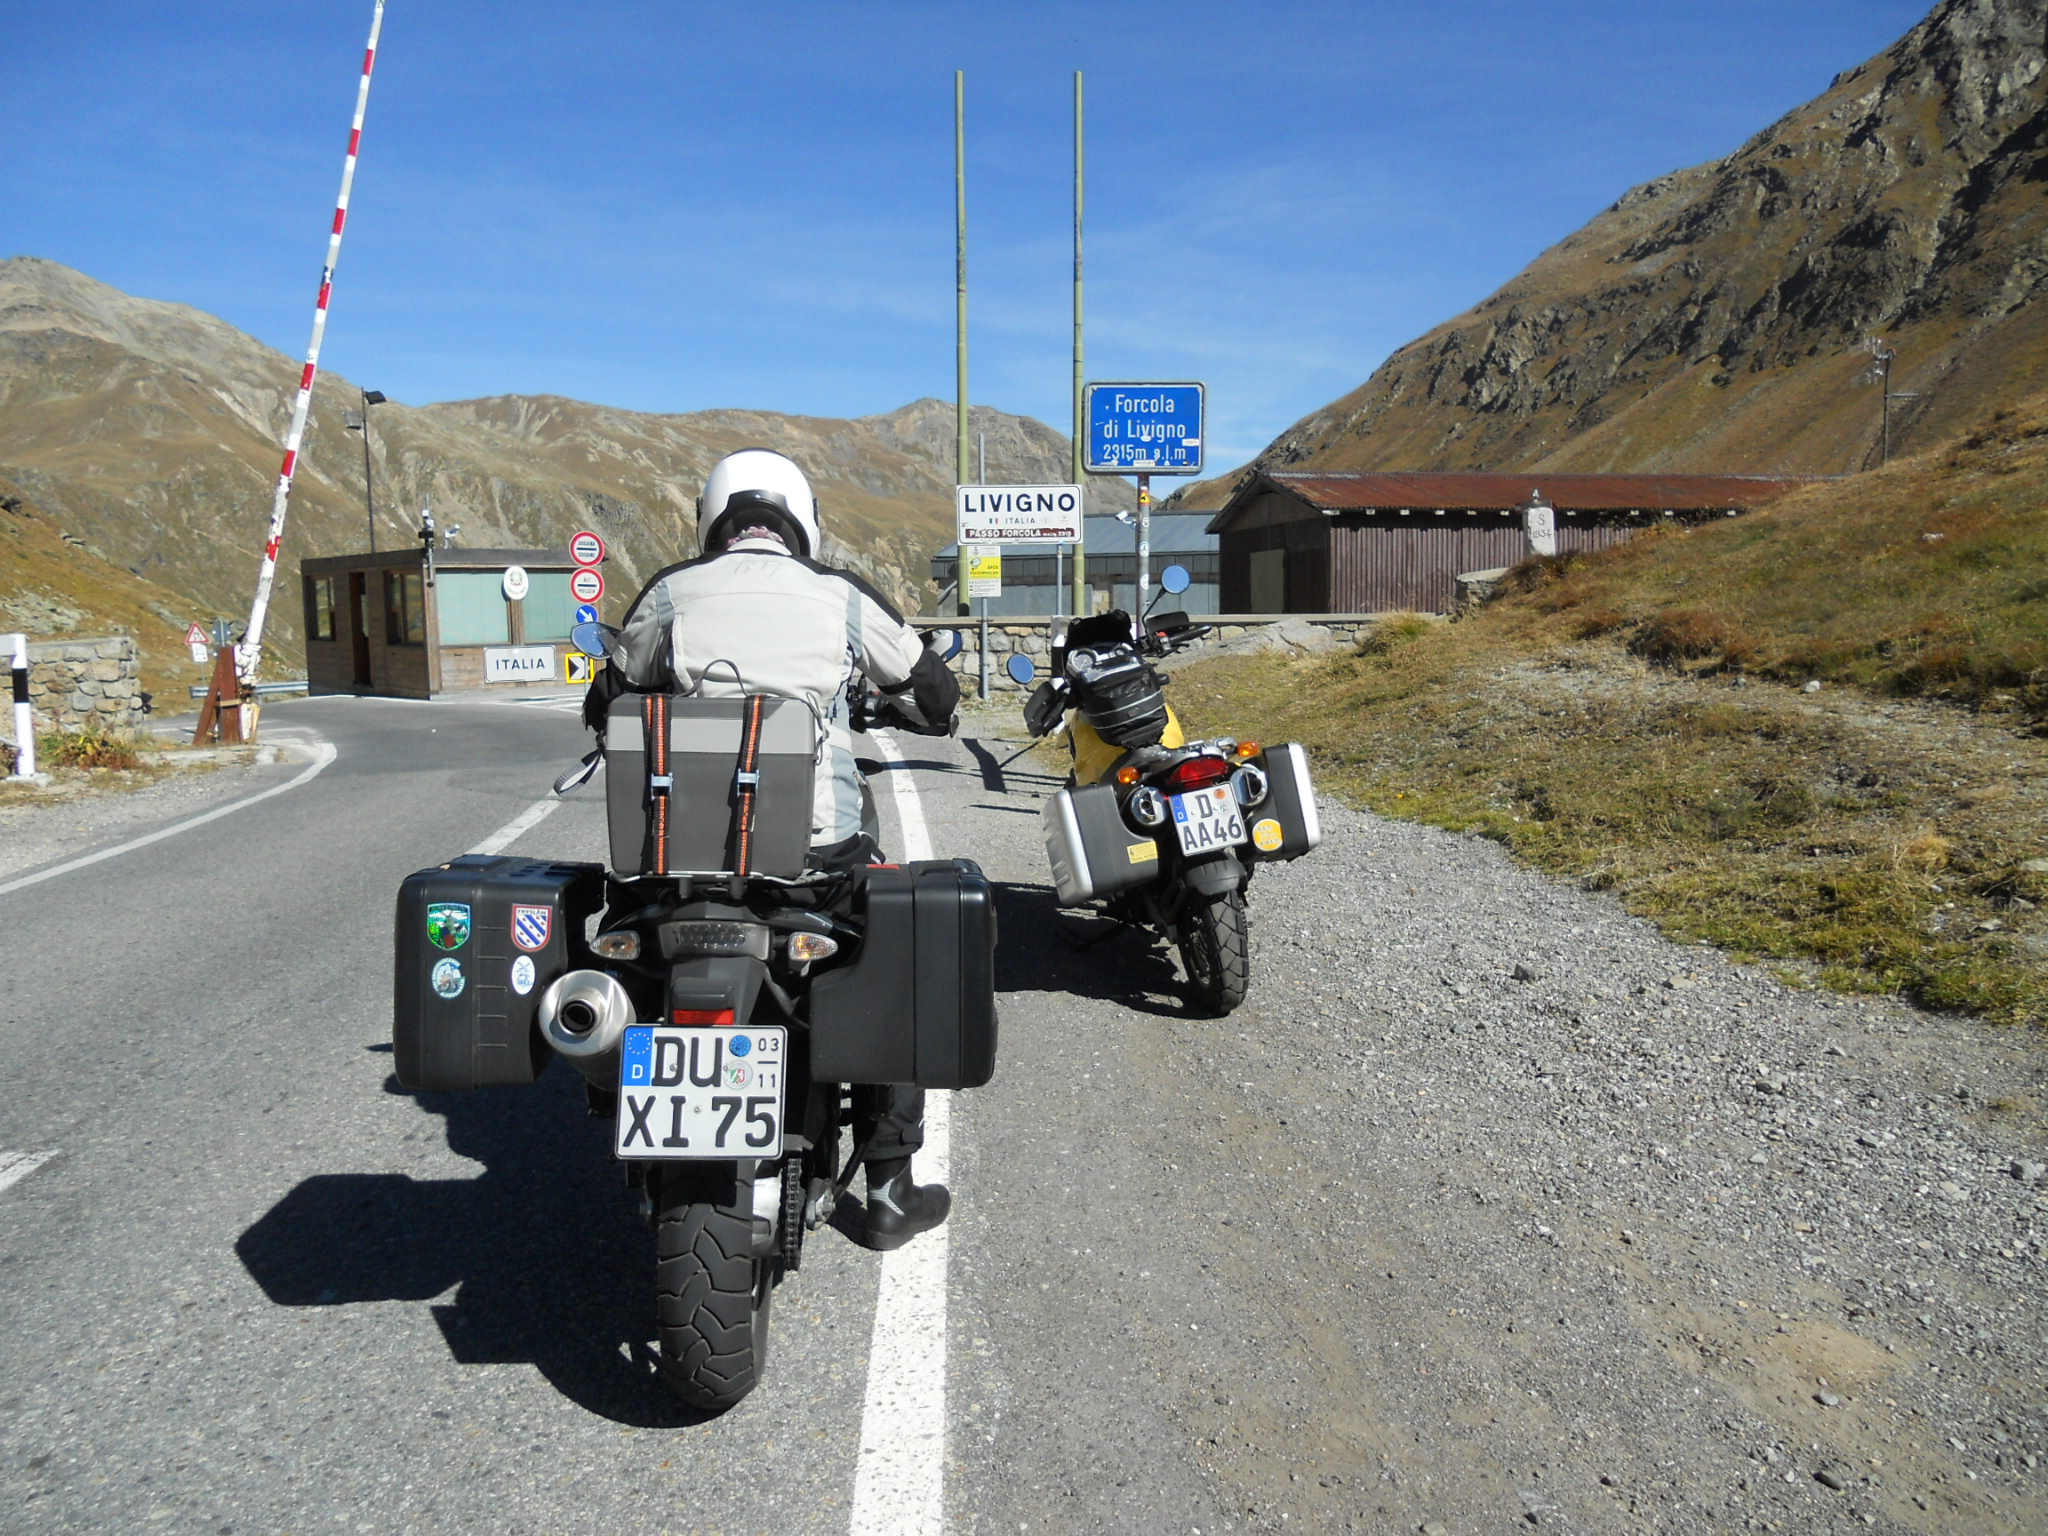
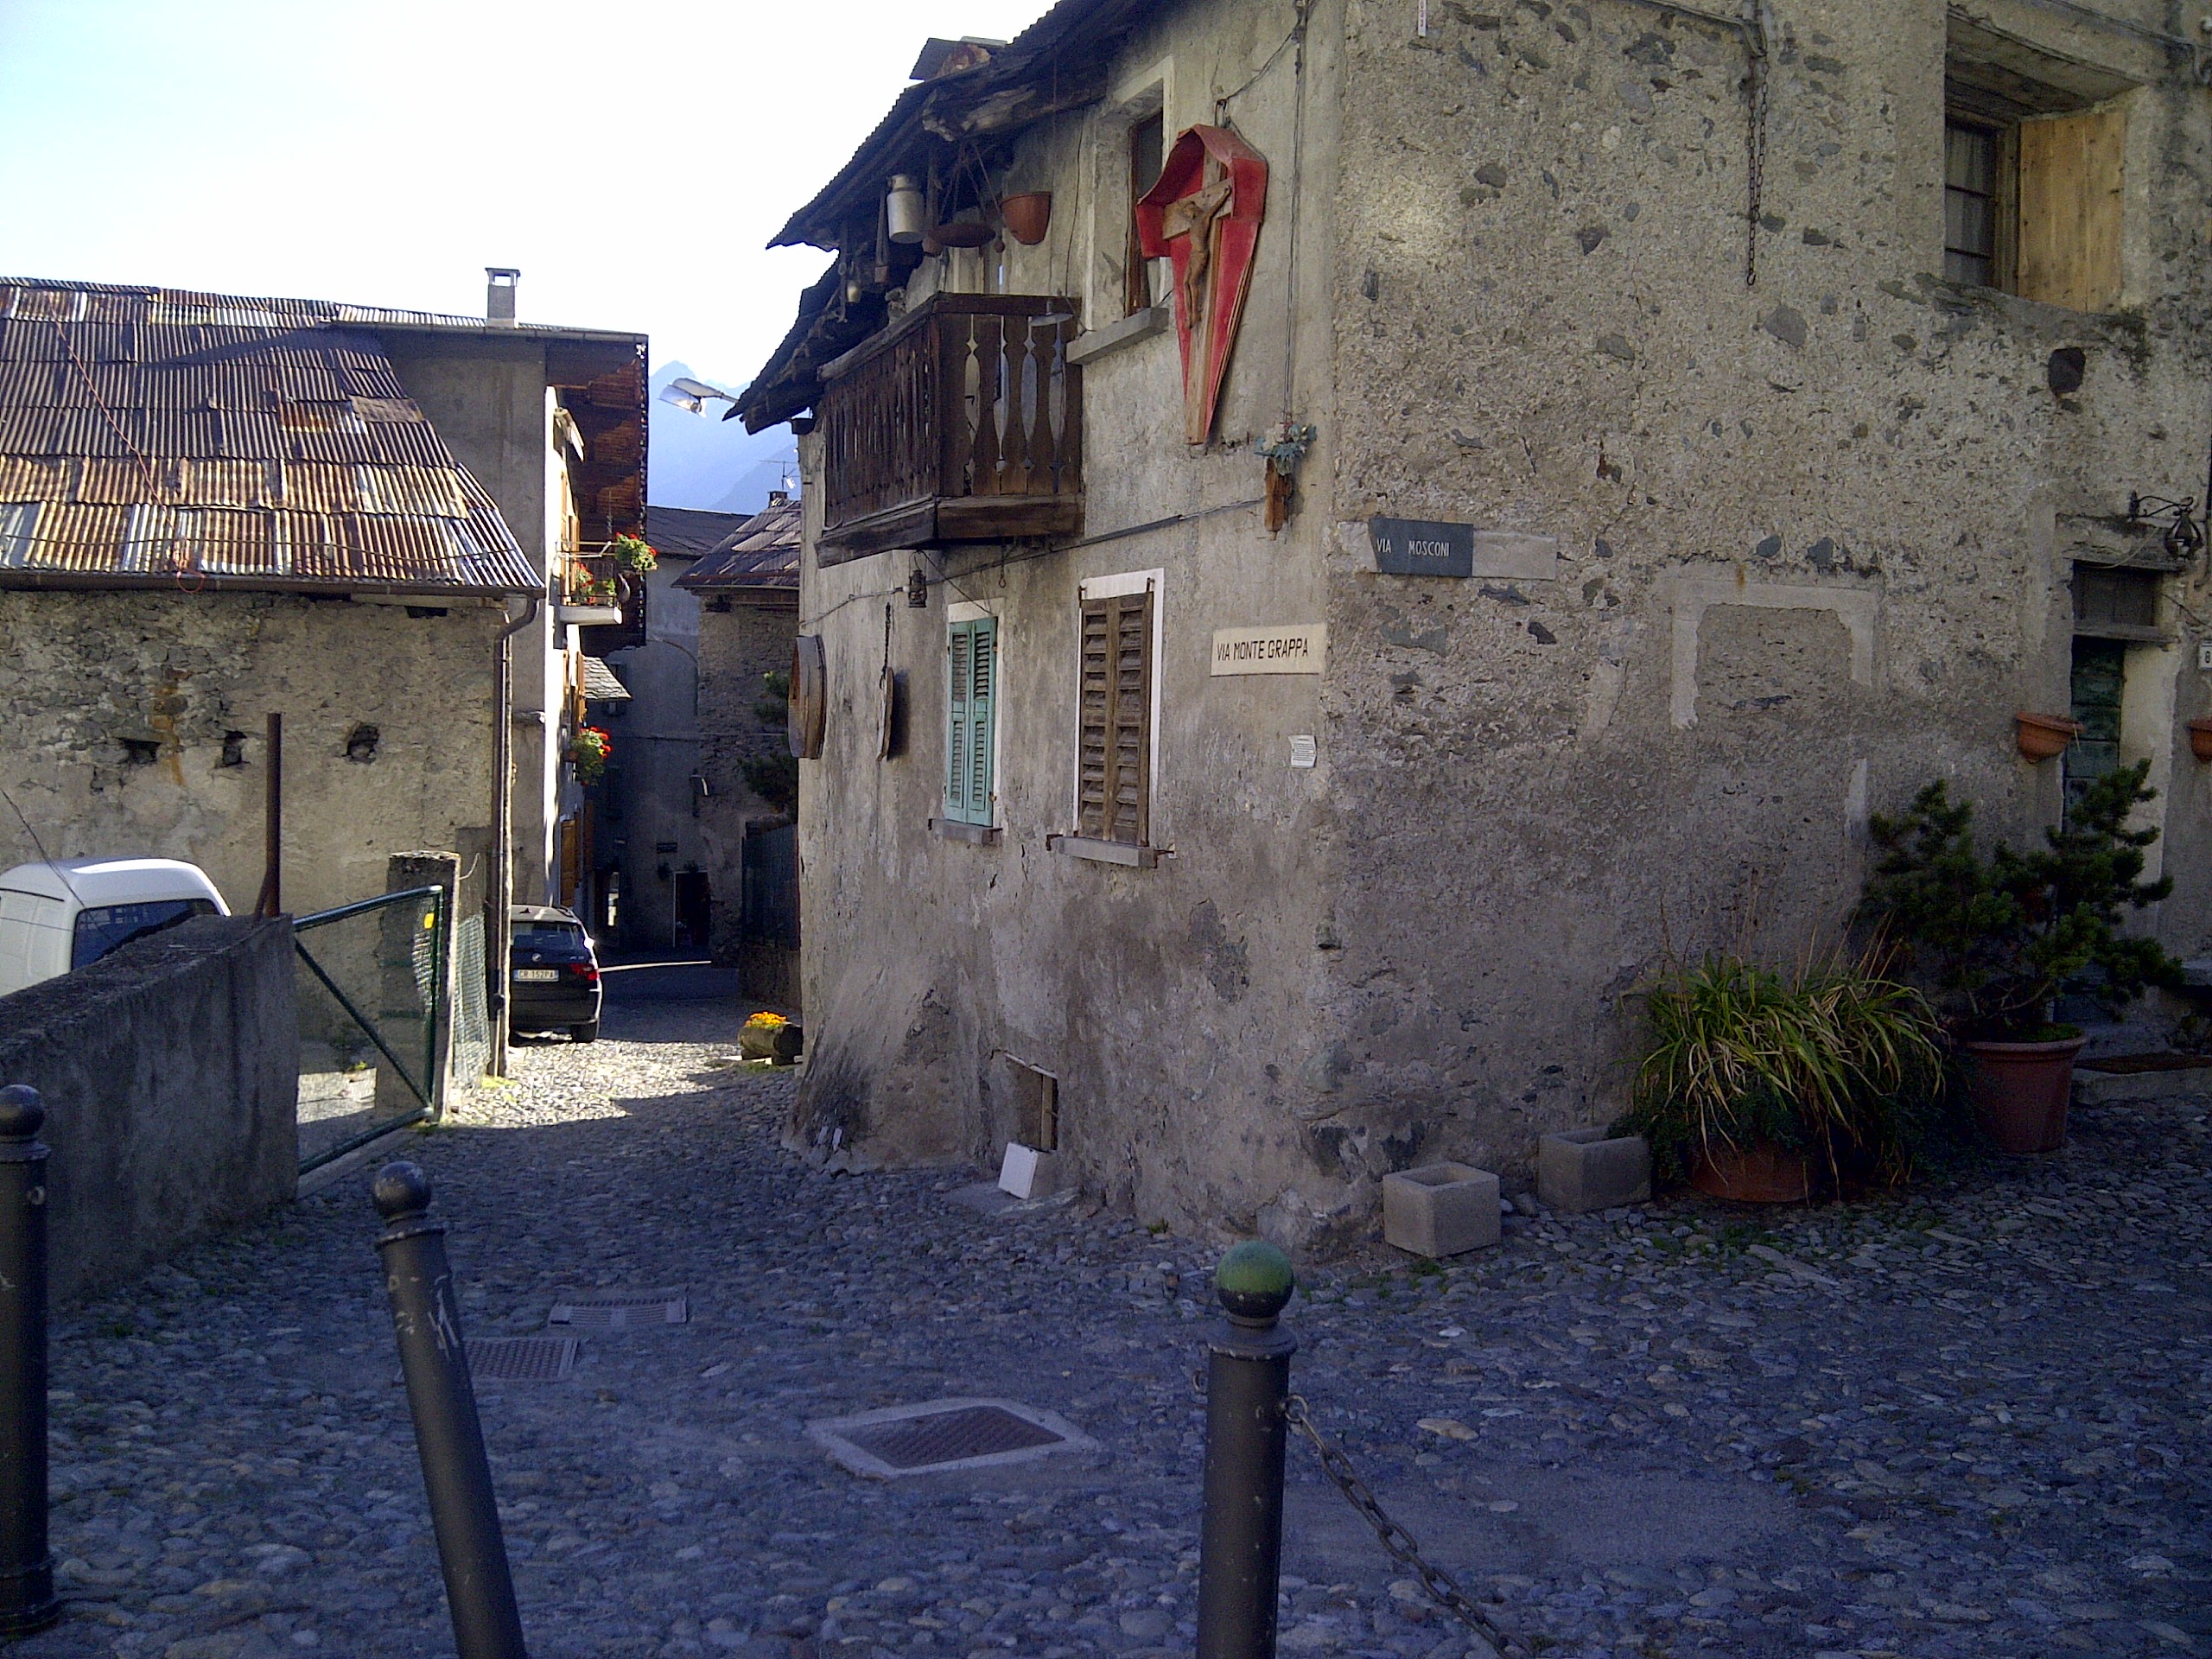
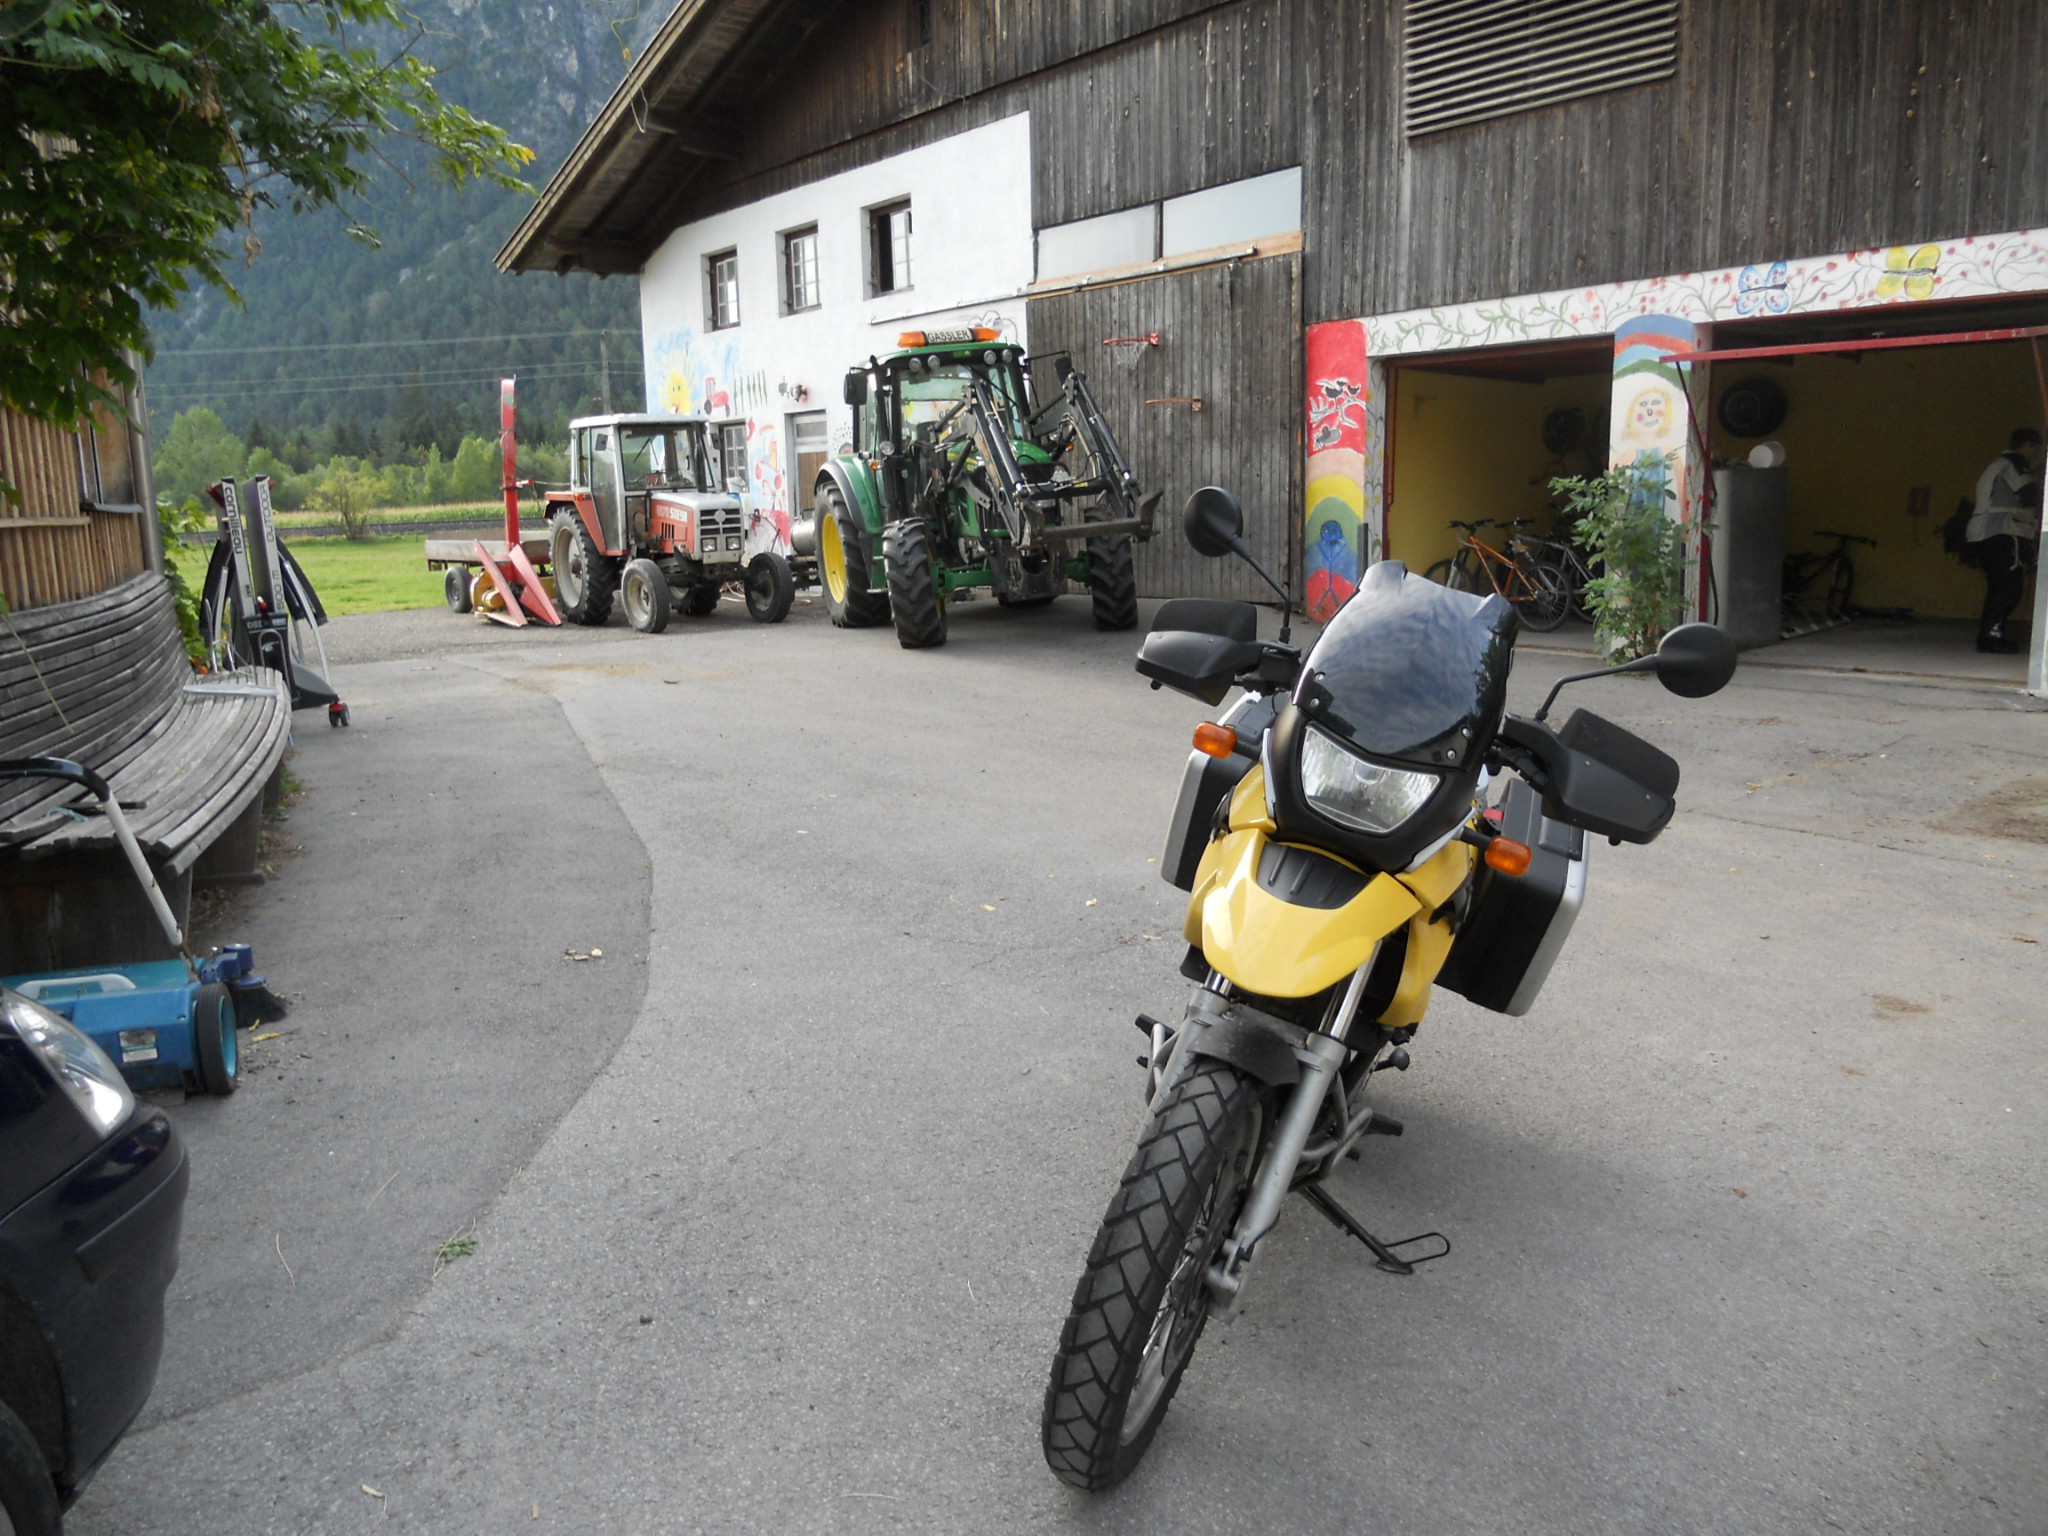
From the cozy Hotel Therme, we head south for about 20km to warm up. The route, the Strada Statale dello Stelvio (SS38), takes us through a series of long avalanche tunnels that protected not only our bikes, but our eyes. To return, we try the road running along side of the Flume Adda, the river that brings water down the mountain through Parco Nazionale dello Stelvio. This is far brighter and we get to see the small towns that dot the riverside. Once back through Bormio, the ascent begins. The big day is officially upon us. I’ve planned a shorter stretch so that we have maximum time to soak up the whole Stelvio experience.
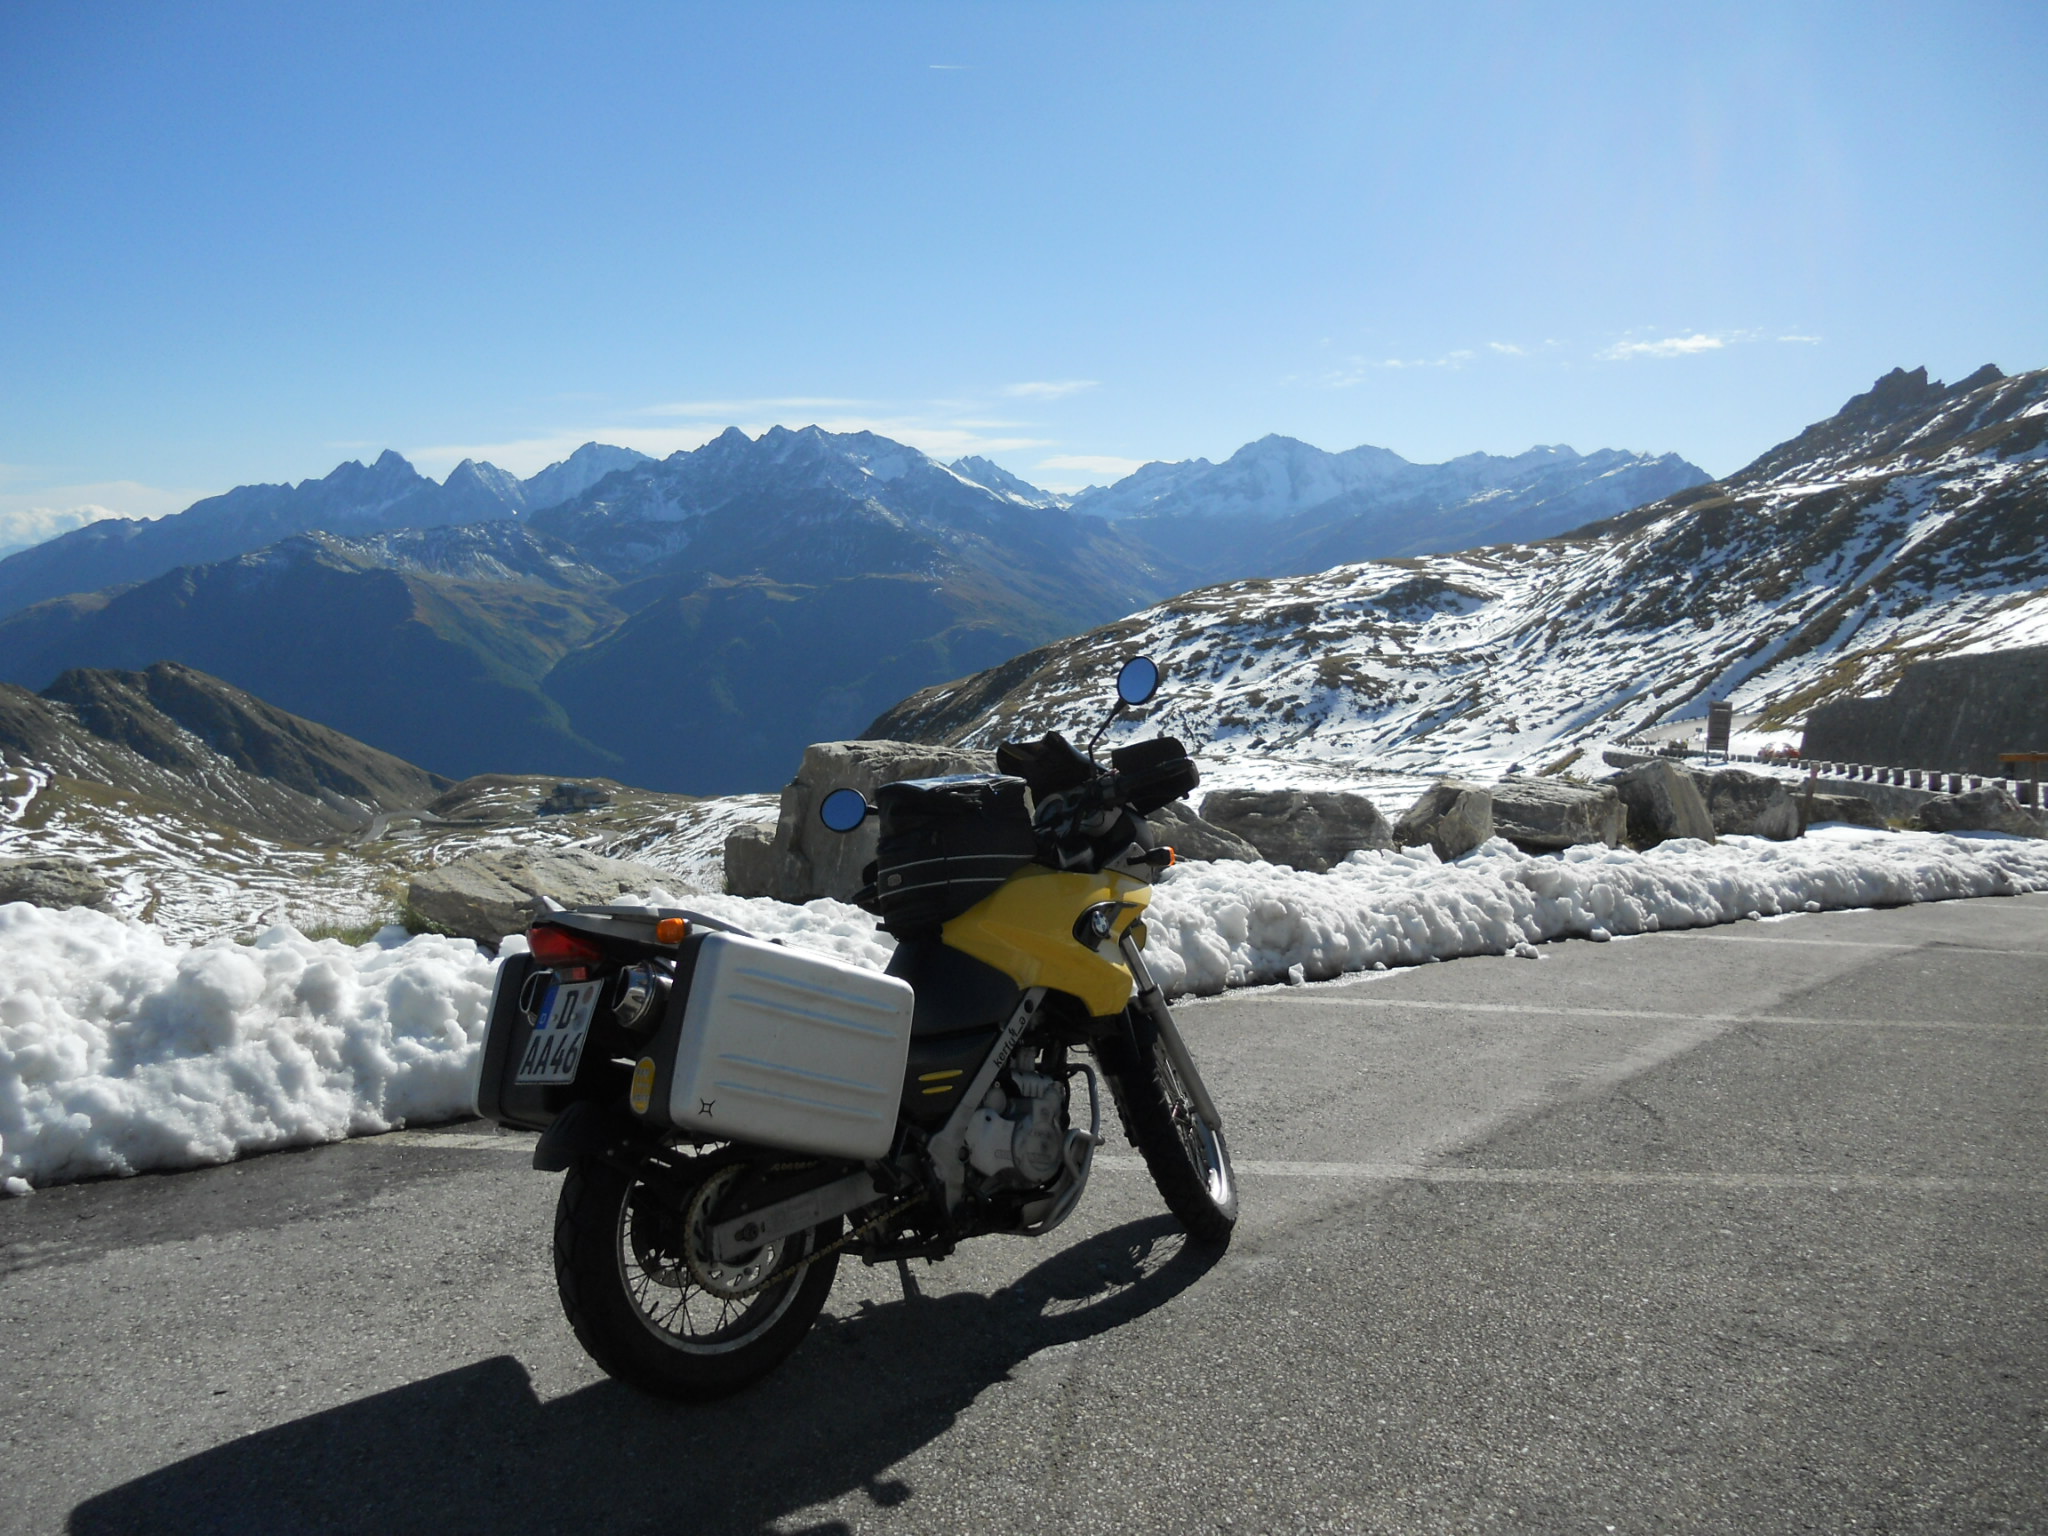
The southwest ramp of Passo dello Stelvio is unjustifiably overlooked. While it is nowhere near the technical challenge that the northeast ramp is, it is still a beautiful, curvy road with plenty of visual interest and technical offering in the form of 39 tornante and beautiful avalanche galleries cut into the rock of the mountain. Near the top is a long flat run featuring uninhabited buildings and livestock. It is surprising to see the livestock at that height, but there are small grazing herds of more very curious cows.
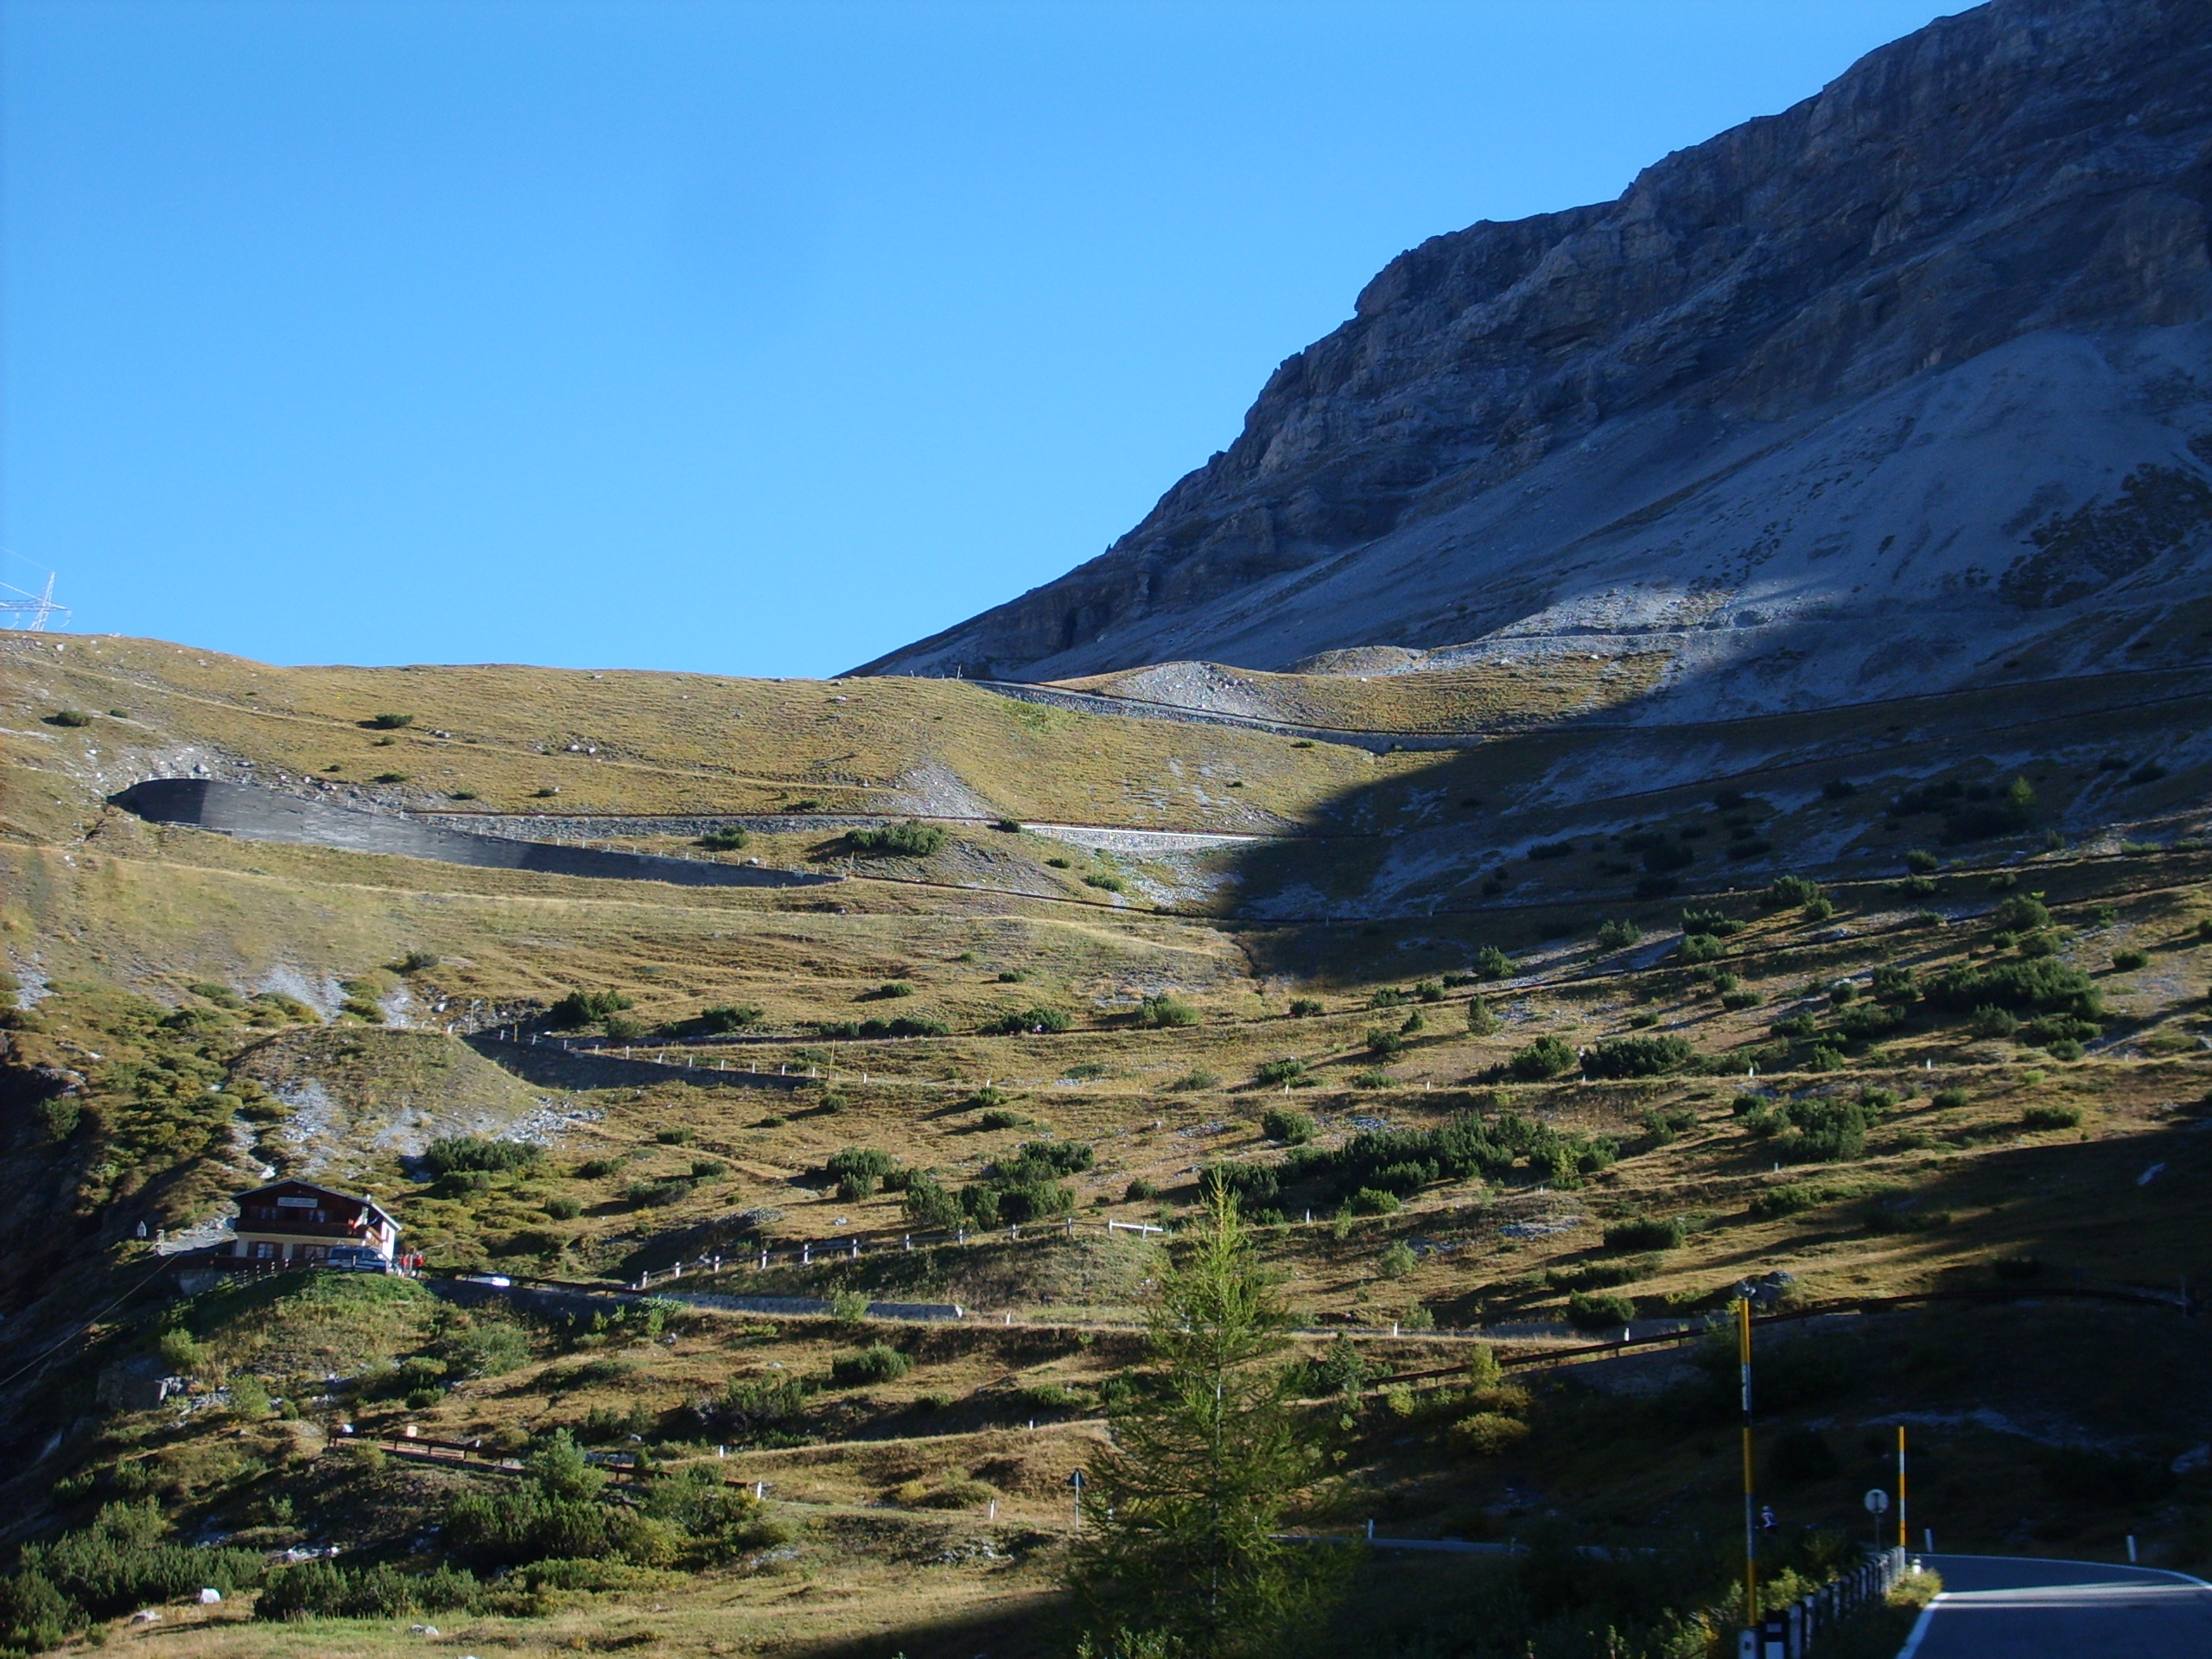

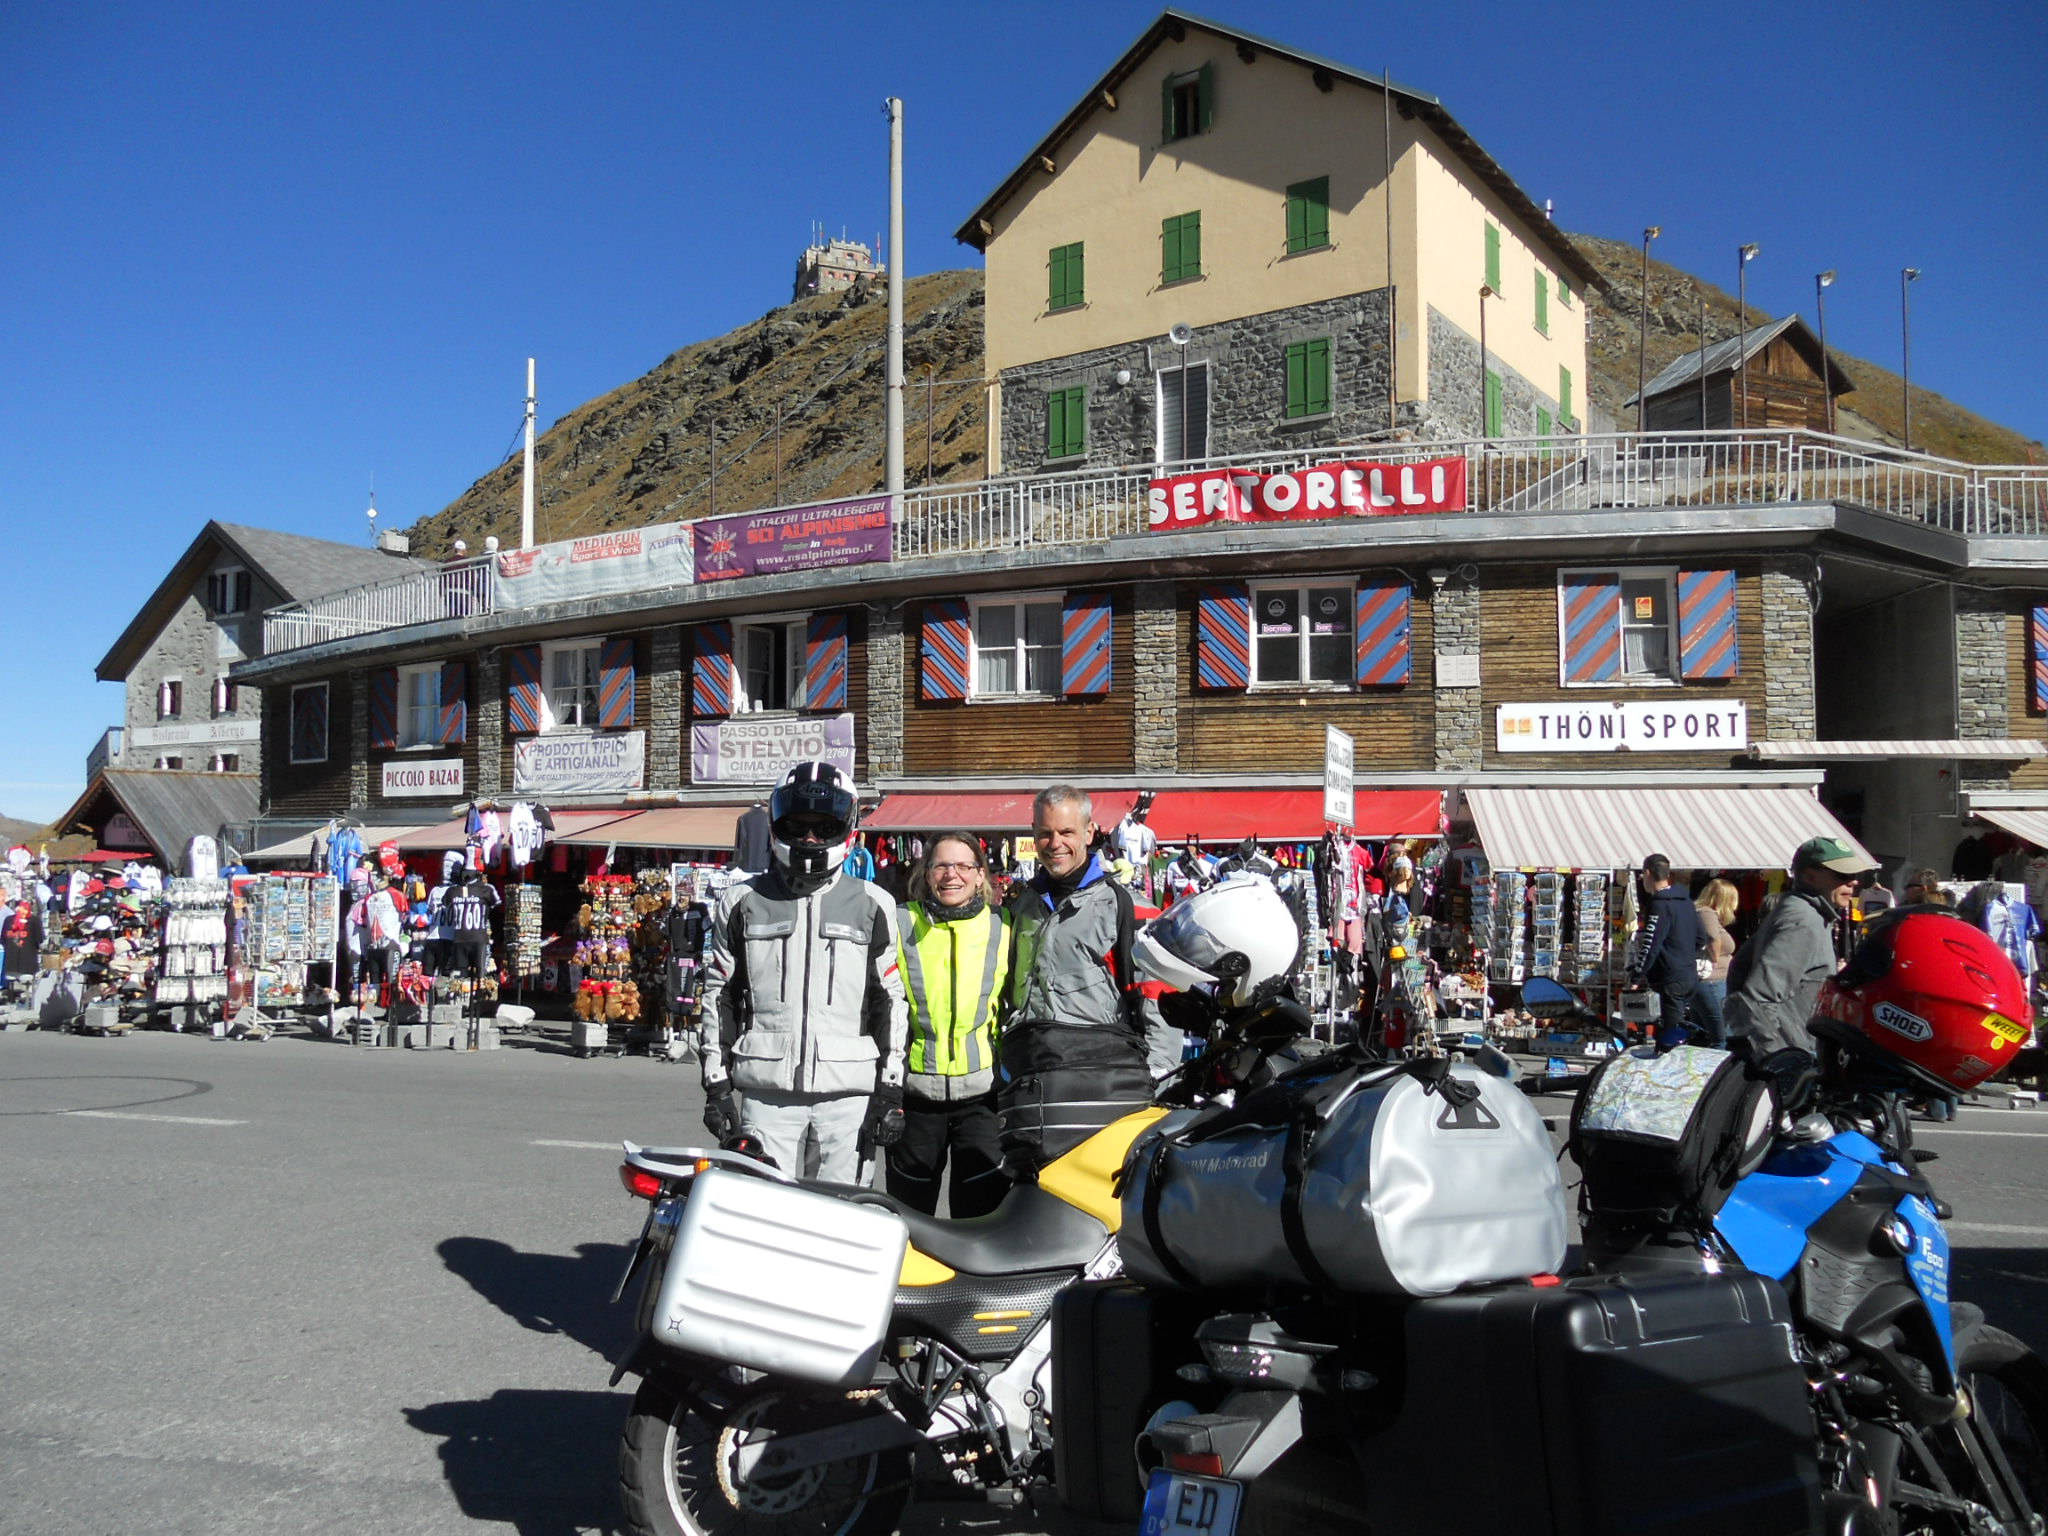
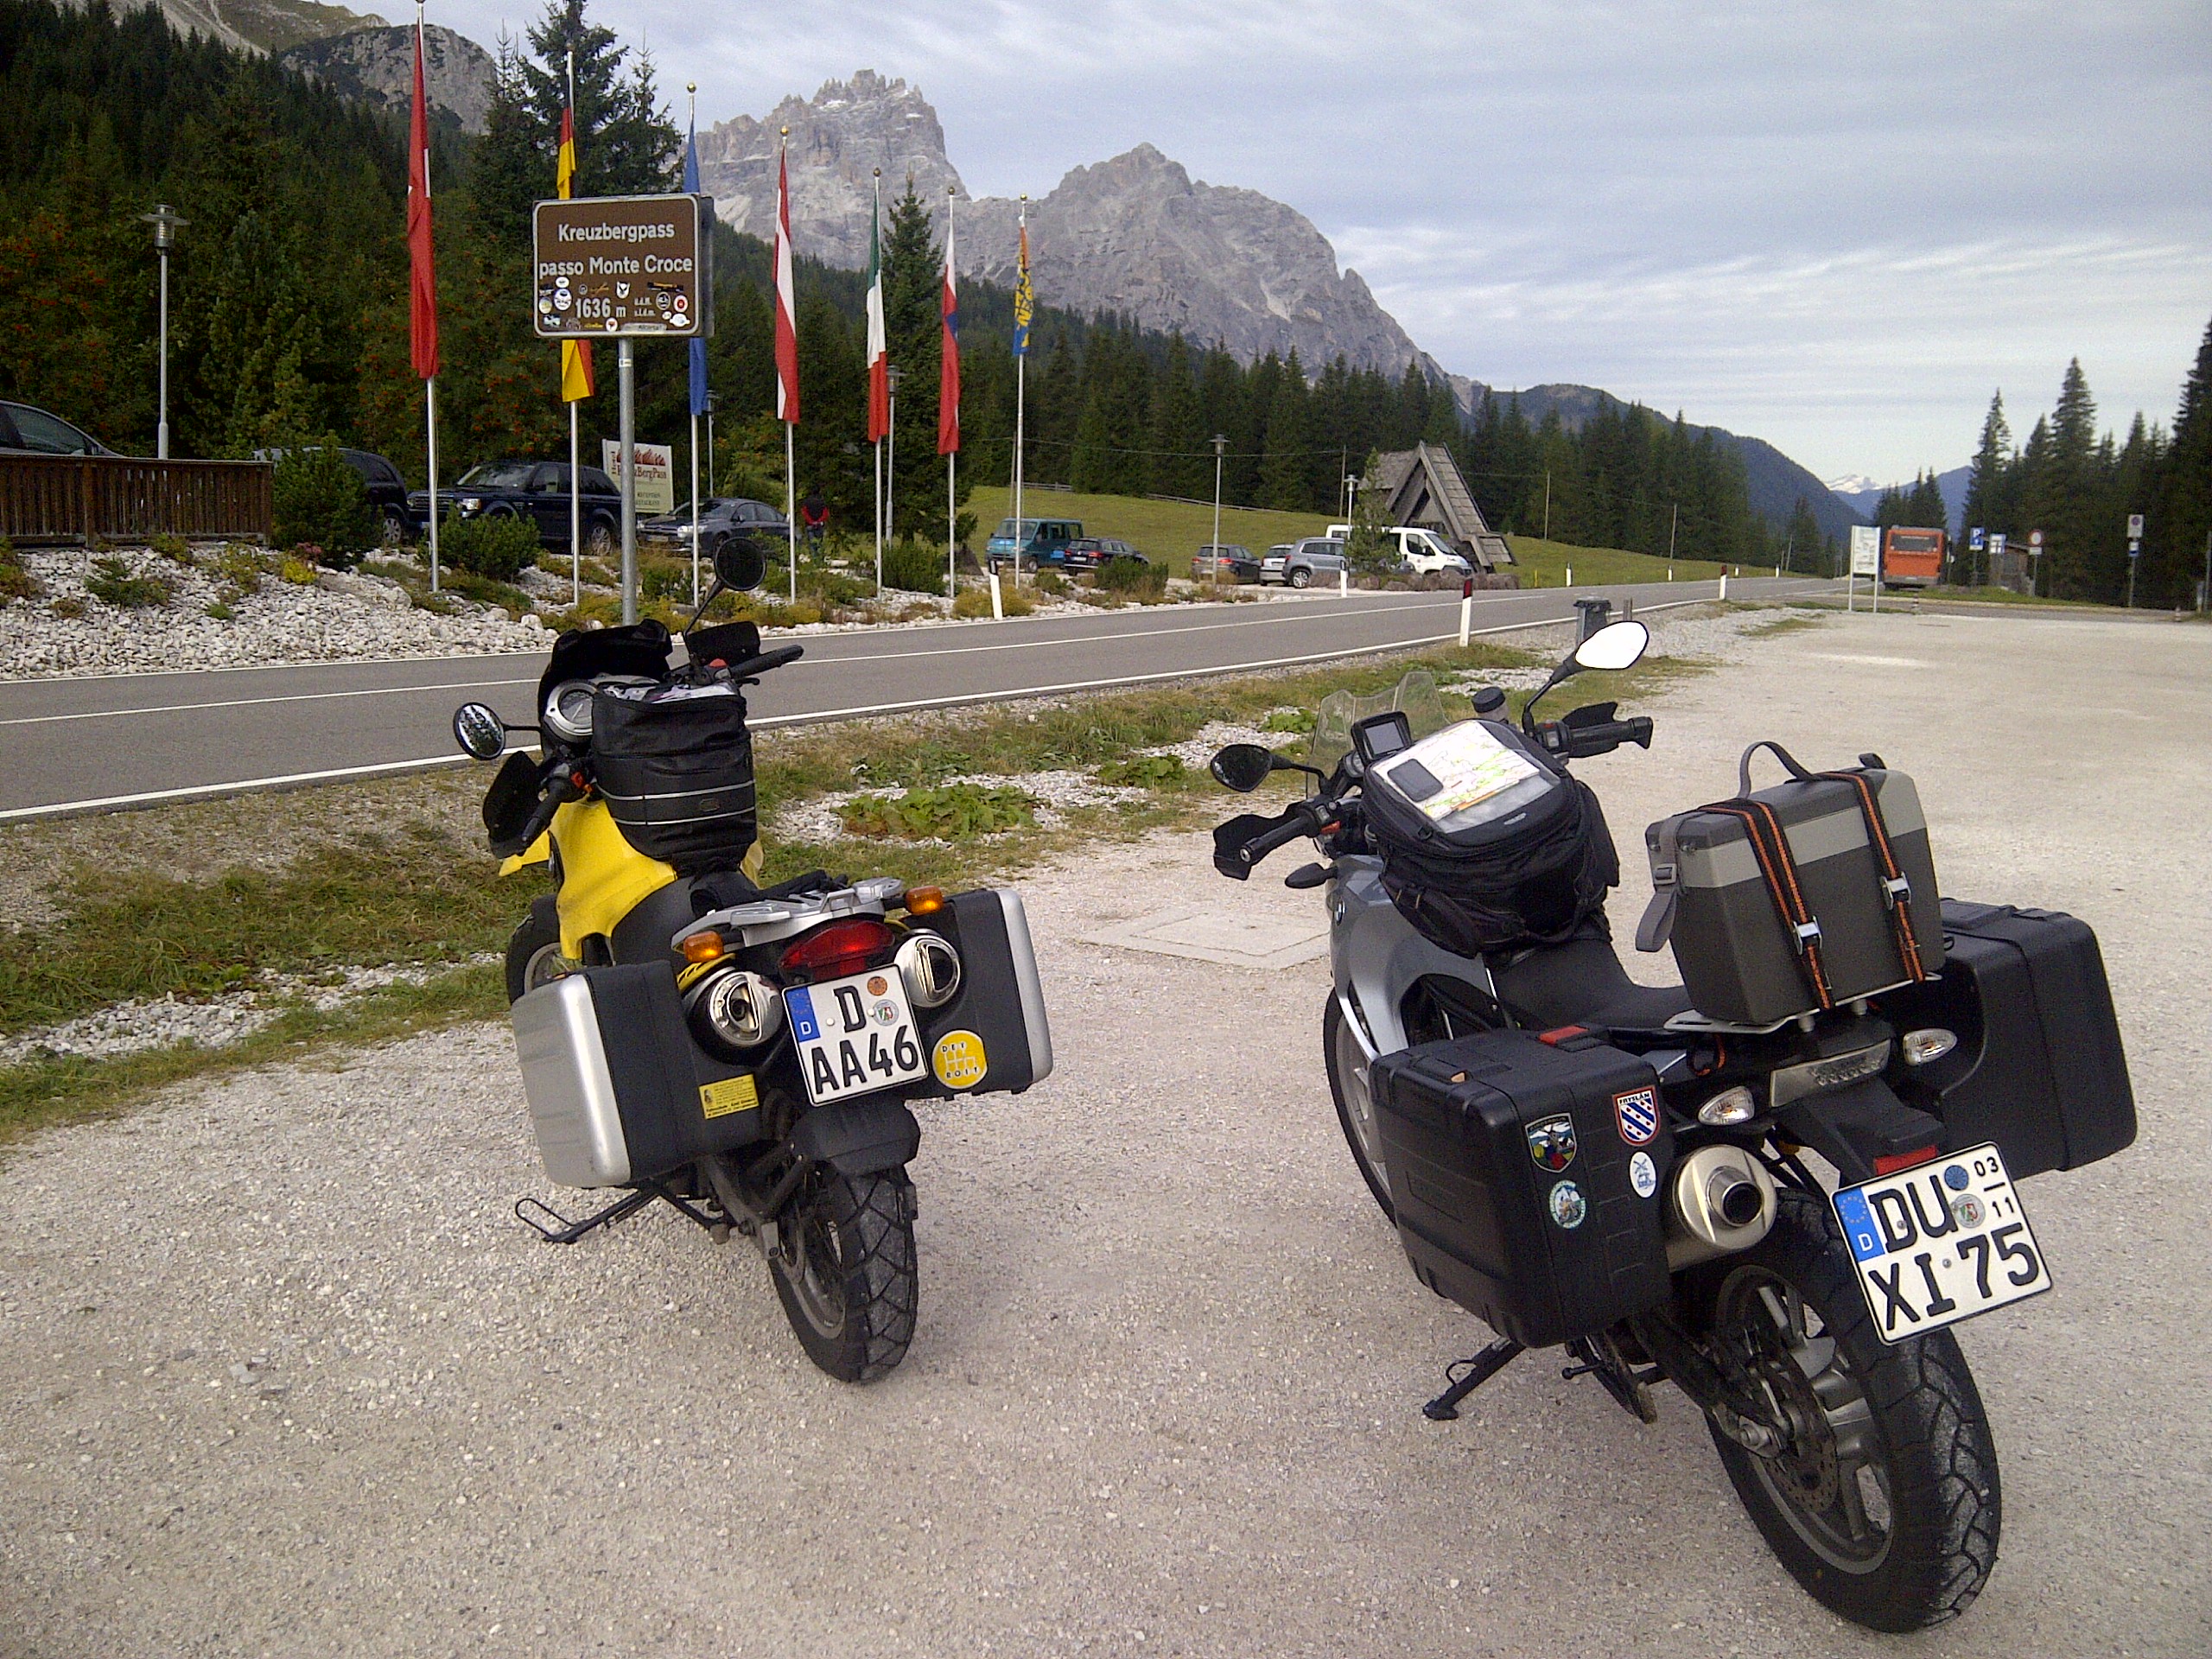
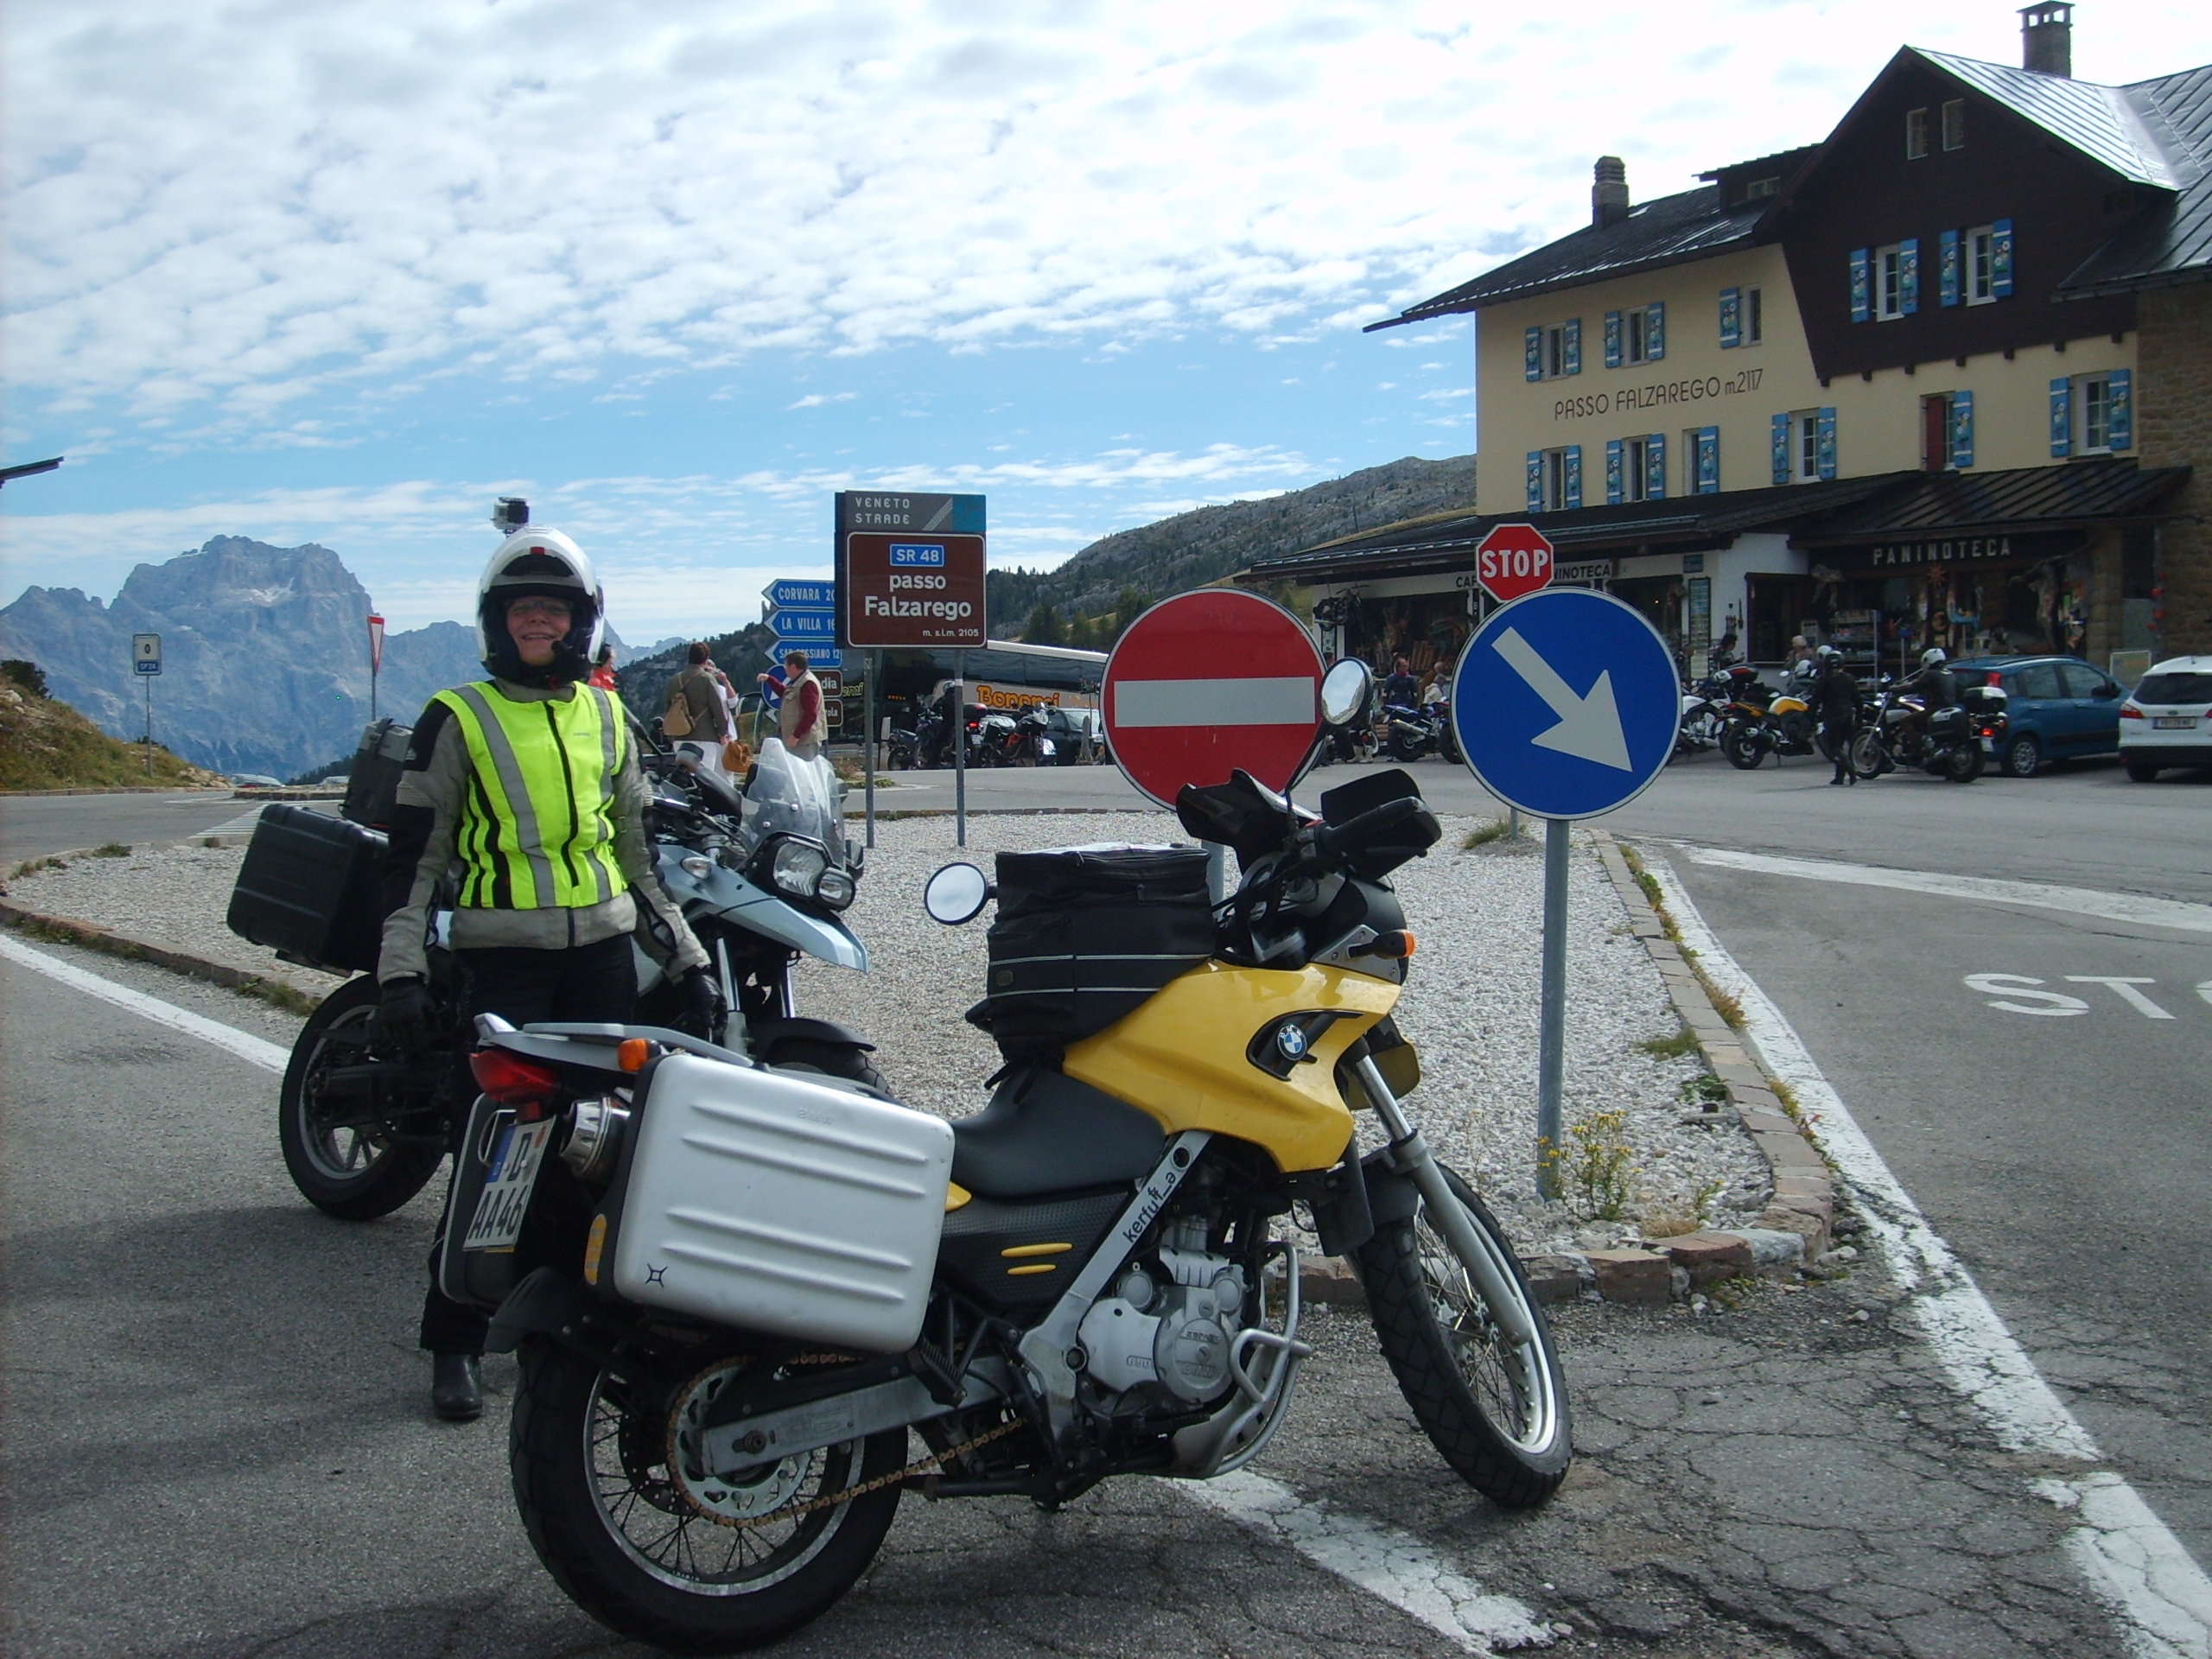
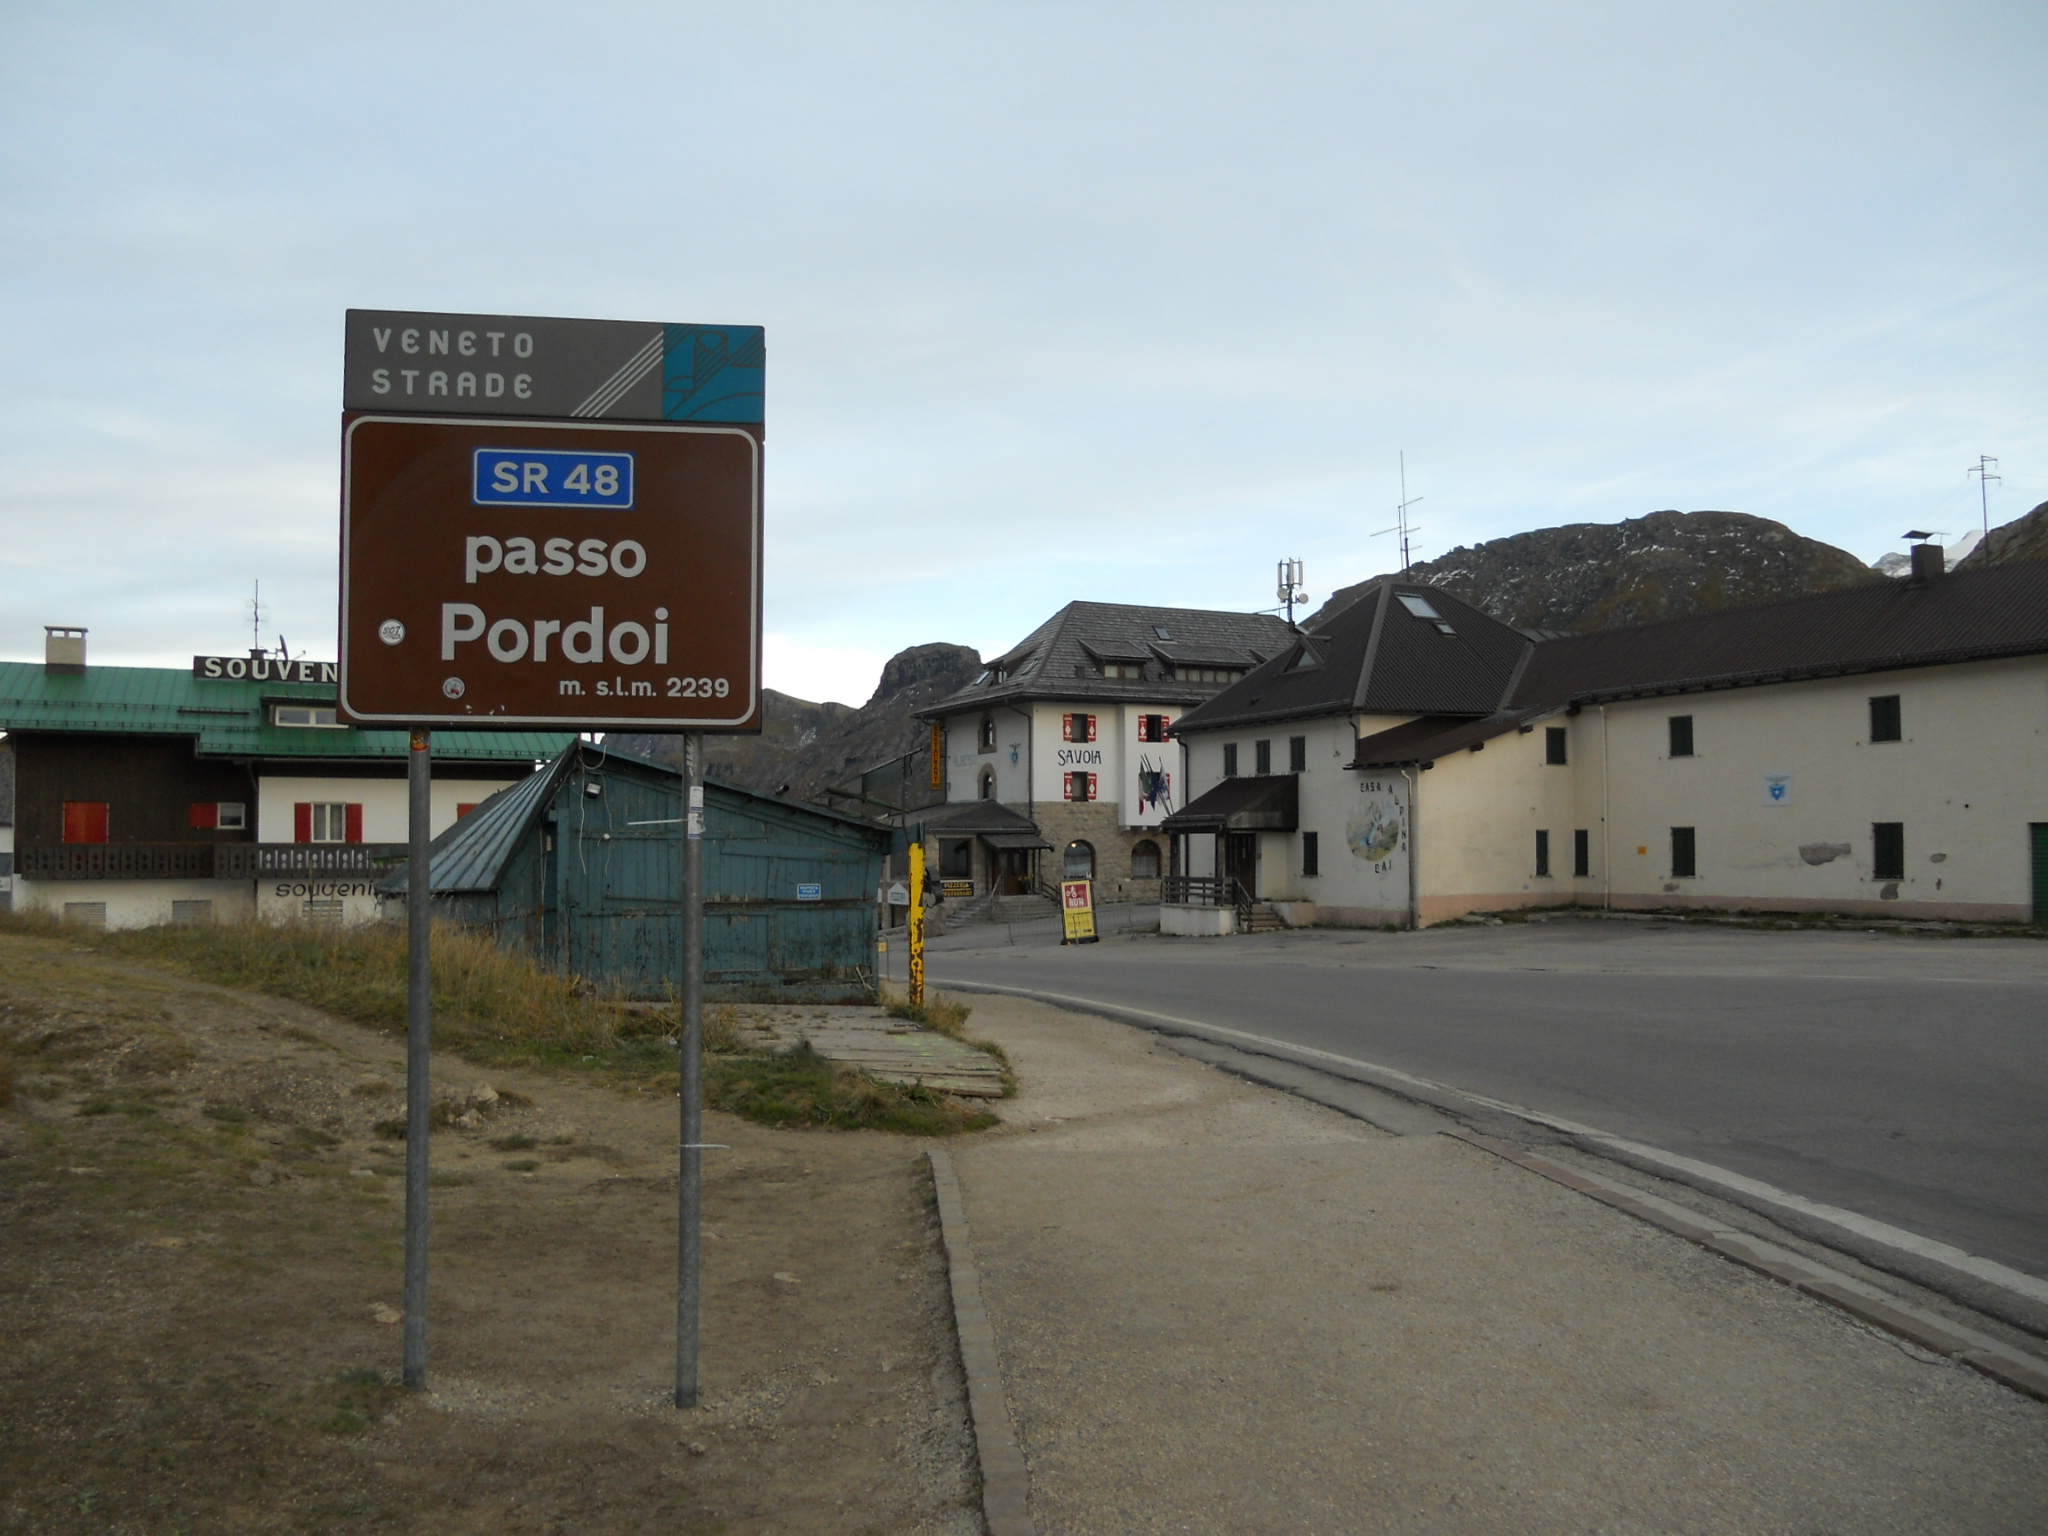
We crest Stelvio and find the circus that is the top of the pass – several hotels, gift shops, and restaurants cater to the visitors braving the ascent. Surprisingly, the hotels charge only 45€ per night, both of us expected much higher prices due to location, and are slightly disappointed that we did not choose to stay up here. We do, however, spend nearly that on stickers and postcards.


After orienting myself at the top, I identify that Umbrail Pass is only 1.5km and ten tornante away – I split off and ride back to find the pass marker. I’m also disappointed to find that the descent is closed. The gravel stretch of the pass is quite famous, but not accessible, thanks to the closure for road work.


As we prepare to descend, we find two brand new F800GSs next to my bike, and two attending freshly-geared riders. Twittering away in German, we attempt to find out where they are from, as the bikes are clearly rentals. After a few minutes, we give up, and I switch to English. The two guys are from Grand Rapids, MI, and are quite familiar with my employer, having done work at both of our Michigan plants. Such a small world.
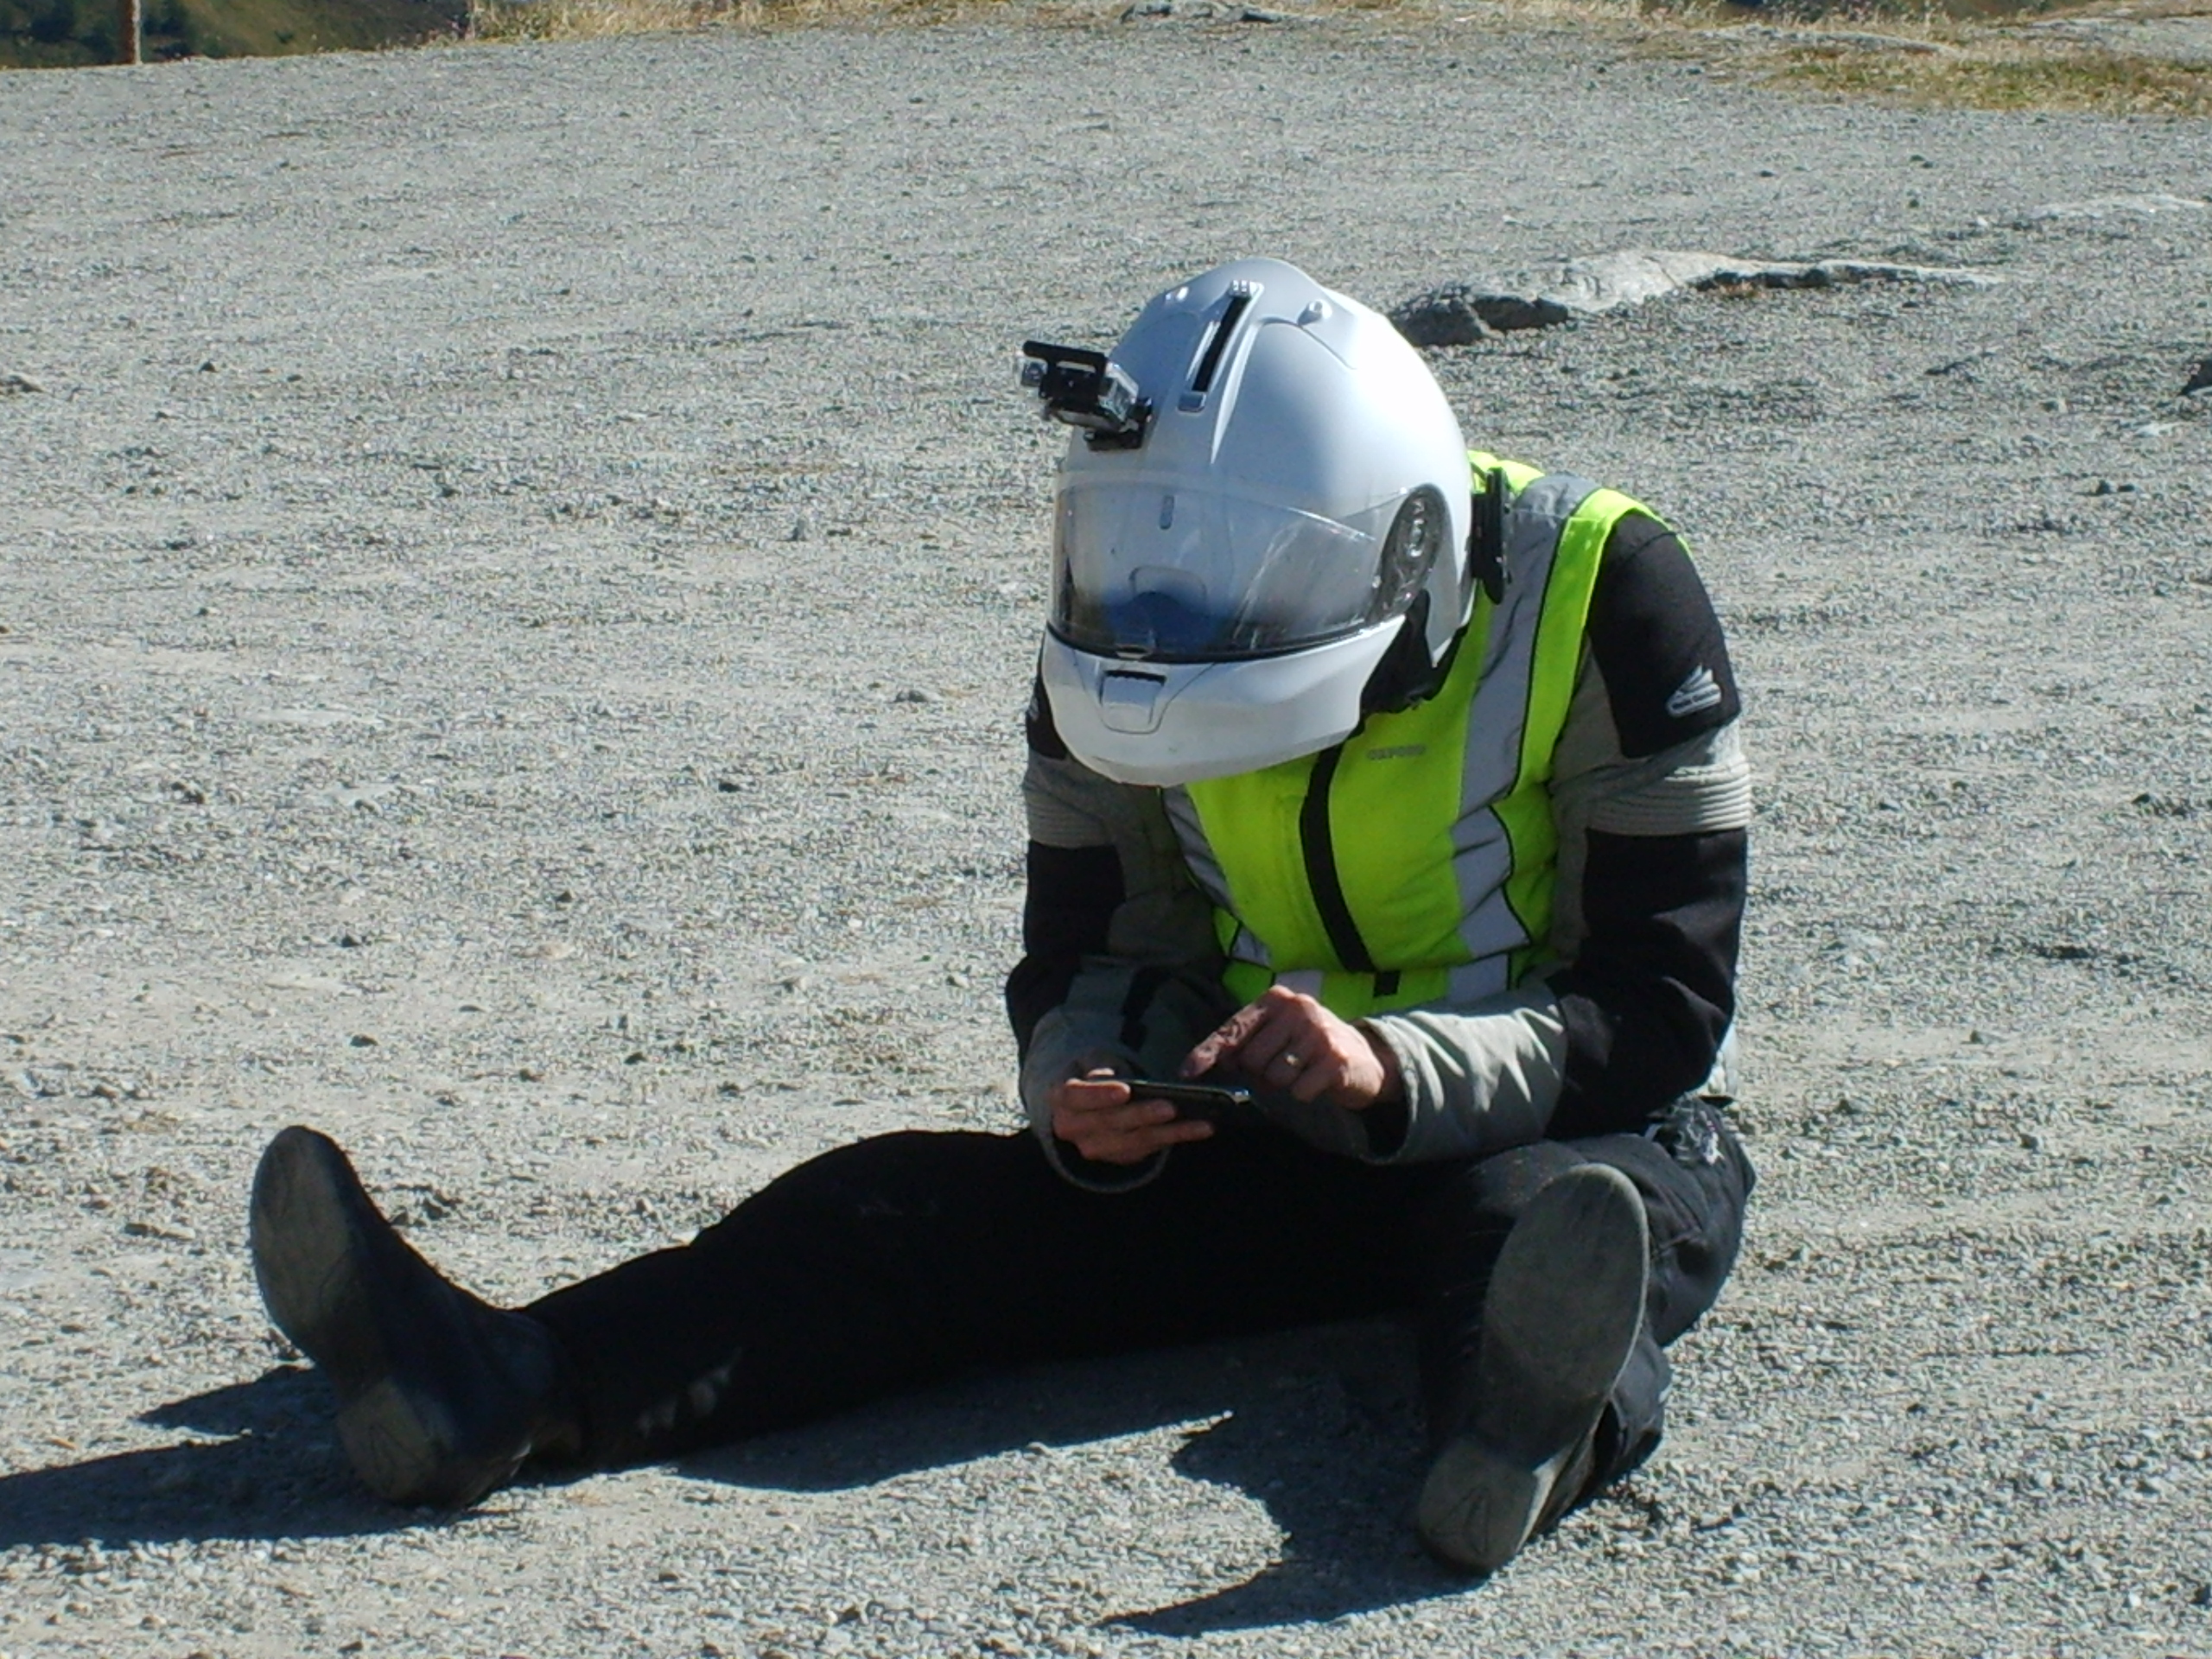
The first step of the descent is looking down.

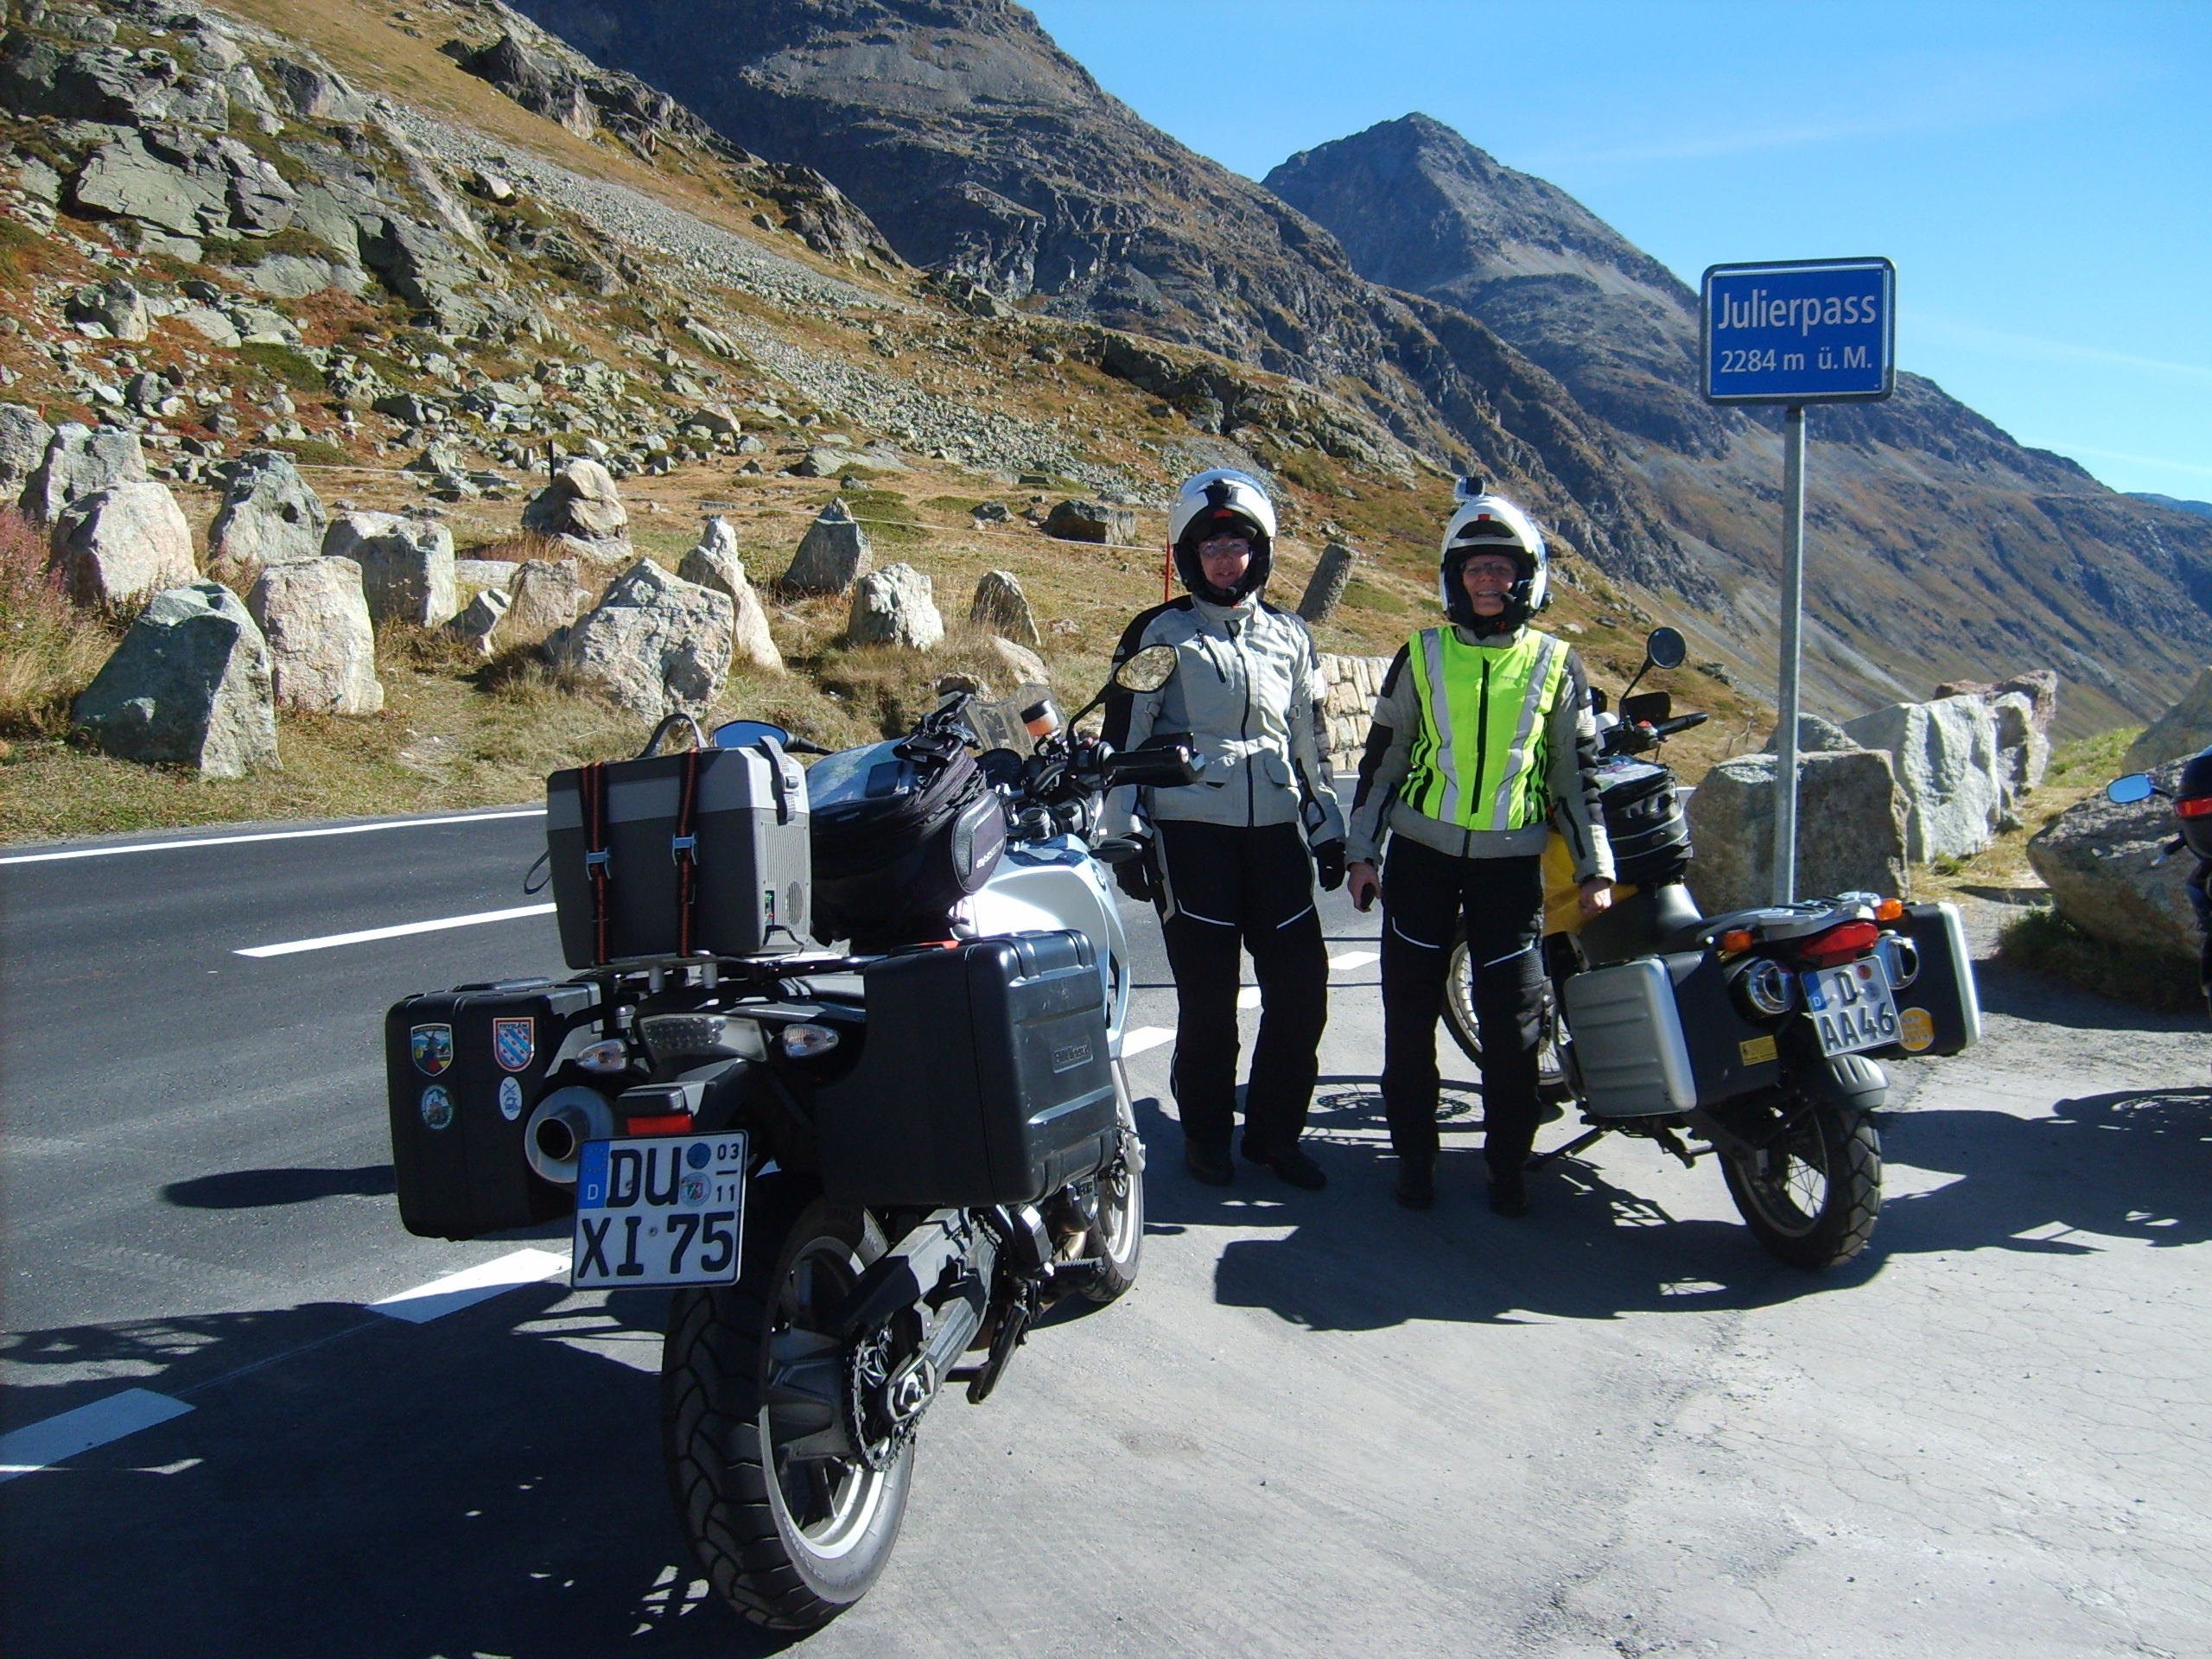
A movie crew is filiming on Stelvio, and there are periodic closures. We are not affected, as we begin our descent prior to the most favorable light. After a rather unsettling miss with a lane-intruding Audi above the tree line, I decide to pull off and relax at the 46th tornant, forgetting there are only two more to go. I’m tense and unhappy with my riding, but in a good mood as I am still in one piece and so is the bike. My riding partner joins me a bit later and we decide to spend a bit of time in the attached park for lunch. We meet several Opel engineers doing engine testing, and ask one to take a photo of us with the sign for the tornant.

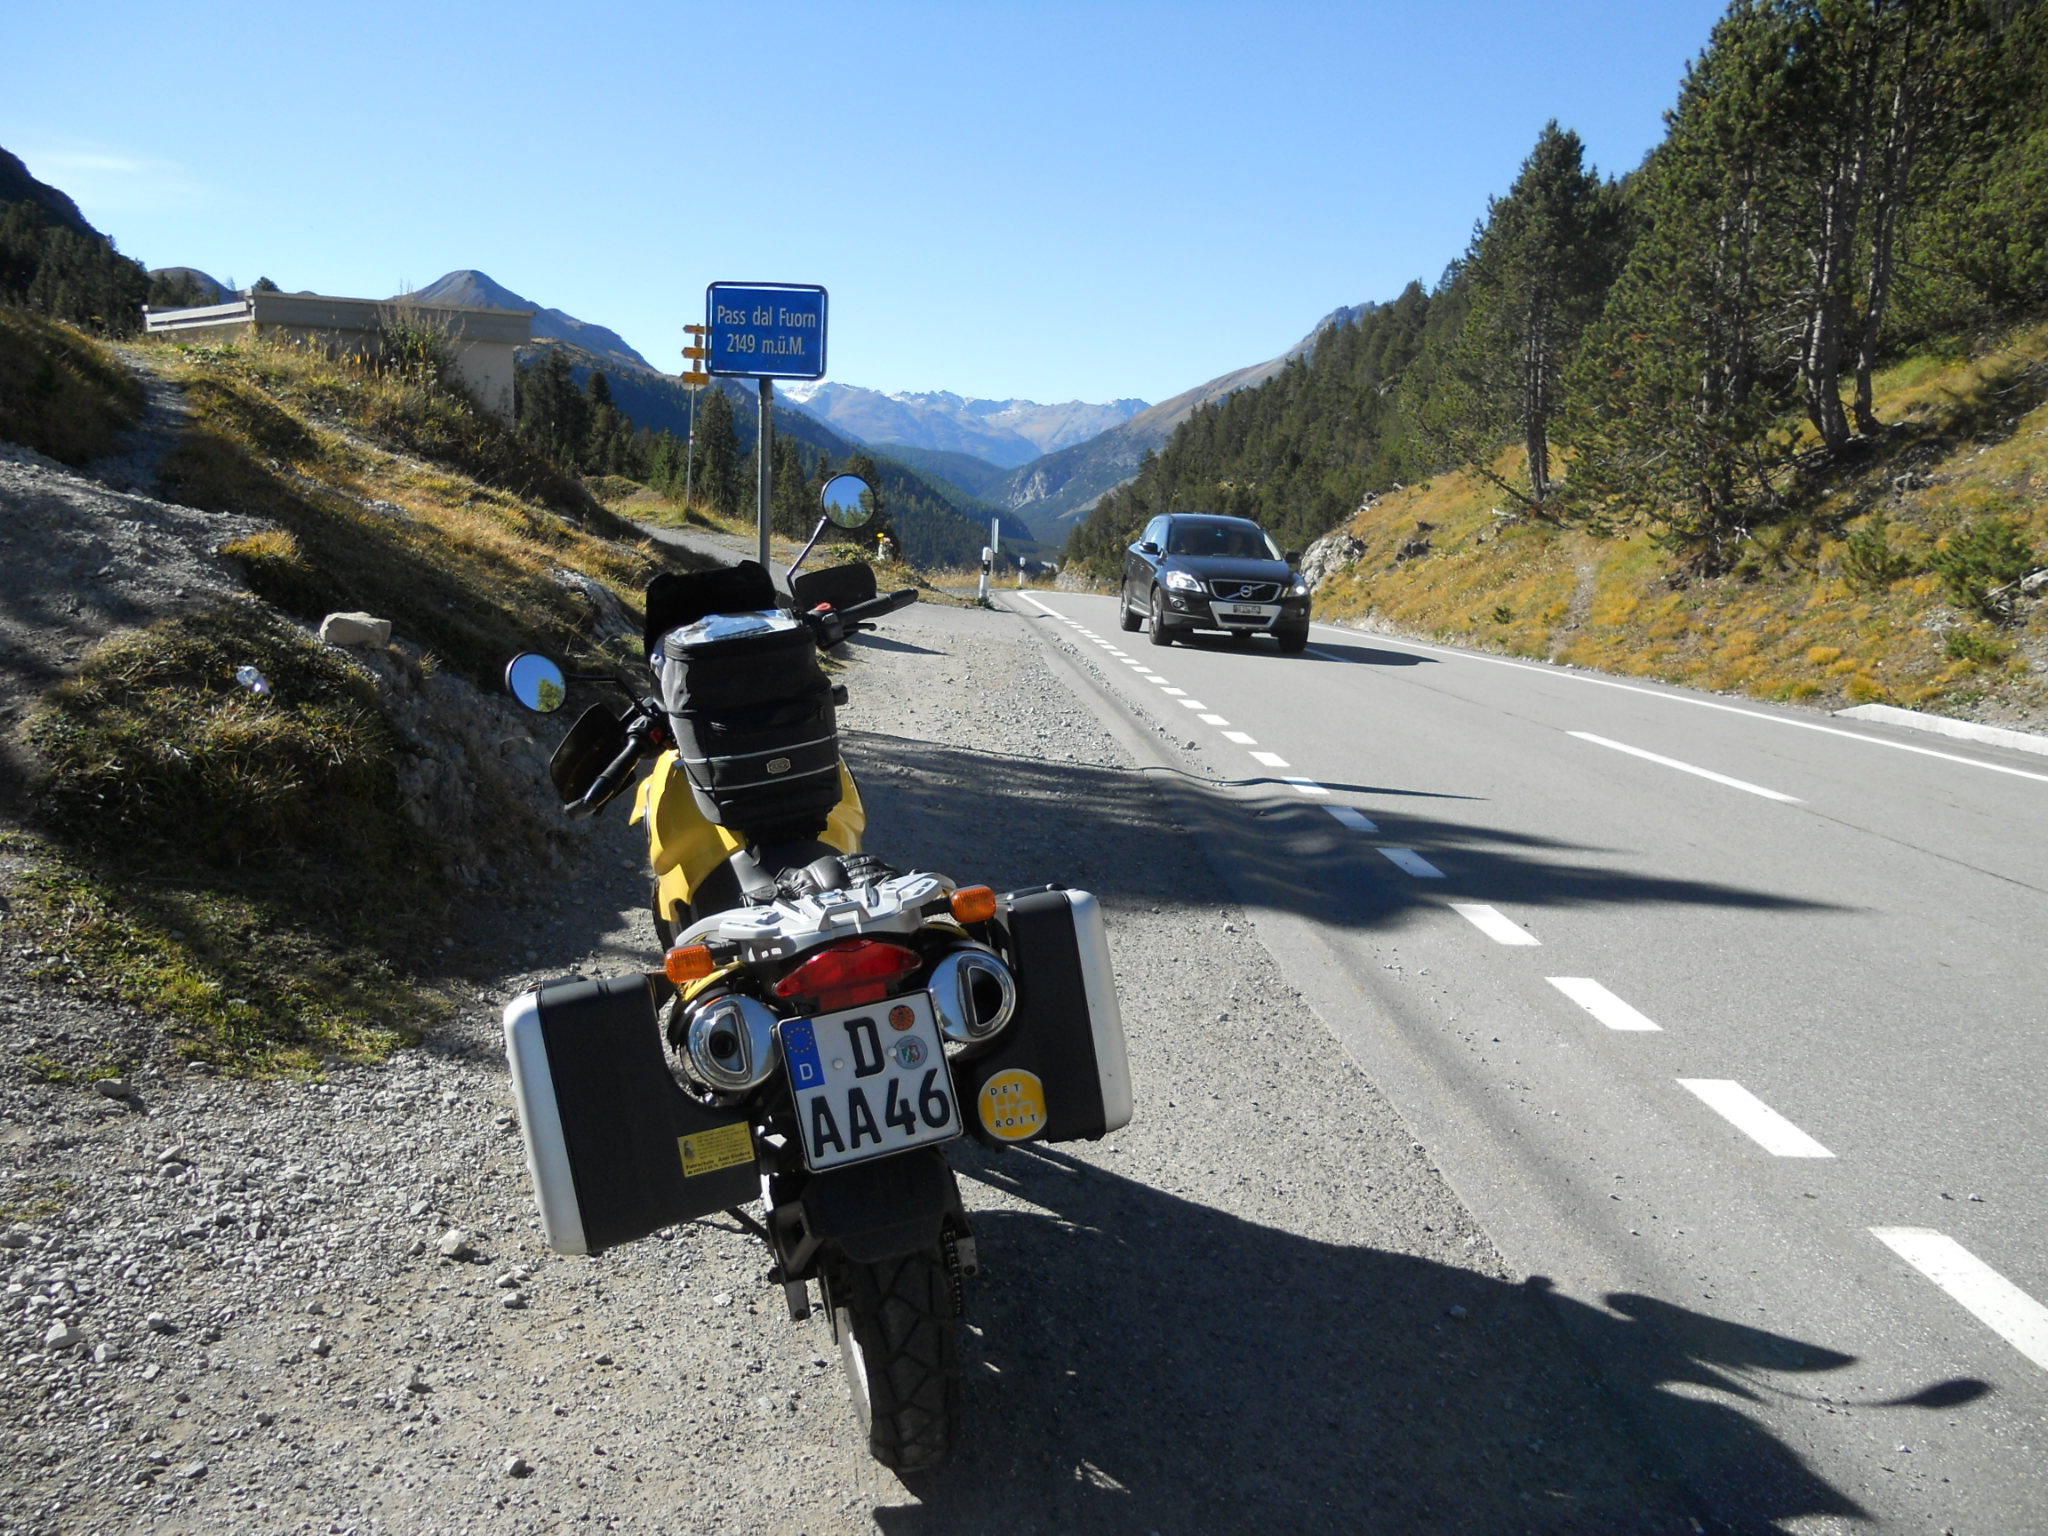
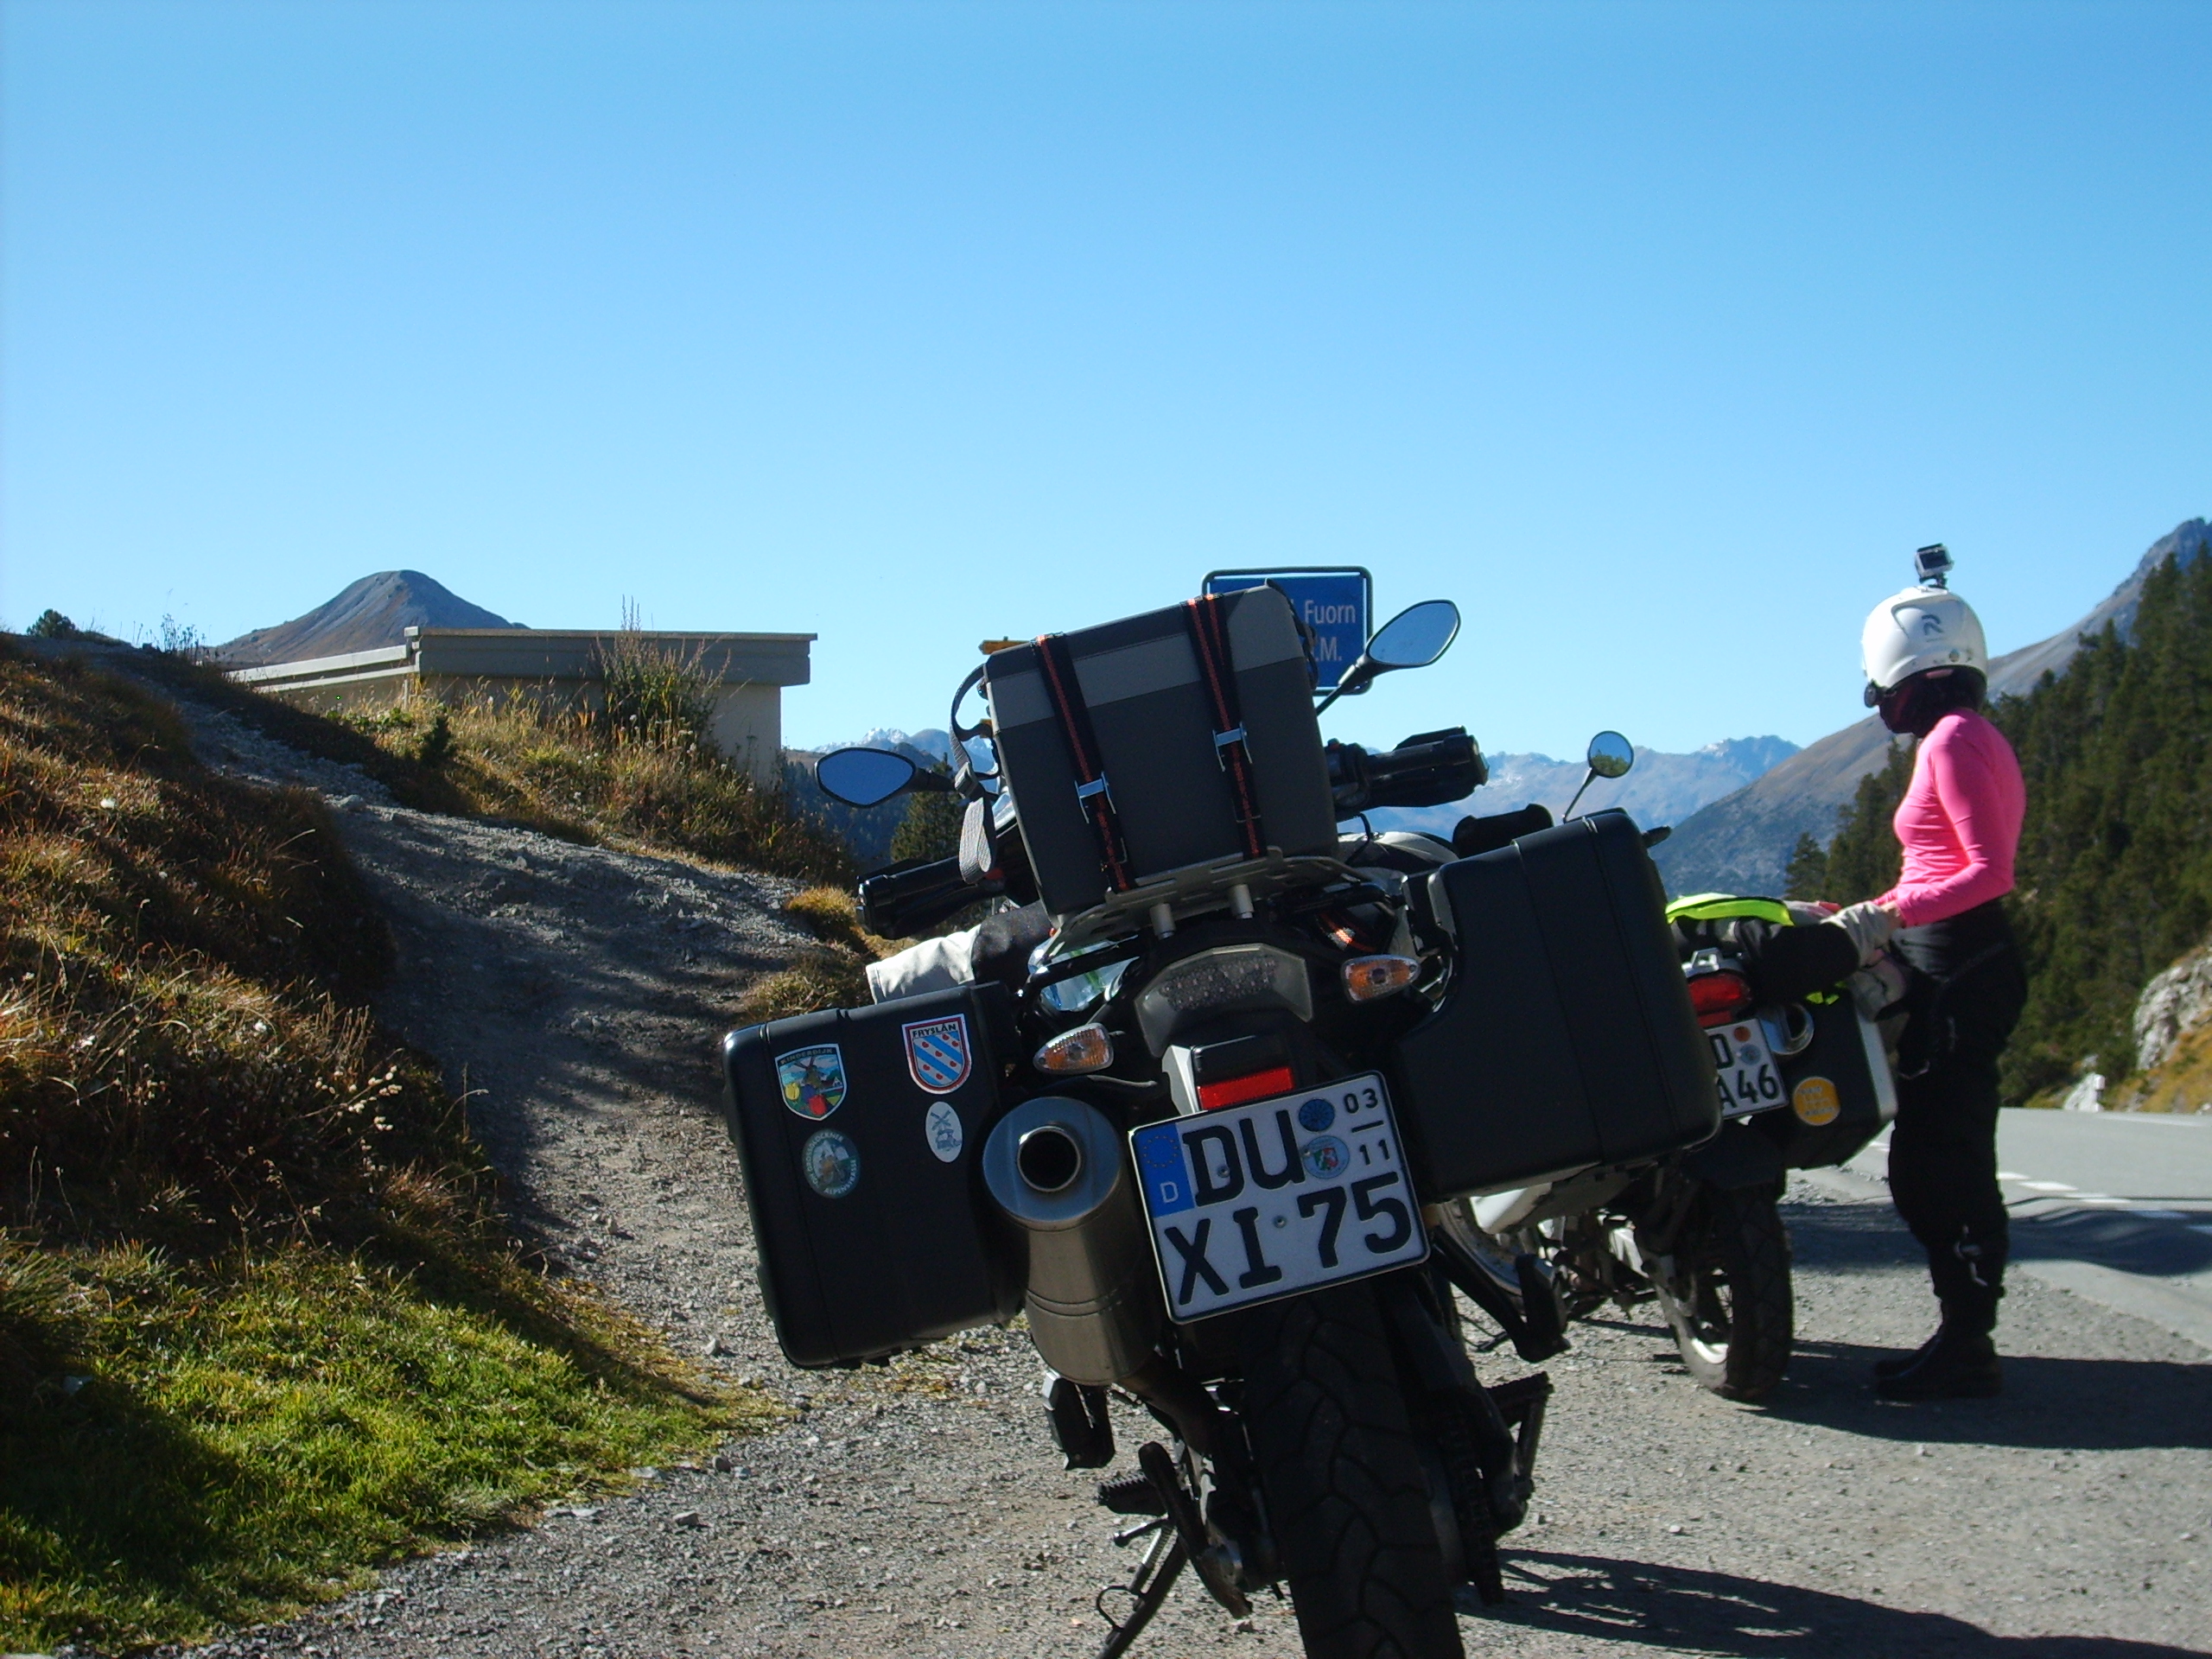
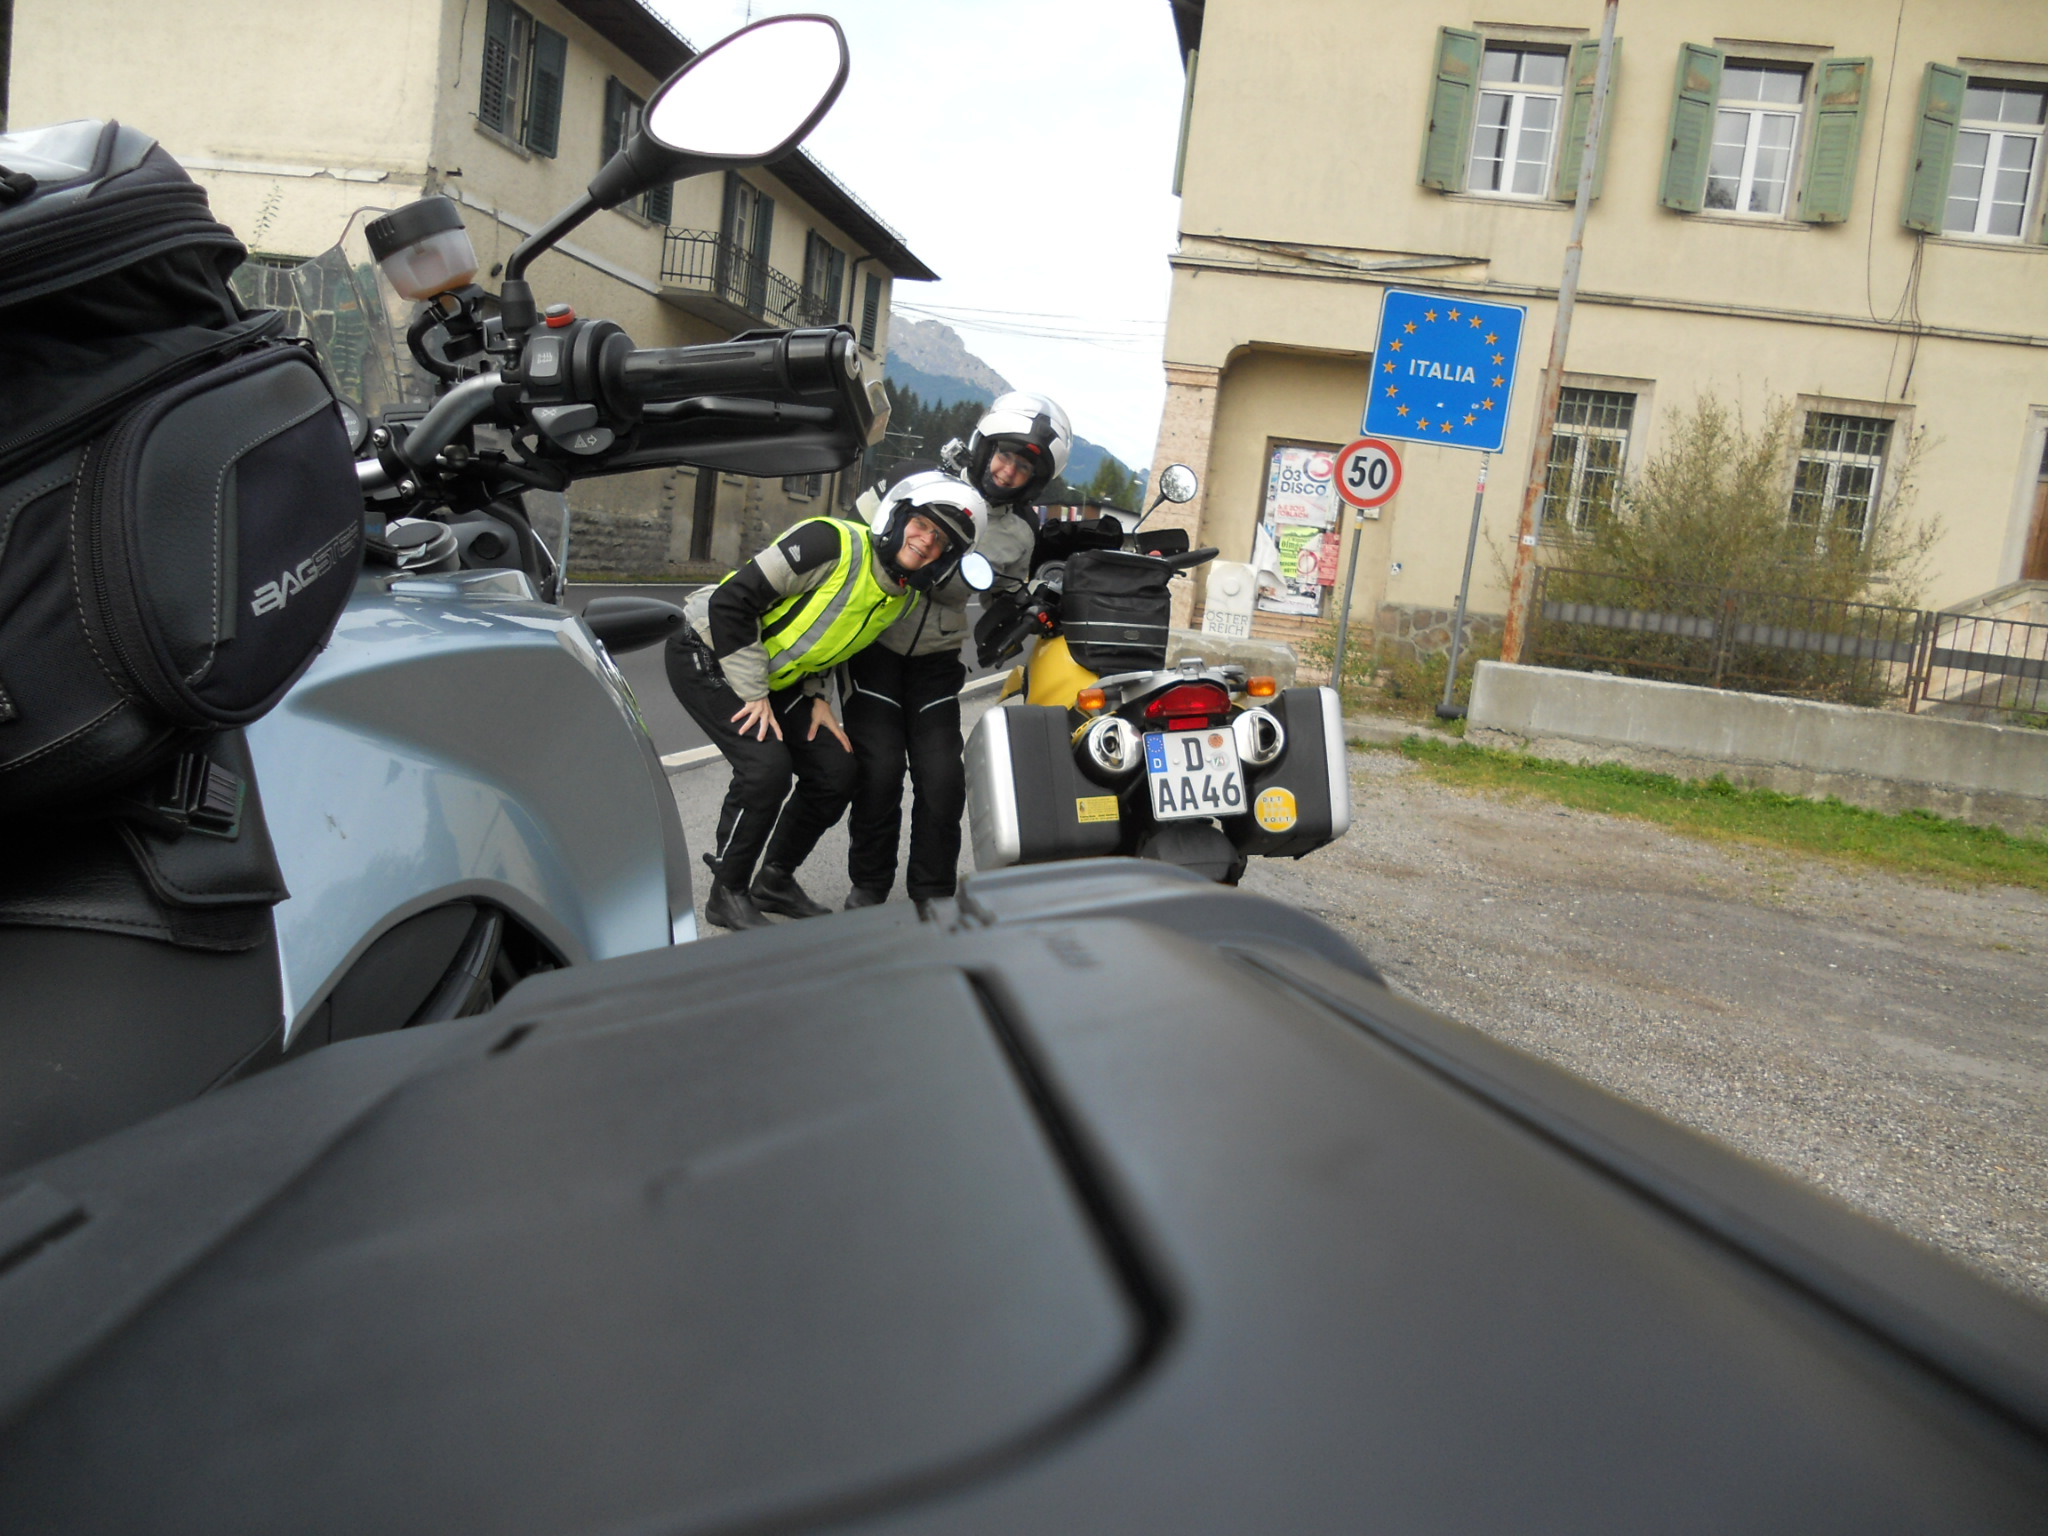
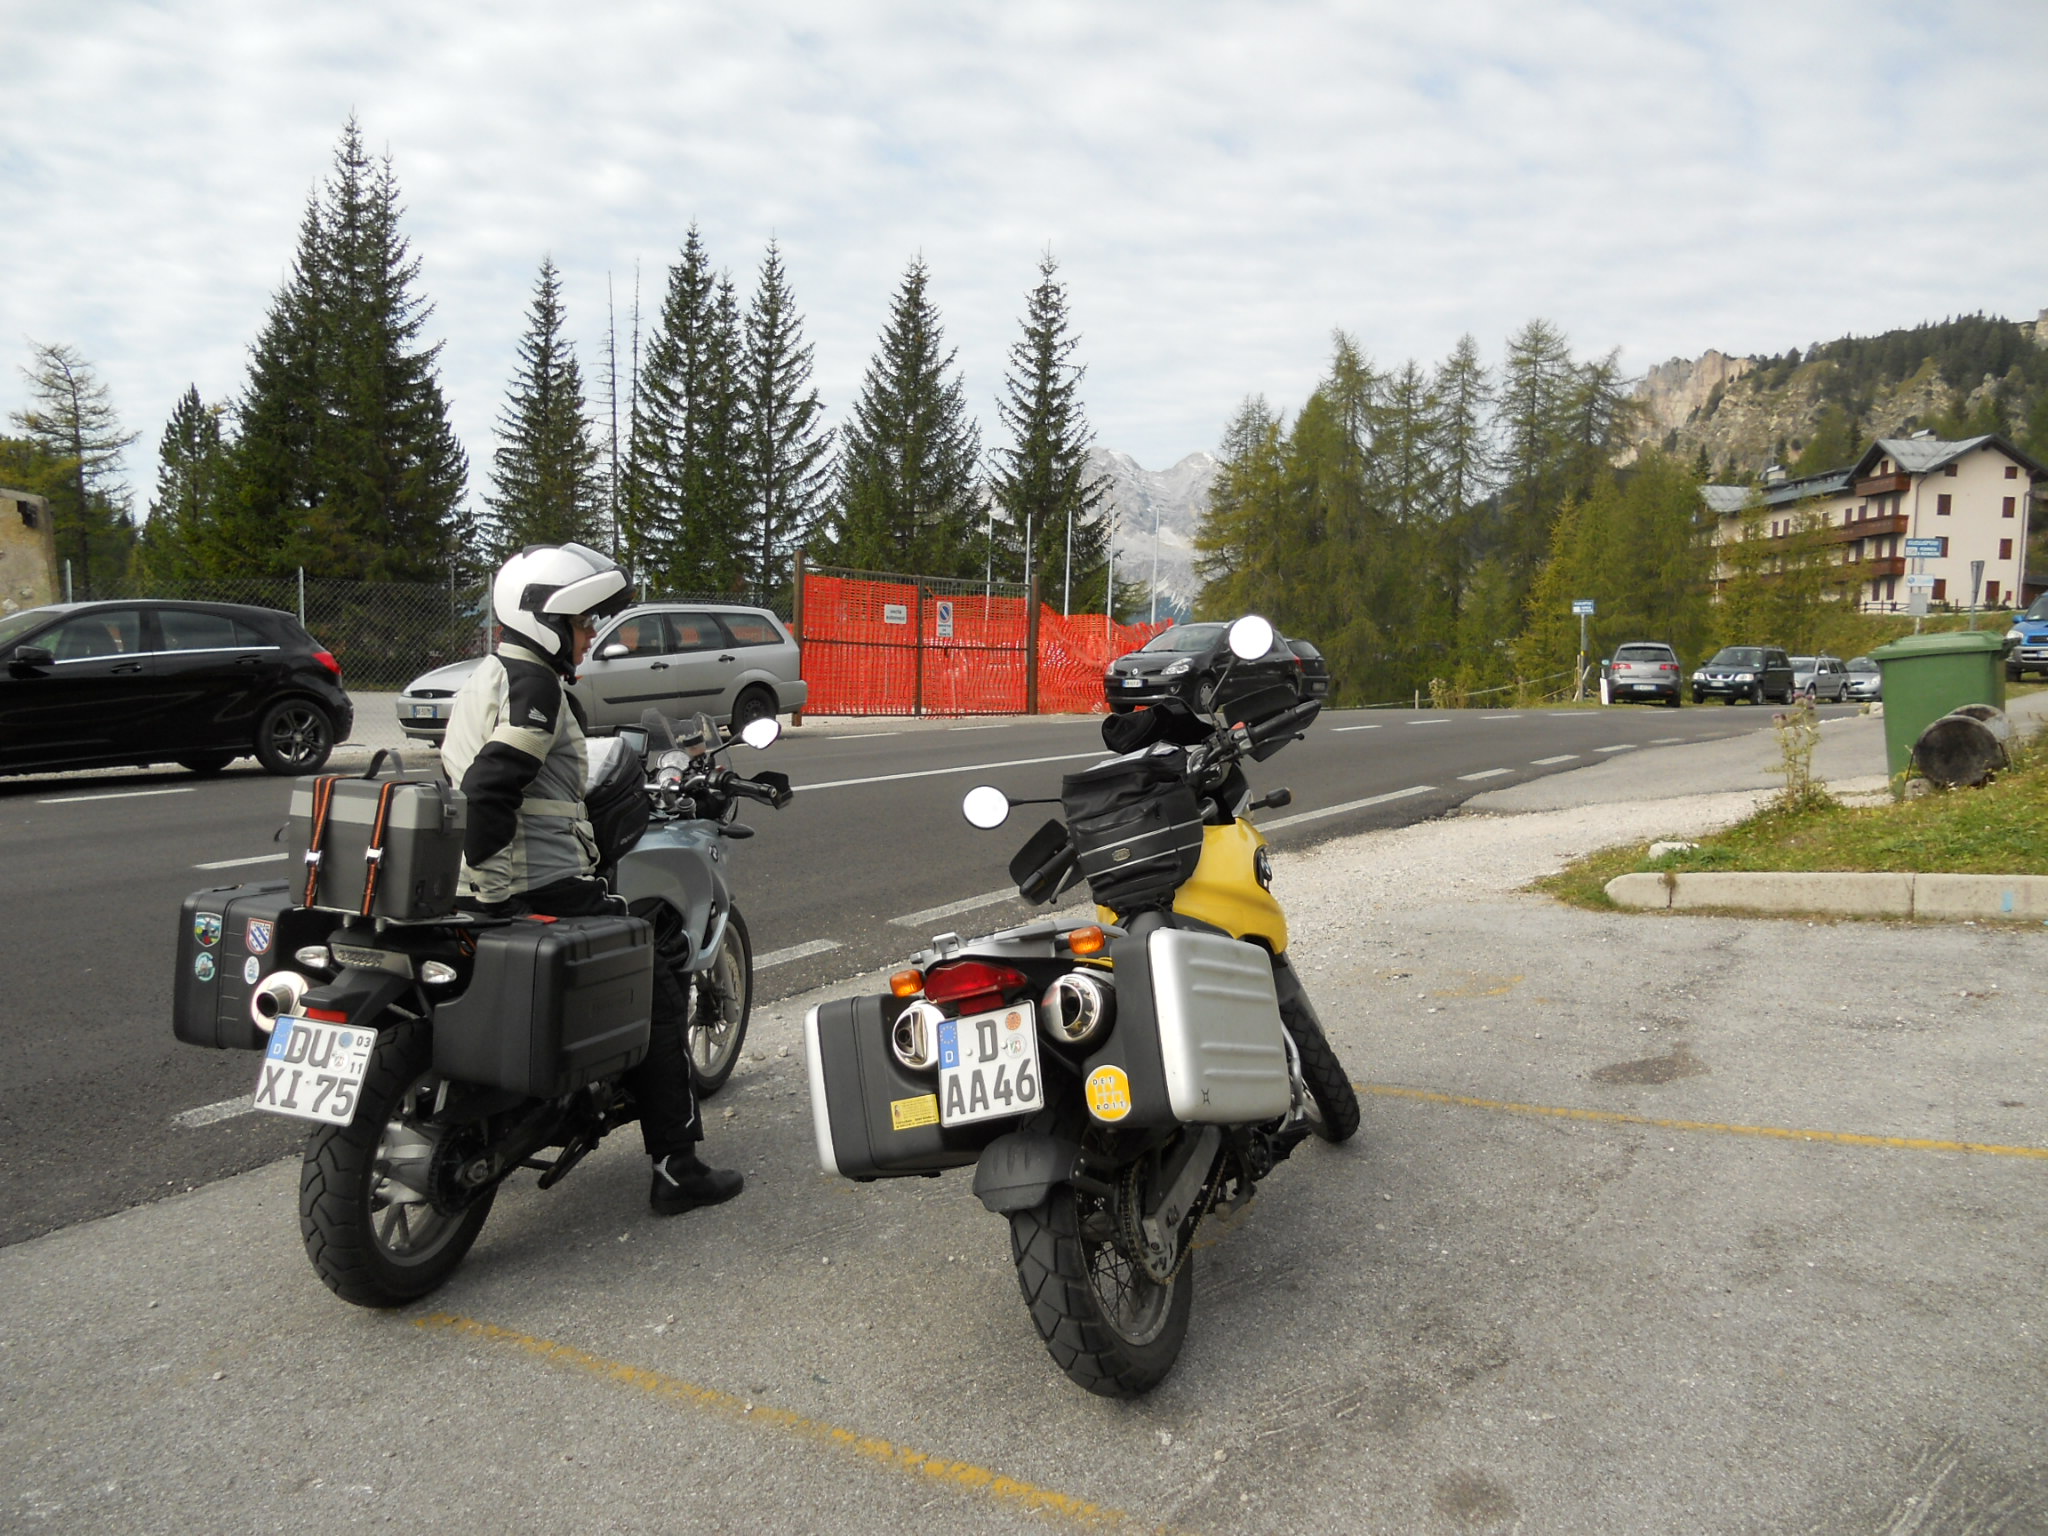
Once we are finally down the pass safely, we make our way over to SS40 and up to the Reschenpass in Austria. The approach to the pass is beautiful, wide open, sweeping Kehren, but the pass itself is a certified “meh” after Stelvio. Prior to arriving at the actual pass sign, we stop at Lake Rescia to photograph the tower of a submerged church.


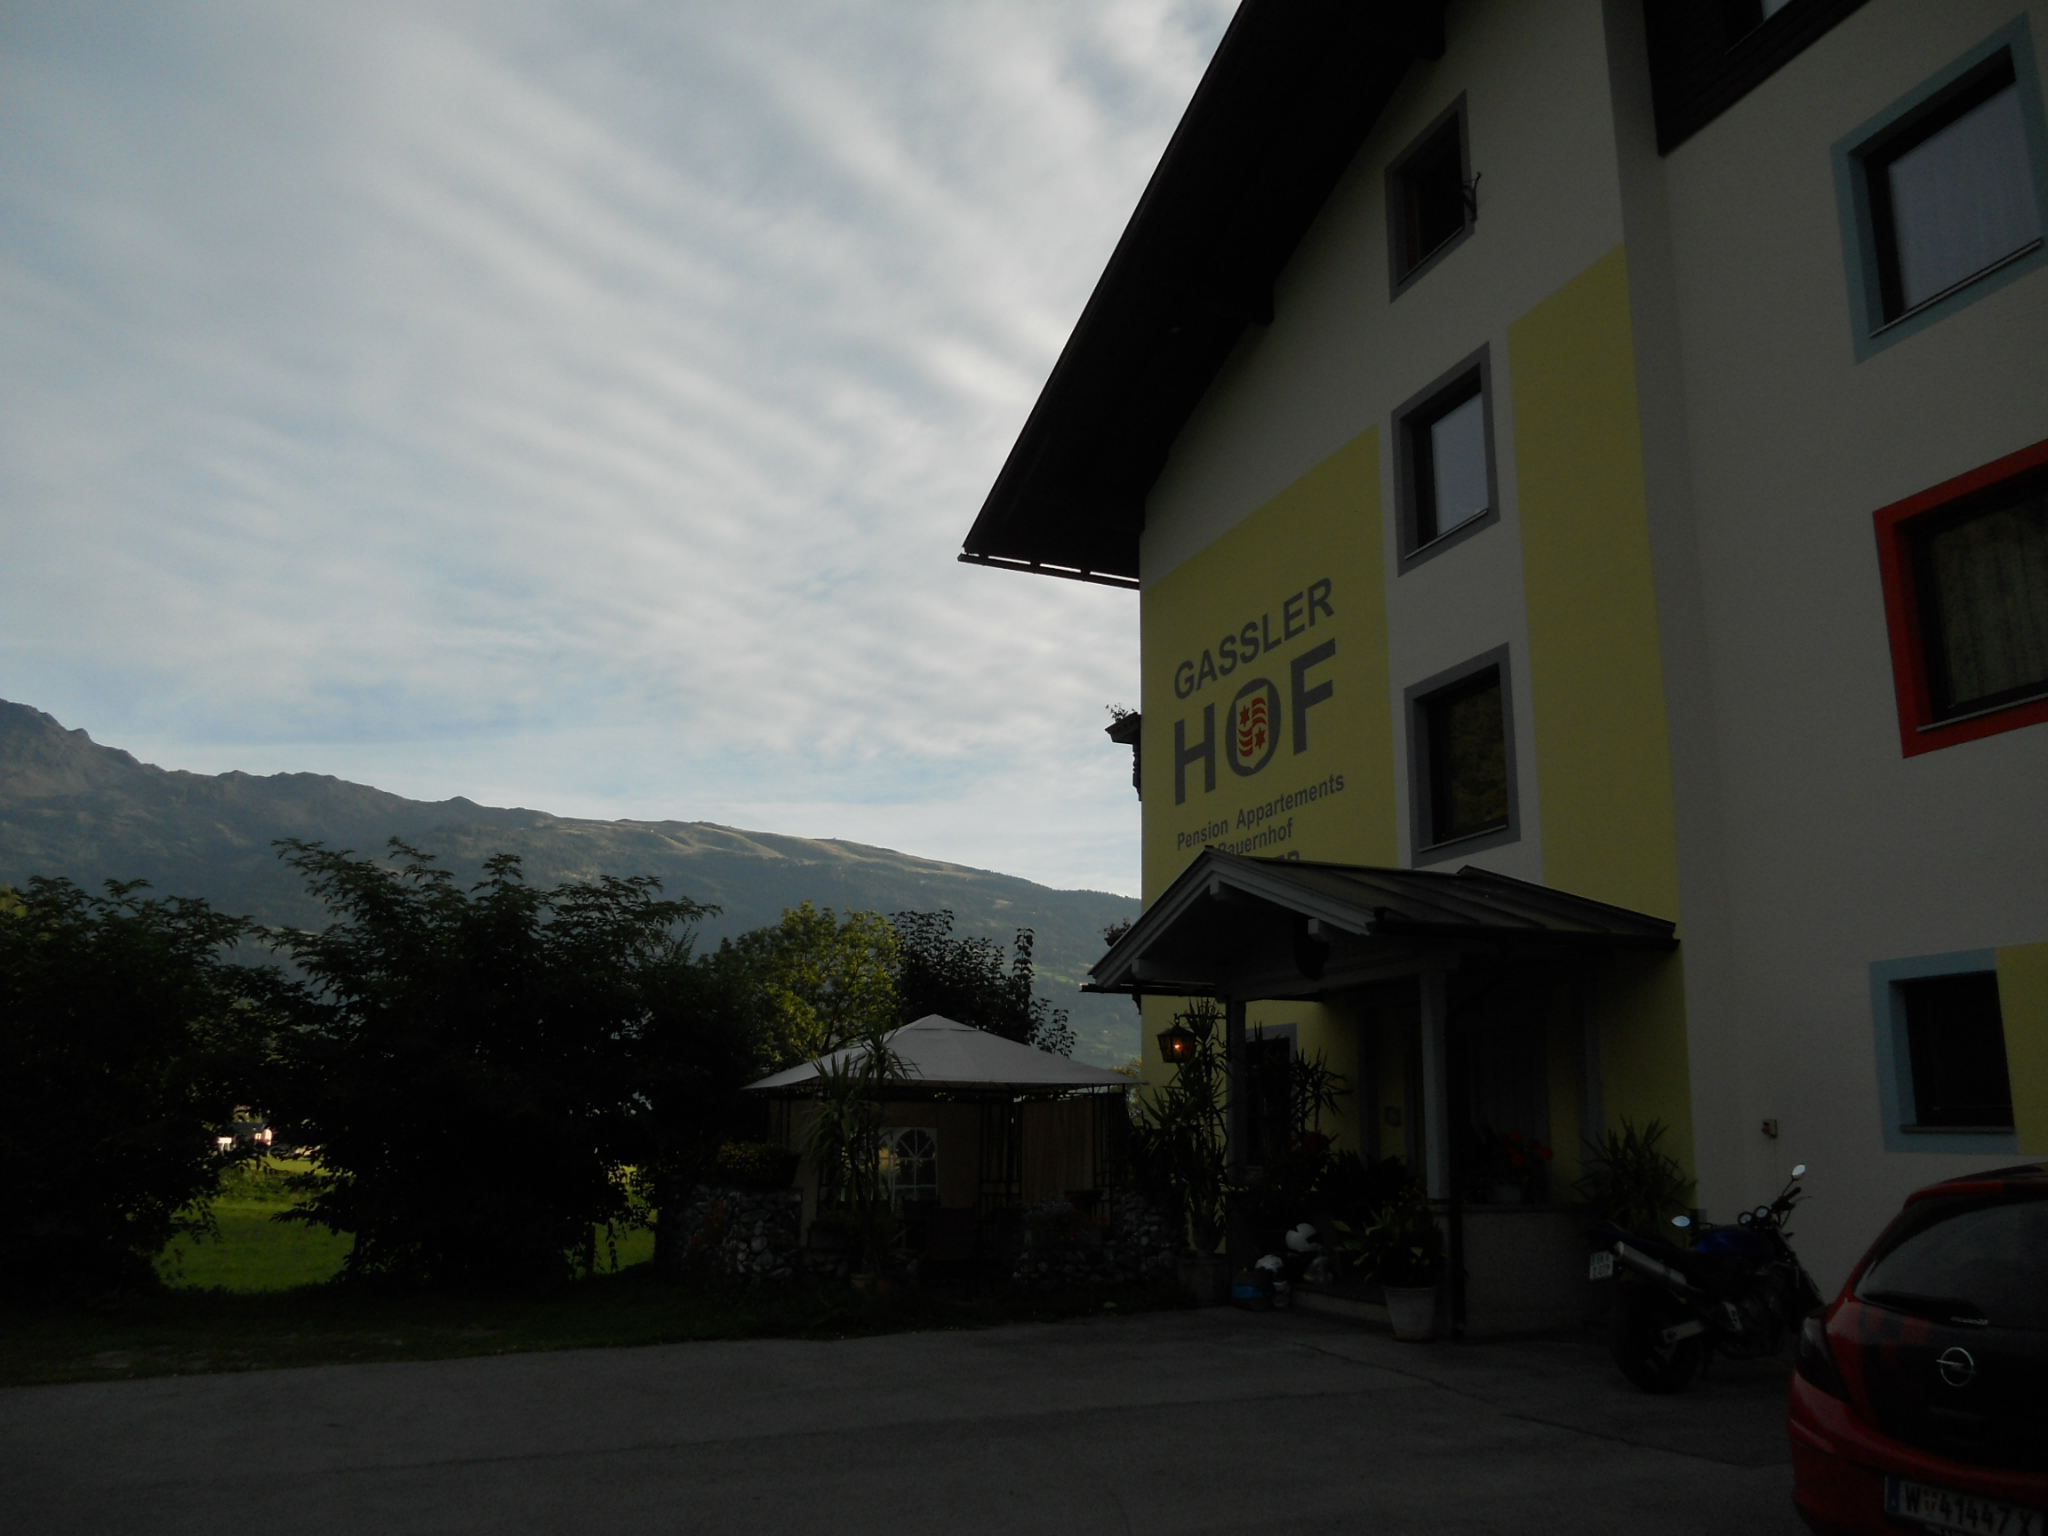
We proceed north, finding this lovely stone arch, and continue on to Tönsens, a small, quaint town, where we find the Gasthof Wilder Mann. Wondering aloud why there is never a Gasthof Wilde Frau…. With dinner, we spend 54€ for the night.


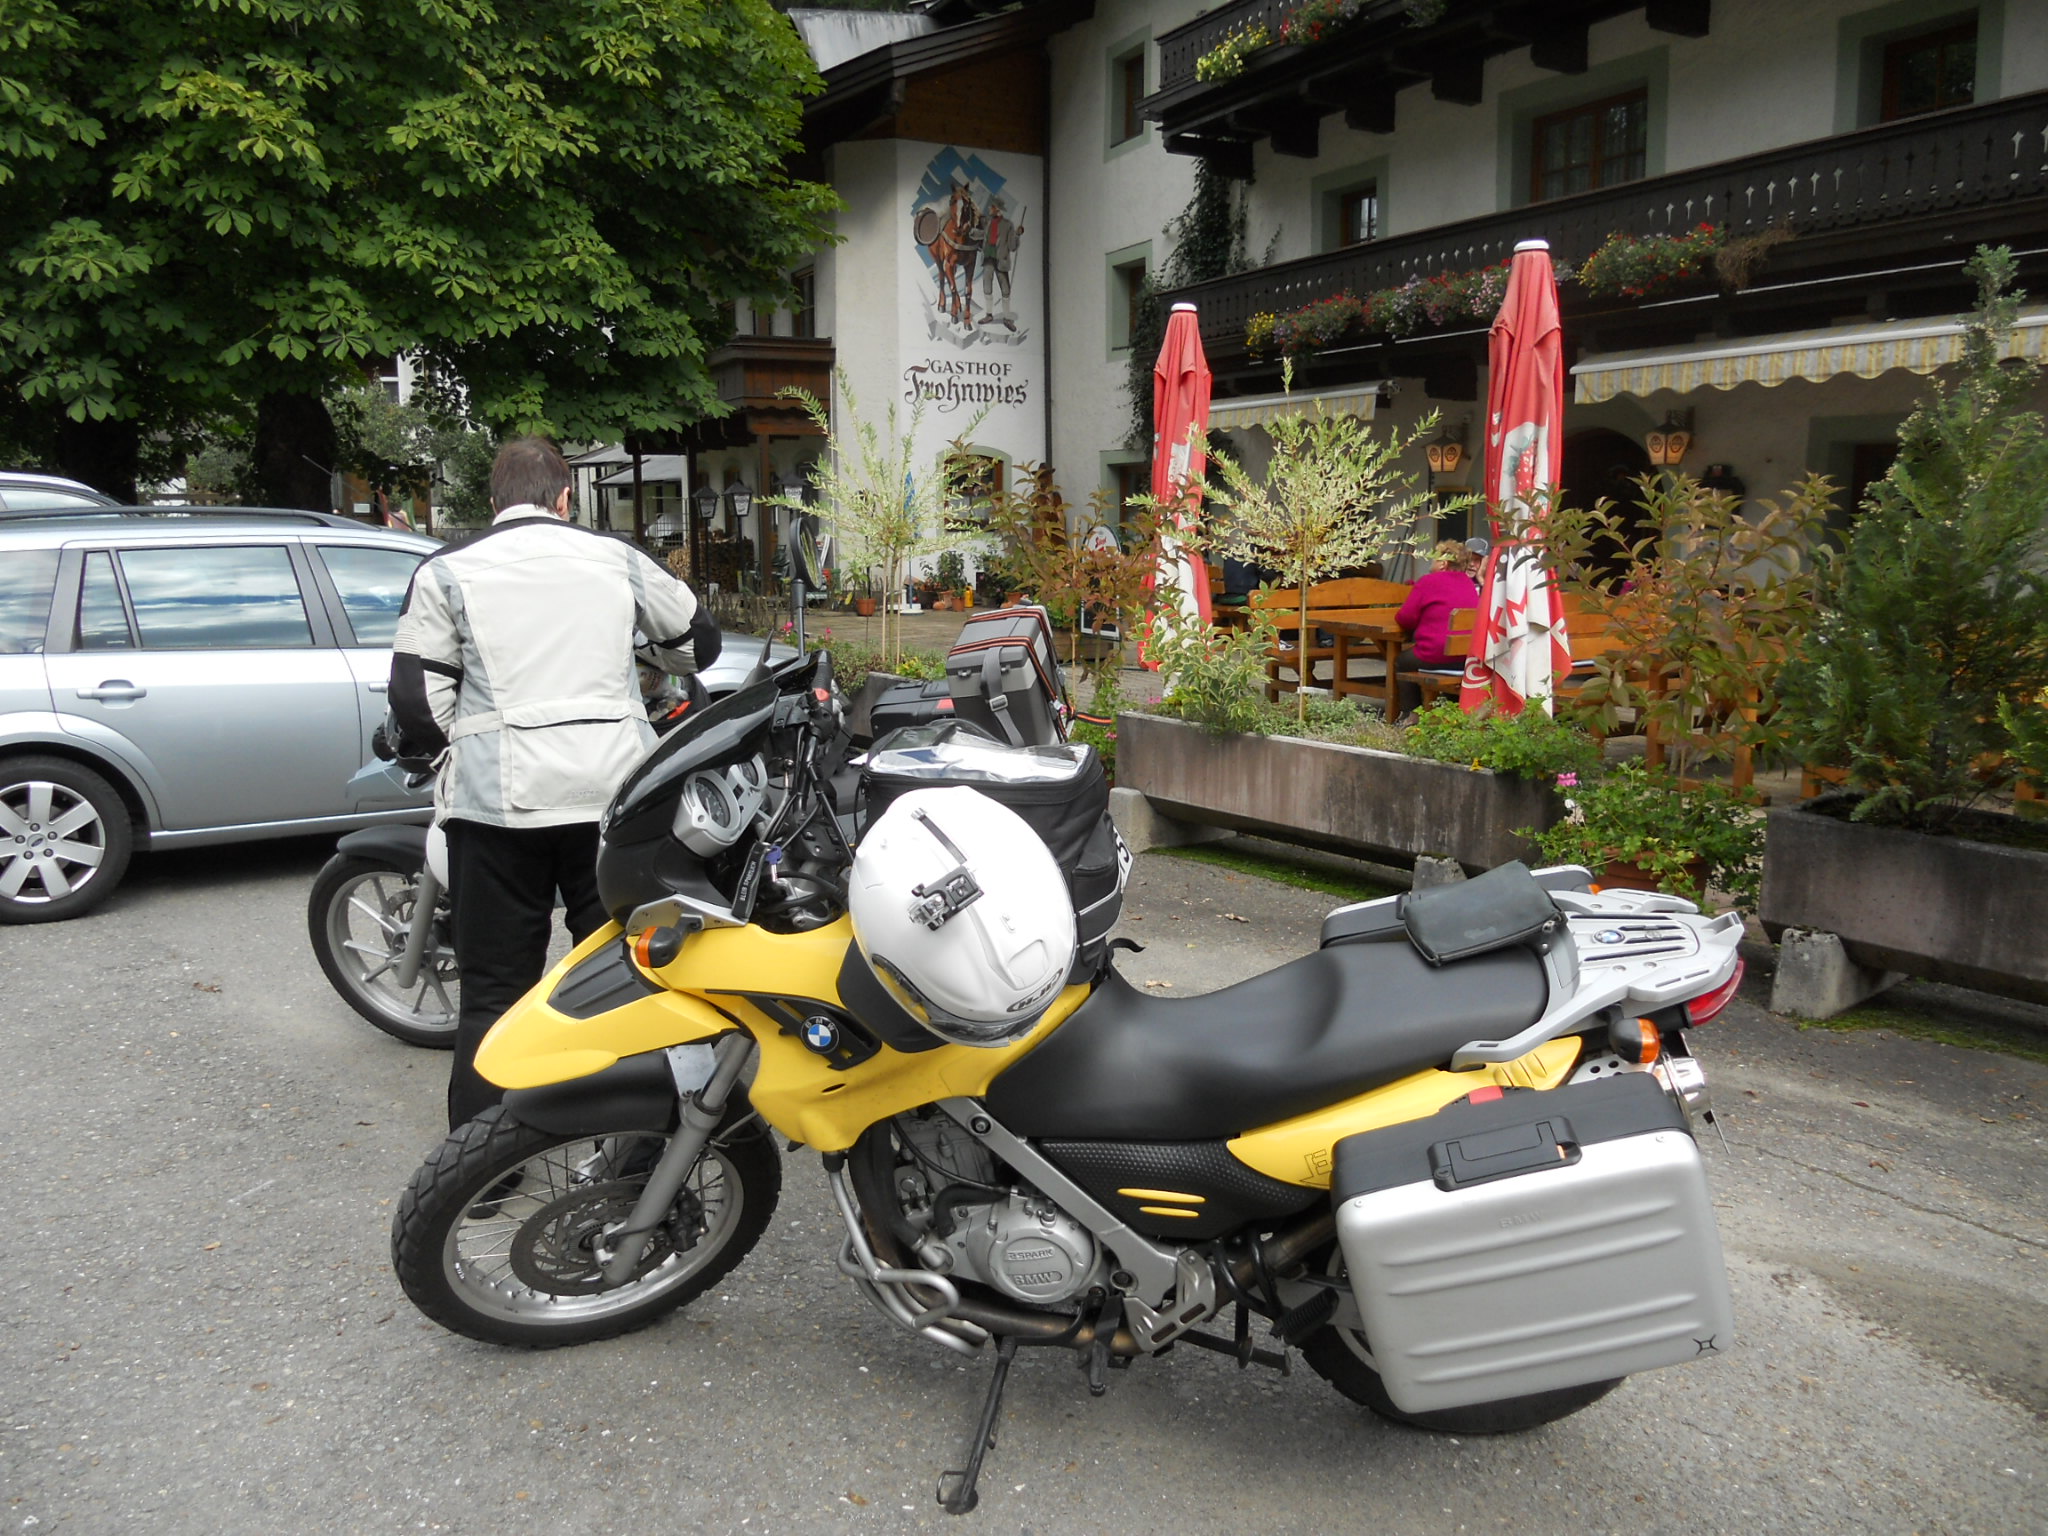


 I wanted to try something sportier and smaller, but also, something that was a bit taller.
